Todays task was to complete the driveshafts, ensuring they are completely stiff as well as adapt the axeljoints to fit on the motors. This turned out to be more interesting than planned.
The first step was to test the bearings I made last time and ensure the were properly shimmed and were completely gap free. One of the shafts needed one additional 0.1mm shim. Now they are all three rock solid. The flex in the construction is smaller than the flex in the 10mm thick steel plate that they are attached to.
The second step was to open up the holes in the axel joints to fit on the motor axels. With a bit of careful mounting, that was a piece of cake.

But these motors need to have keyed holes. So I saw this video a while back about the “broach” technique for making non-round holes. Skip to 9:56.
So suddenly I am doing a whole handful of firsts:
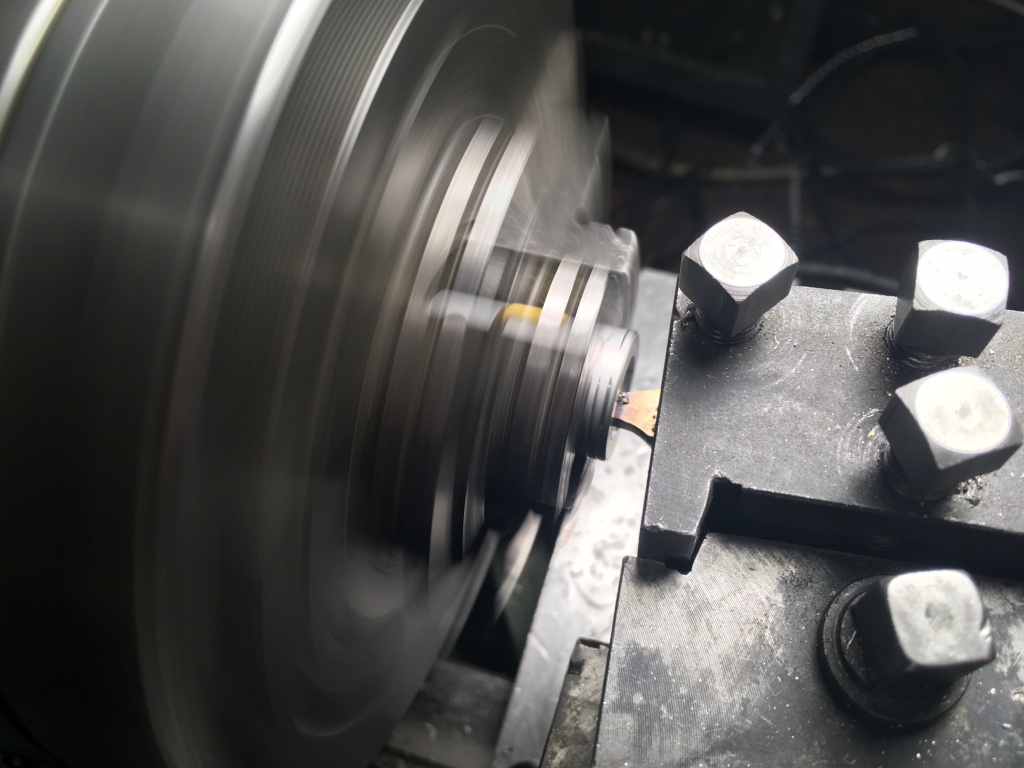
- Grinding a piece of HSS metal into my very first custom tool.
- Mounting said square tool in a chuck.
- Actually successfully broaching a key slot in each of the three axel joints.

The result wasn’t particularly pretty because I didn’t grind as much on the tool as I chould have, but for a first ever I am really pleased. I feel that once you have broached a hole with a custome tool, then noone can even call you a newbie again.

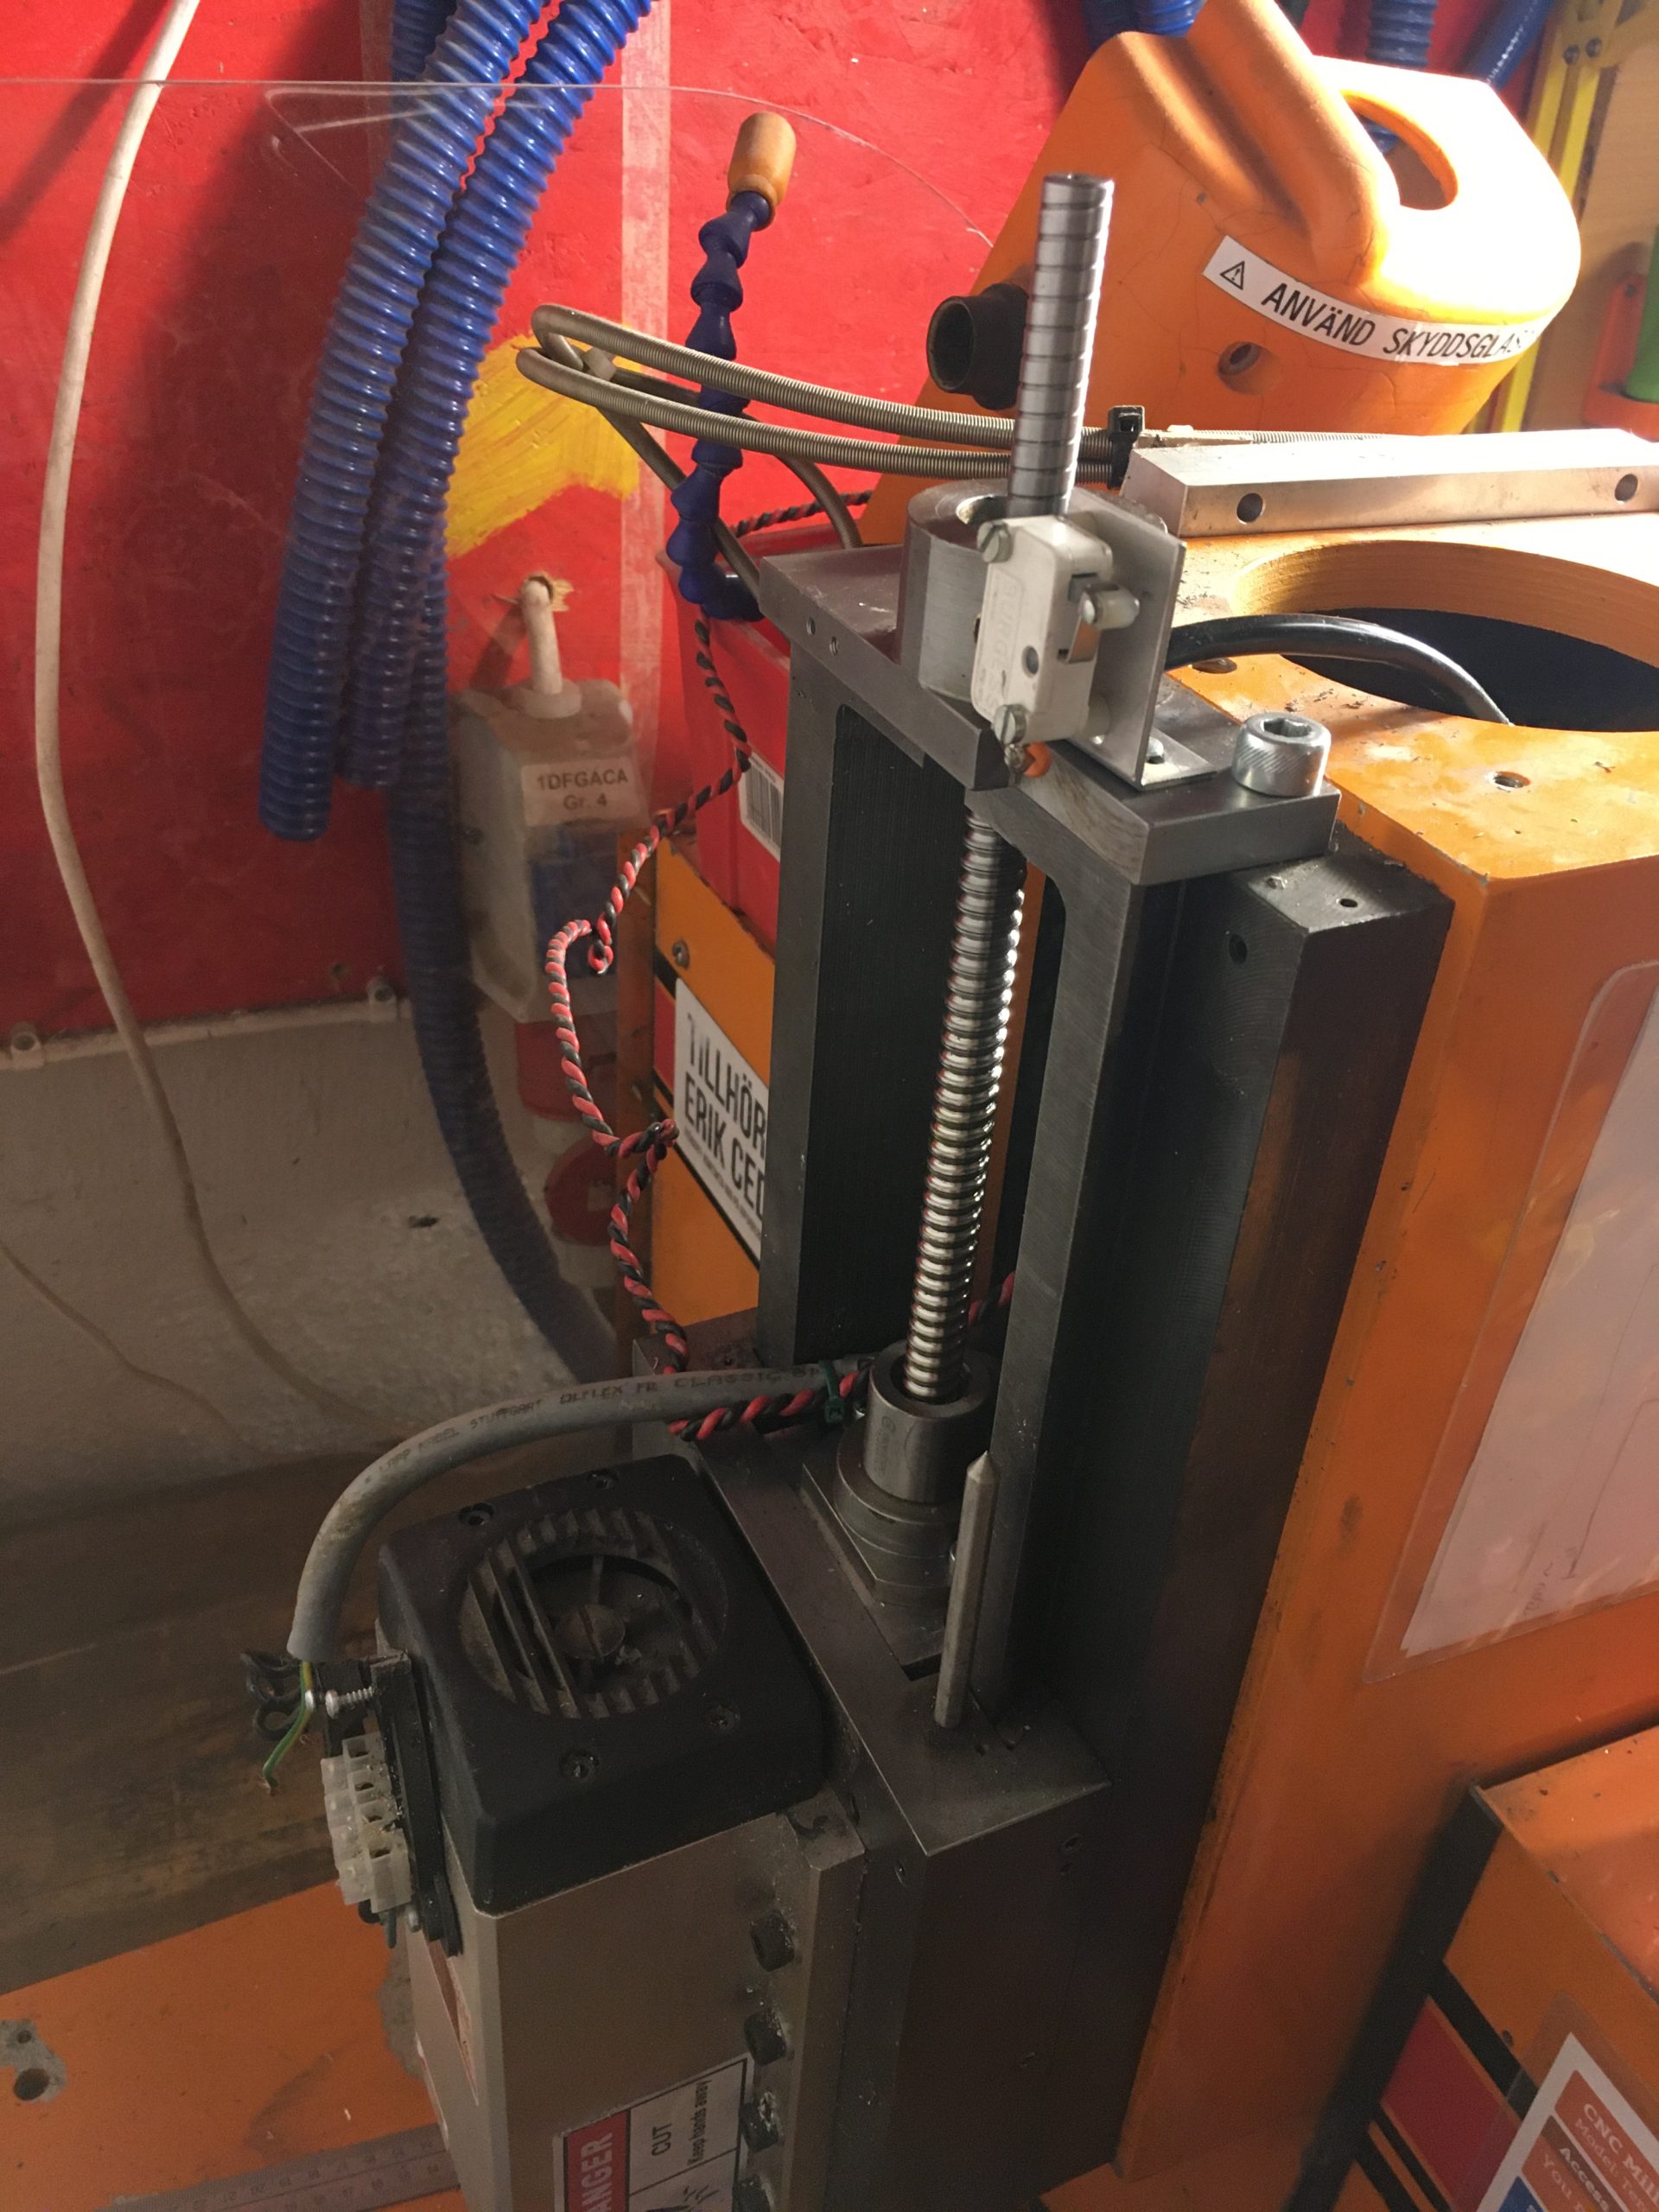
Finally all the pieces for a complete driveshaft for an axel. And below we have the Z-axel completely mounted. 😀
