Seems to be my new main project for the forseeable future. Building a CNC machine is not done in a day, even if all of the parts mostly exist… Also, I have done my first 3d-print but I will need to colect it tomorrow as it did not quite complete before I had to go home.
So today I started with the rebuild proper. A run-though by Eric Cederberg about which parts belonged where, and I got working.

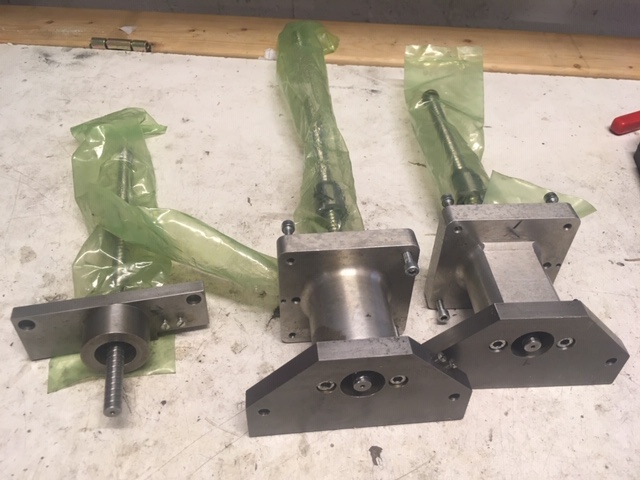
Above you see the fastening collars that will attach the ball screws to the bearings. These carry all of the force of the movements, so getting them to exactly the right size for a snug fit in the bearing houses is critical.
To make sure the collars do not start slipping after a few years, we decided the drill through the collar and ball screw and fixate them with a spring steel pin. This was really scary as the ball screws are custom made in Asia meaning they are expensive and delivery times are long. Obviously, we had no spares.
Either way, the goal was to get the entire assembly to be about 27mm wide, and I find that the tolerance achieved is perfectly OK. 😀

So below we see the status right now. Three ball screws securely fastened in their bearing houses and the most critical part of the build is completed. Note that the Z-axis bearing house is not actually assembled as the other part of the bearing house is stillf astened to the machine.

So that was a good first day. Next steps are:
- Drill out the motor holes from the axel joints so they fit our motor axels.
- Fasten the axel joints onto the ball screws. This requires disassembling the bearing houses above. When doing that, the shims should be rechecked. I believe that one of the bearing houses perhaps should have 0.1mm less shims and the other 0.1mm more shims to be perfect.
- Open up the gap in the Z-axis mount plate on the Terco a bit more as these ball screws seem to be a bit wider than the originals so the Z-axis cannot actually be mounted as it is today.
- Start assembly of the Terco.