So now all of the pieces have come together!

My crafting diary
So now all of the pieces have come together!

So my first print of the new legs got ruined because of two level shifts. But Eric was nice enough to restart the print. So another 48 hours and 200g of plastic later I could go an pick up the finished print. I found there was some warping on some of the axels, but nothing that hinders their function.
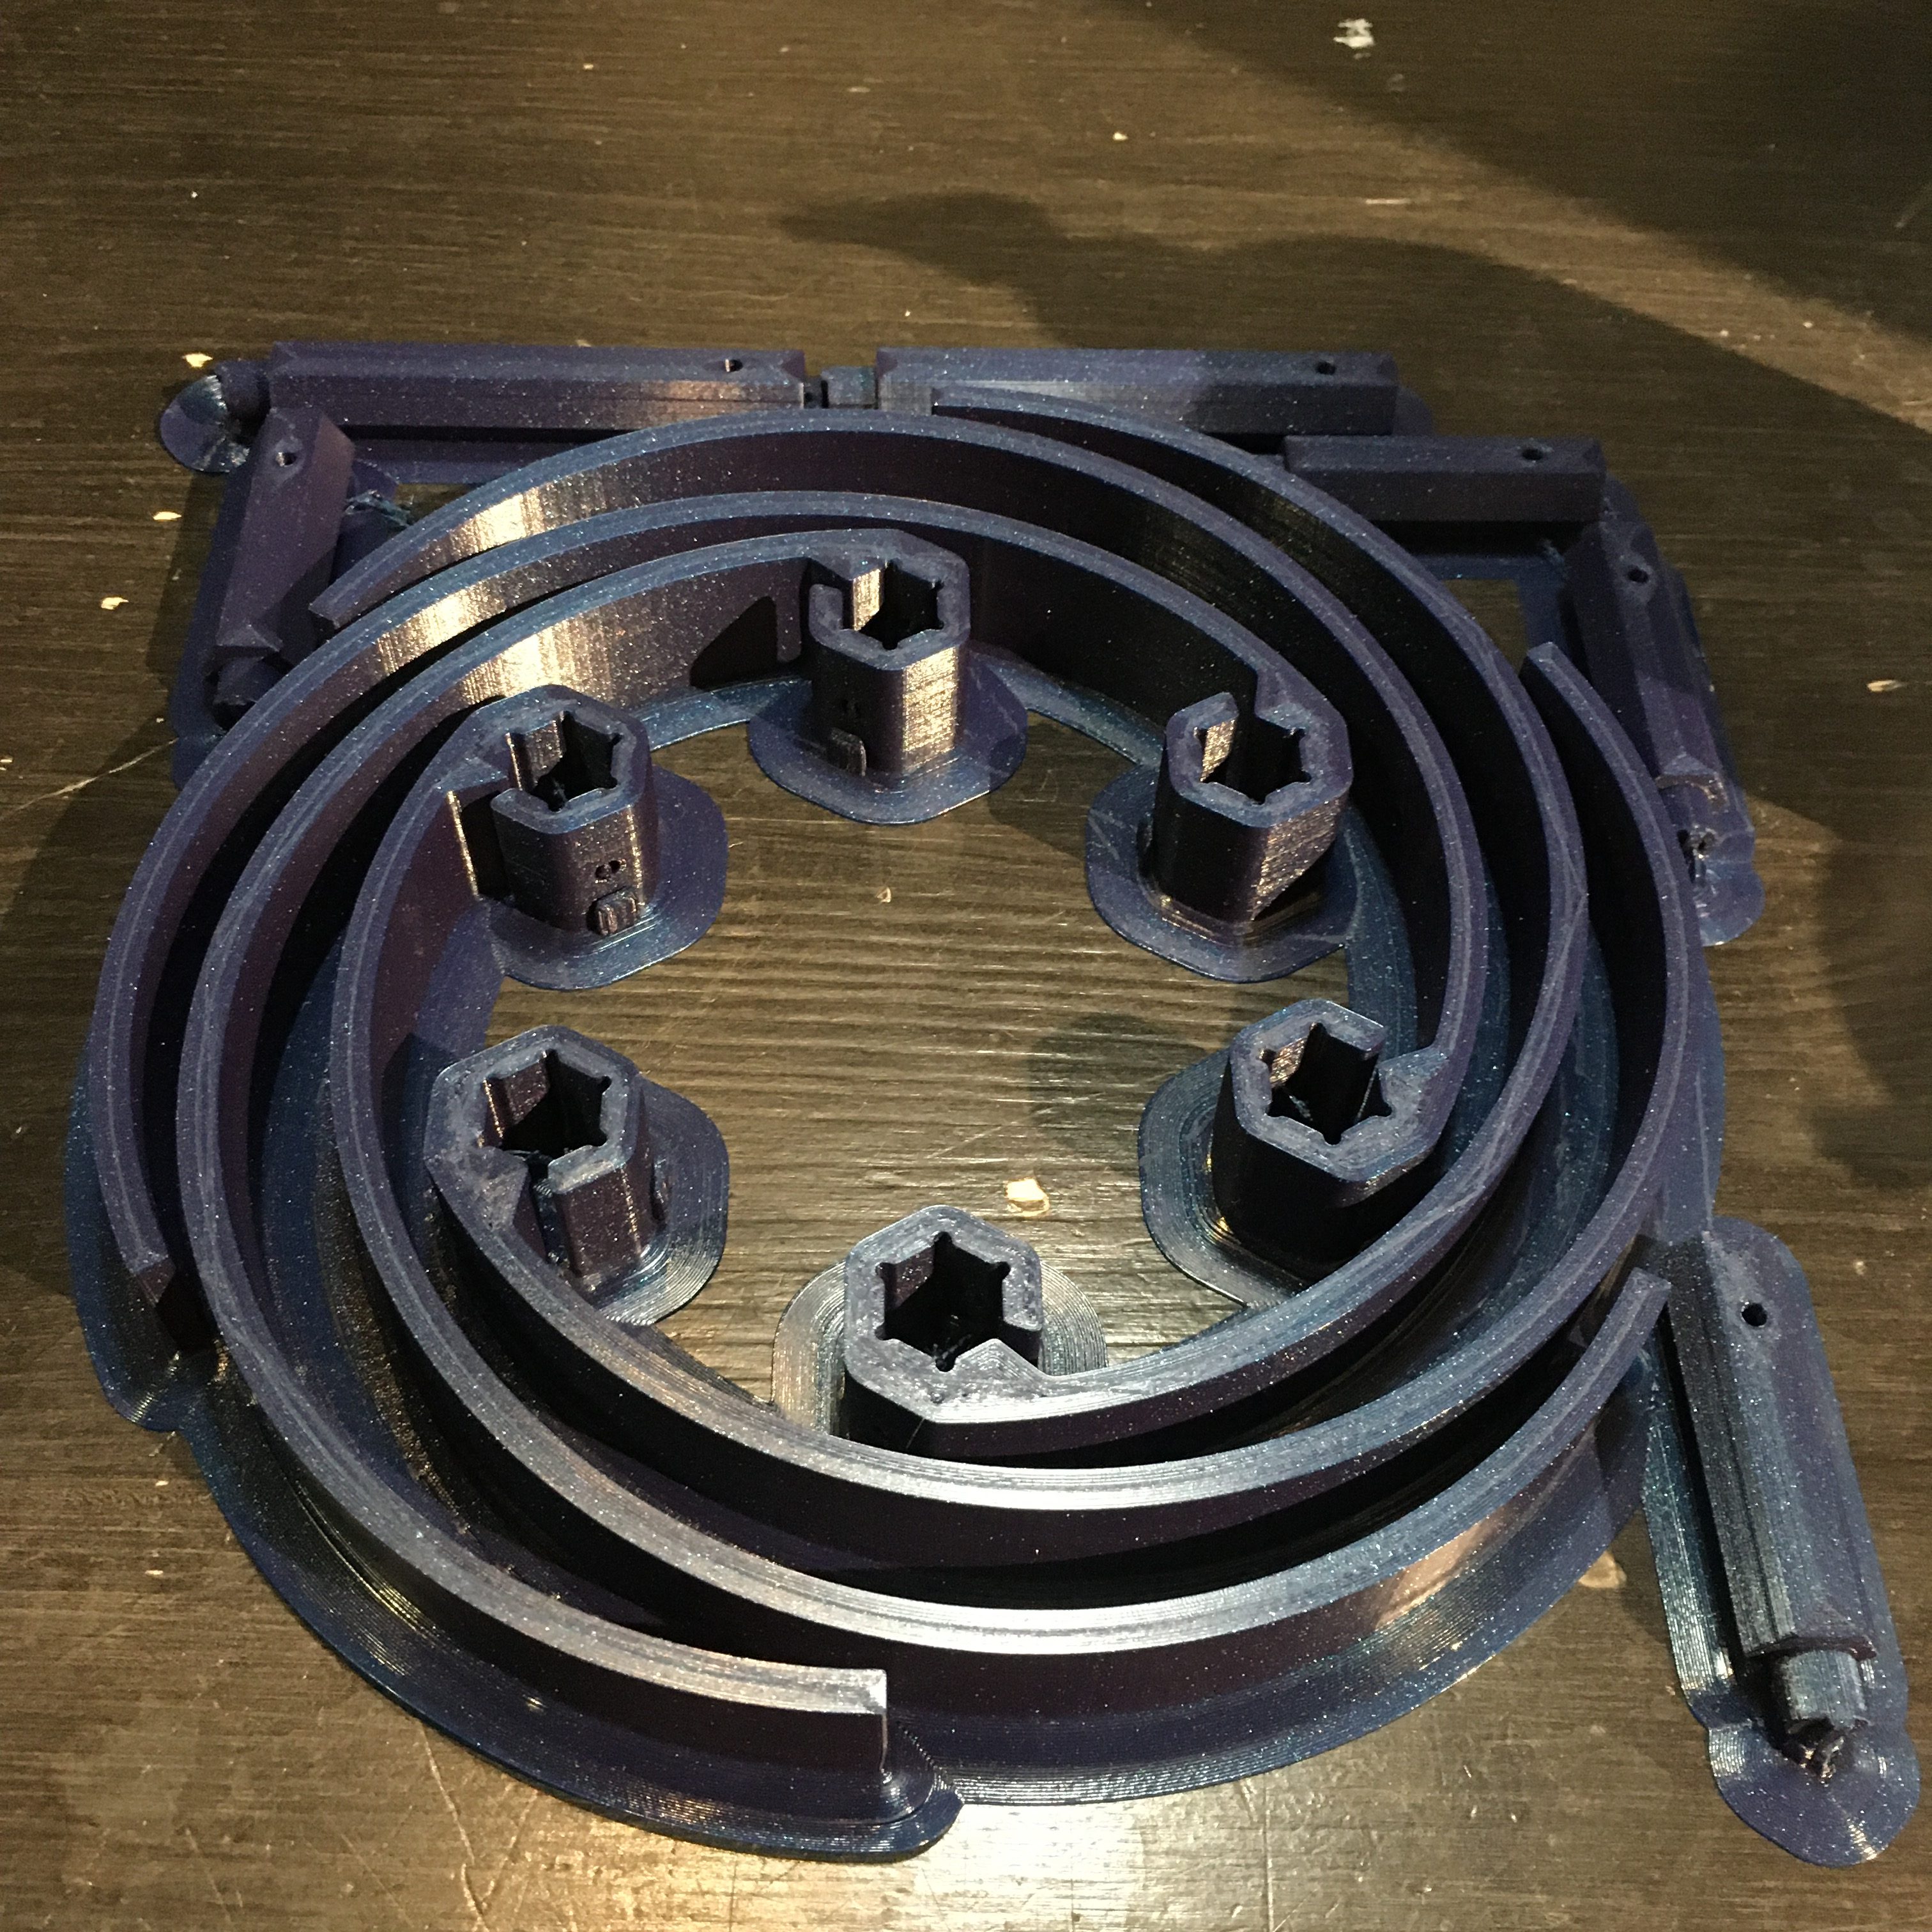
A little cleanup later, and we have a pretty set of parts. Here I haven’t drilled out the support structures inside of the holes, though. That turned out to be rather hard and I have broken one so far by drilling straight through it.
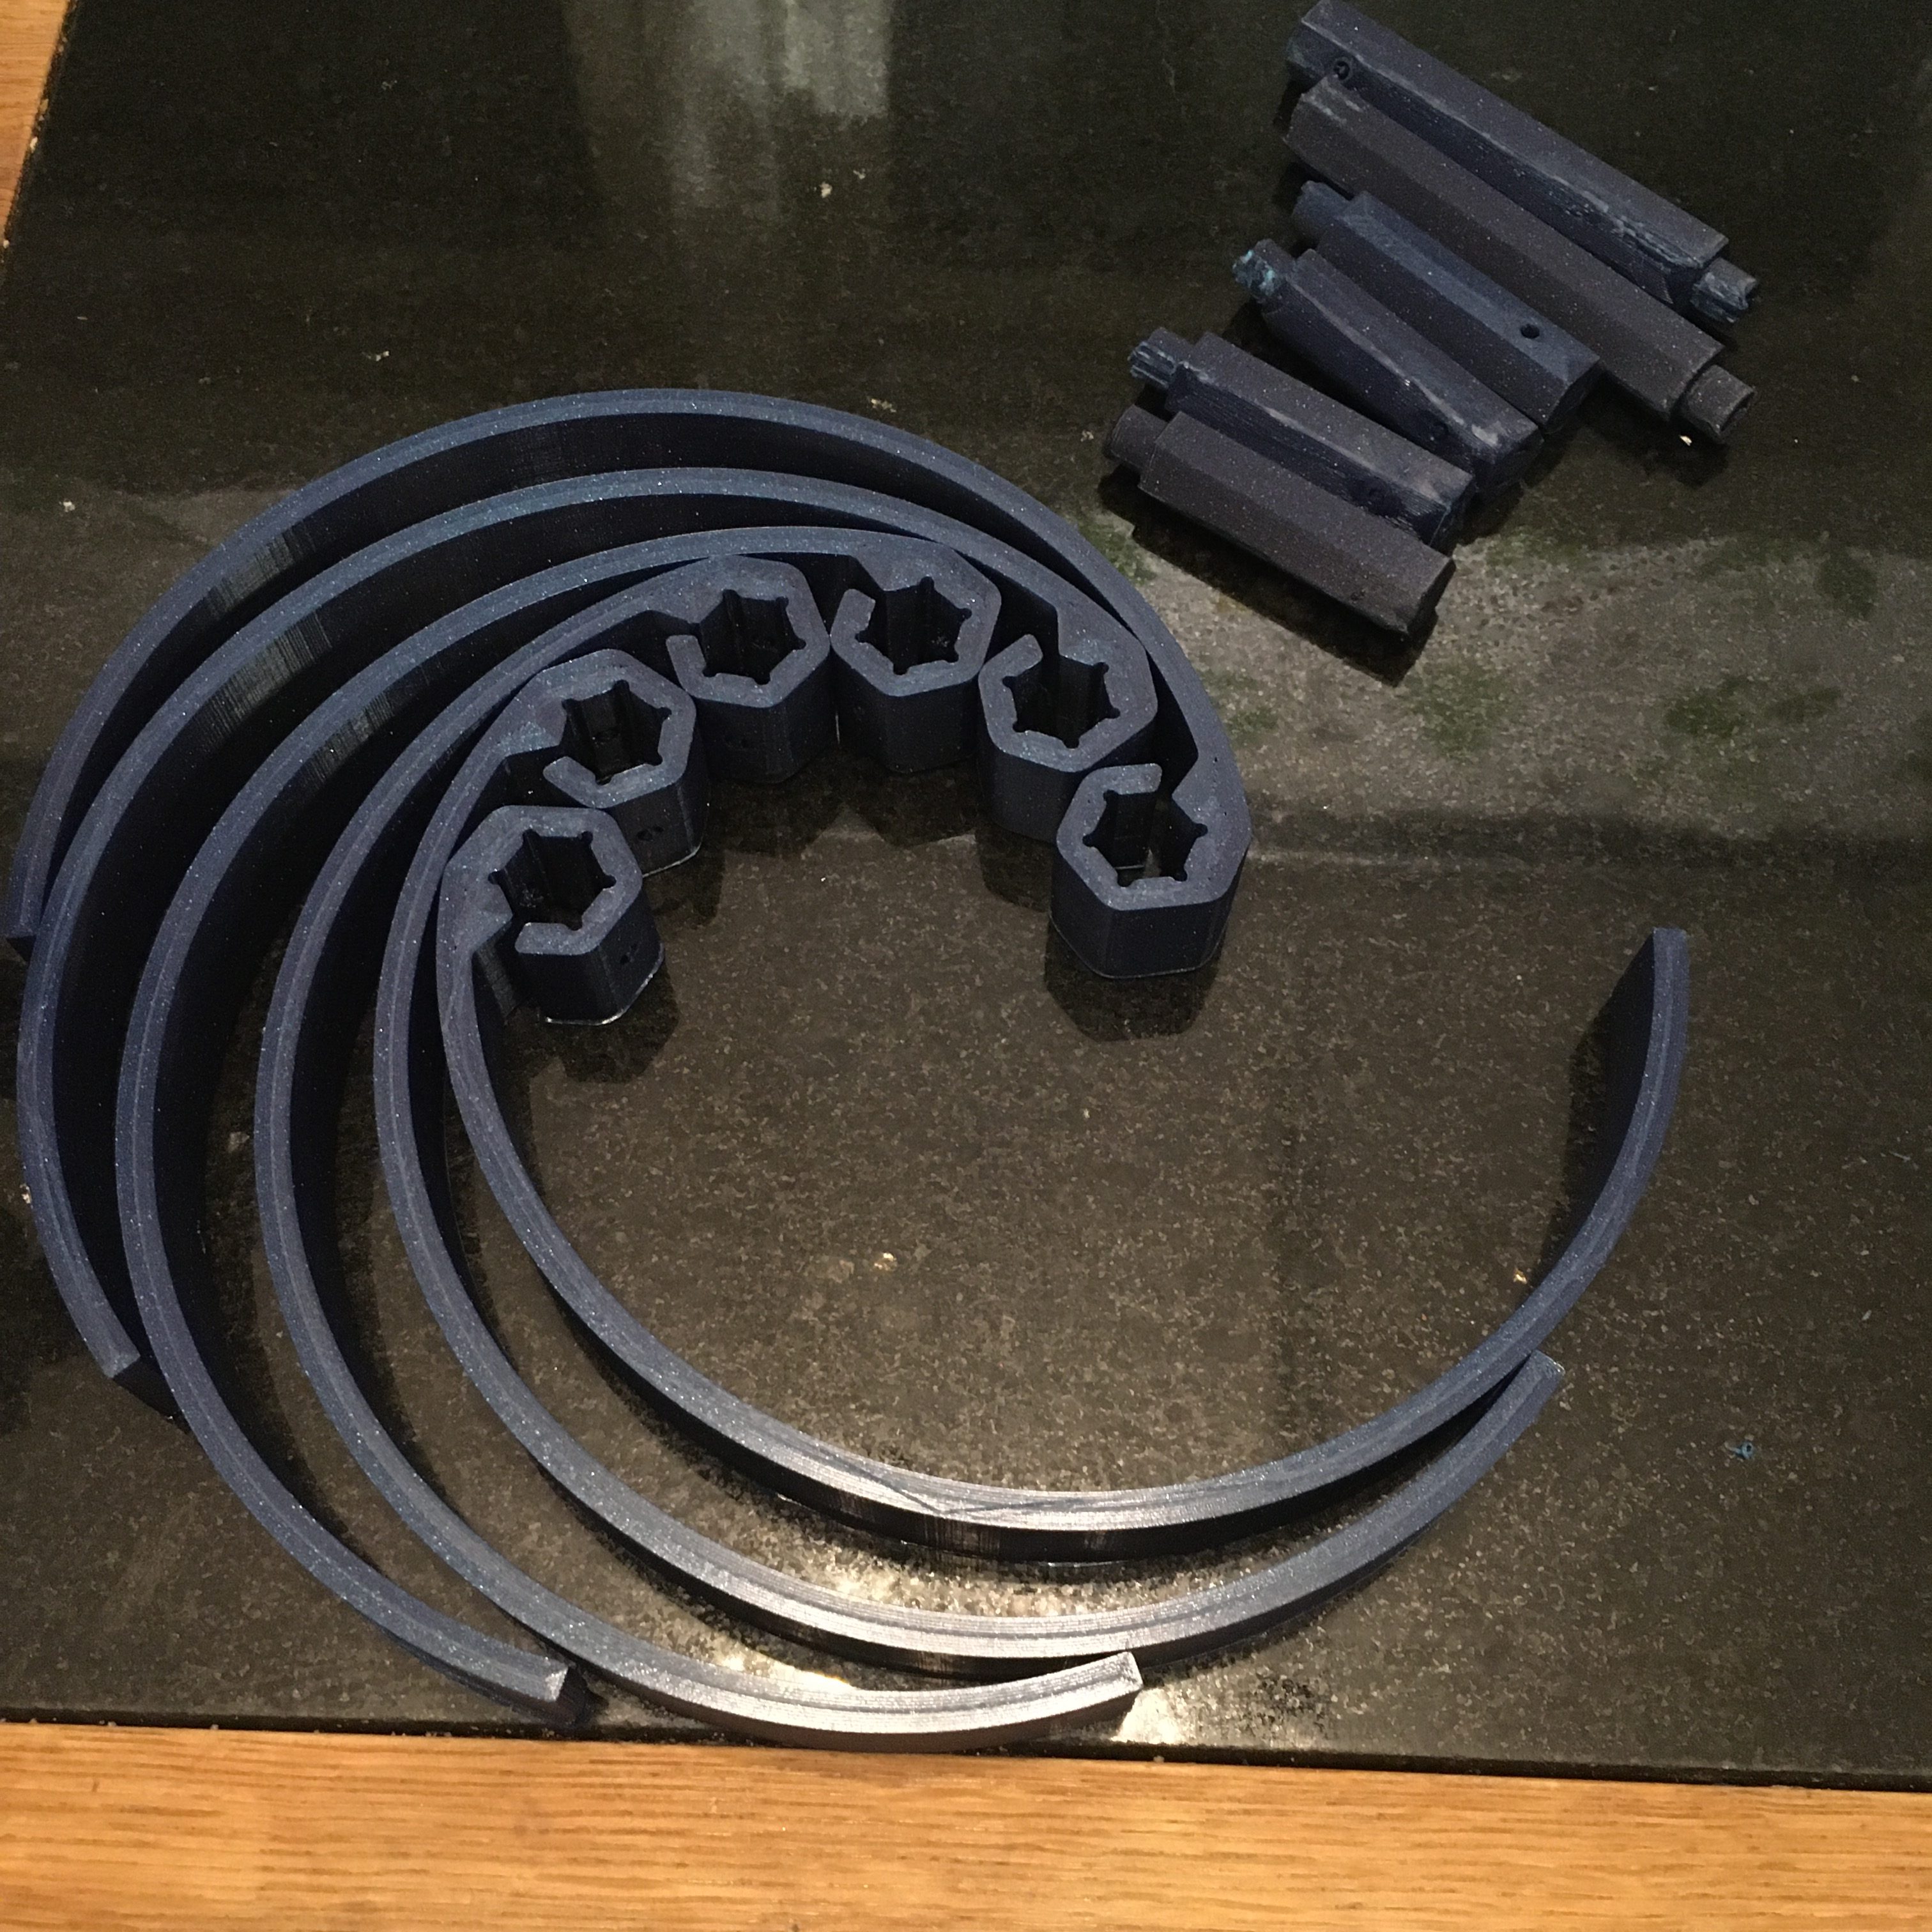
And here we have it. Three complete leg joints with legs and everything (Well, the legs aren’t fastened, but you get the idea)
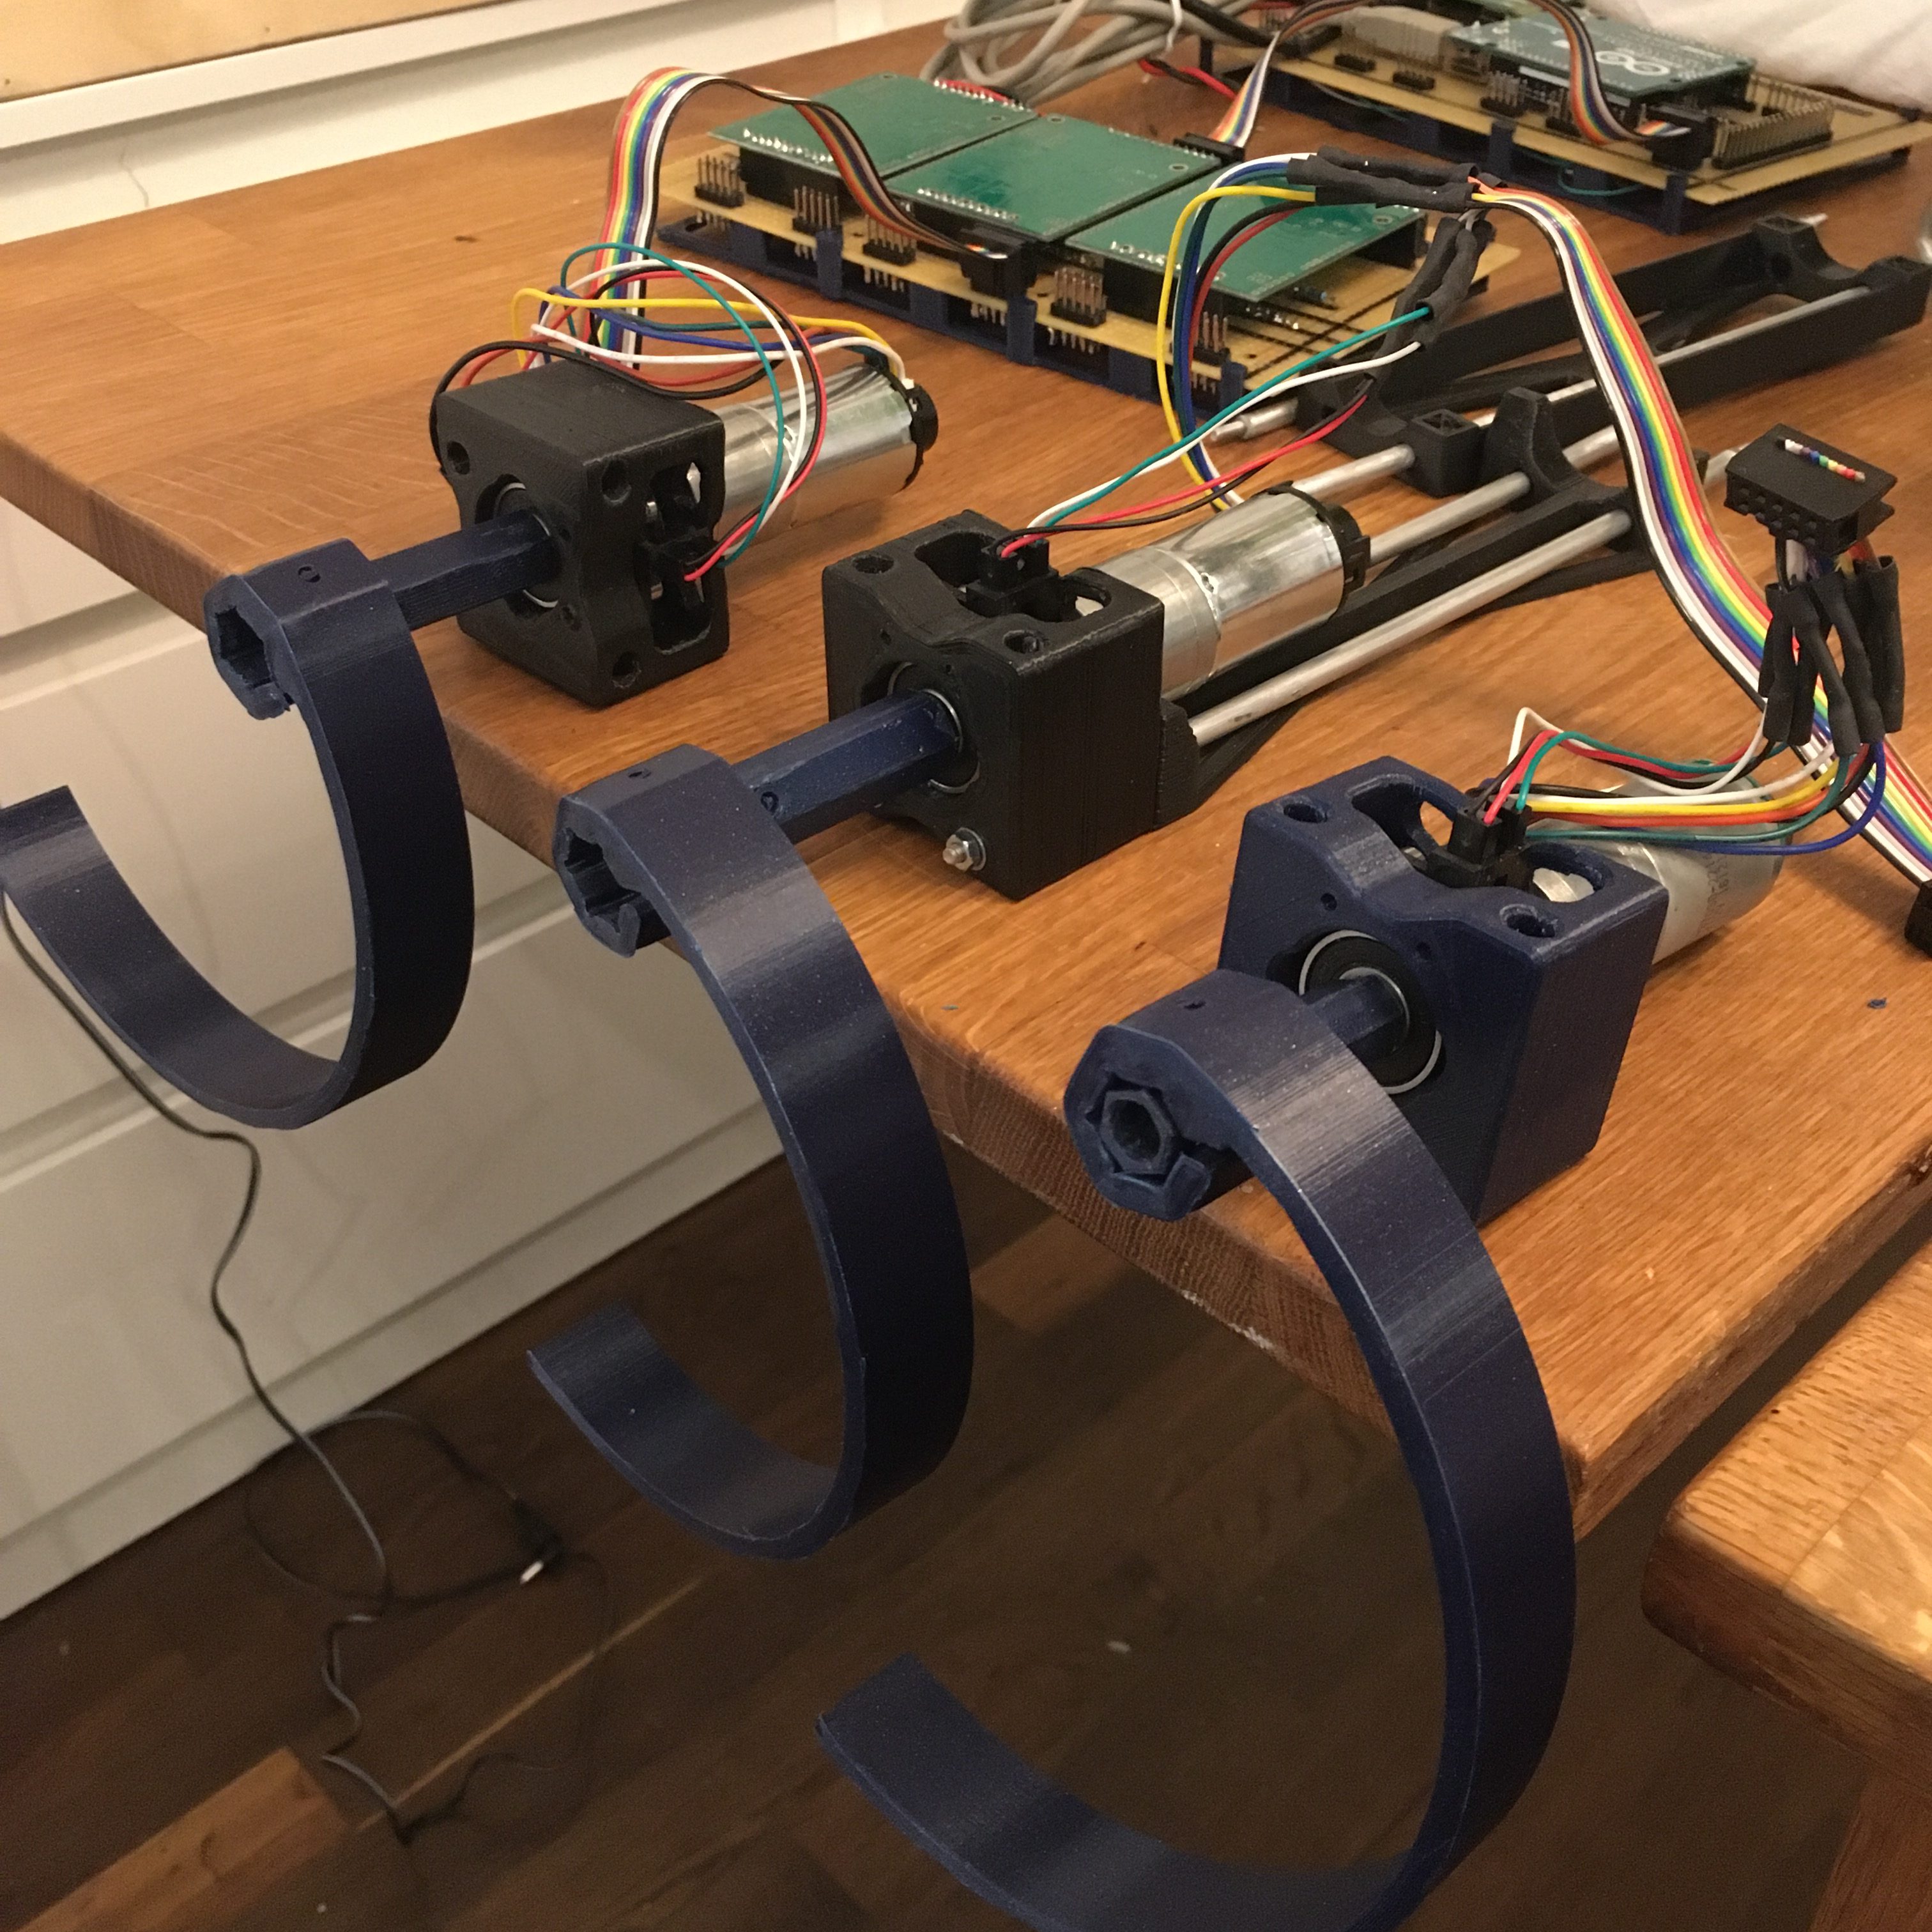
Now, these are three leg joints with short axels. What about the long axels? Well, it turns out that if you drill a hole deep enough, your screwdrivers don’t work……

Yeah, so I had some setbacks. When putting it all together, I noticed that 3 of the legs moved nicely, but the other three did not move well at all and I could see the plastic flex as the motors turned.
I had clearly made one of the simple beginner mistakes. I had designed a stiff design that required tight tolerances, without having the manufacturing techniques to get tight tolerances. The holes in the leg axels are simply drilled and that does not give me a round and precise enough hole for the axels to be perfectly colinear with the shaft. Then I tighten the set screw and I get a stiff and crooked machine. Not good at all.
So back to the shop for some experimentation. My first idea was to drill a small 2mm hole in the motor shafts and put a pin through there. That pin could then have gone through the setscrew holes in the axel externders. That would ave probably worked really well, except for the fact that the moror shafts are cearly made out of a super hard metal, so my brand new HSS drill only started smoking, made the wrong kind of noise and then snapped.
What do do?
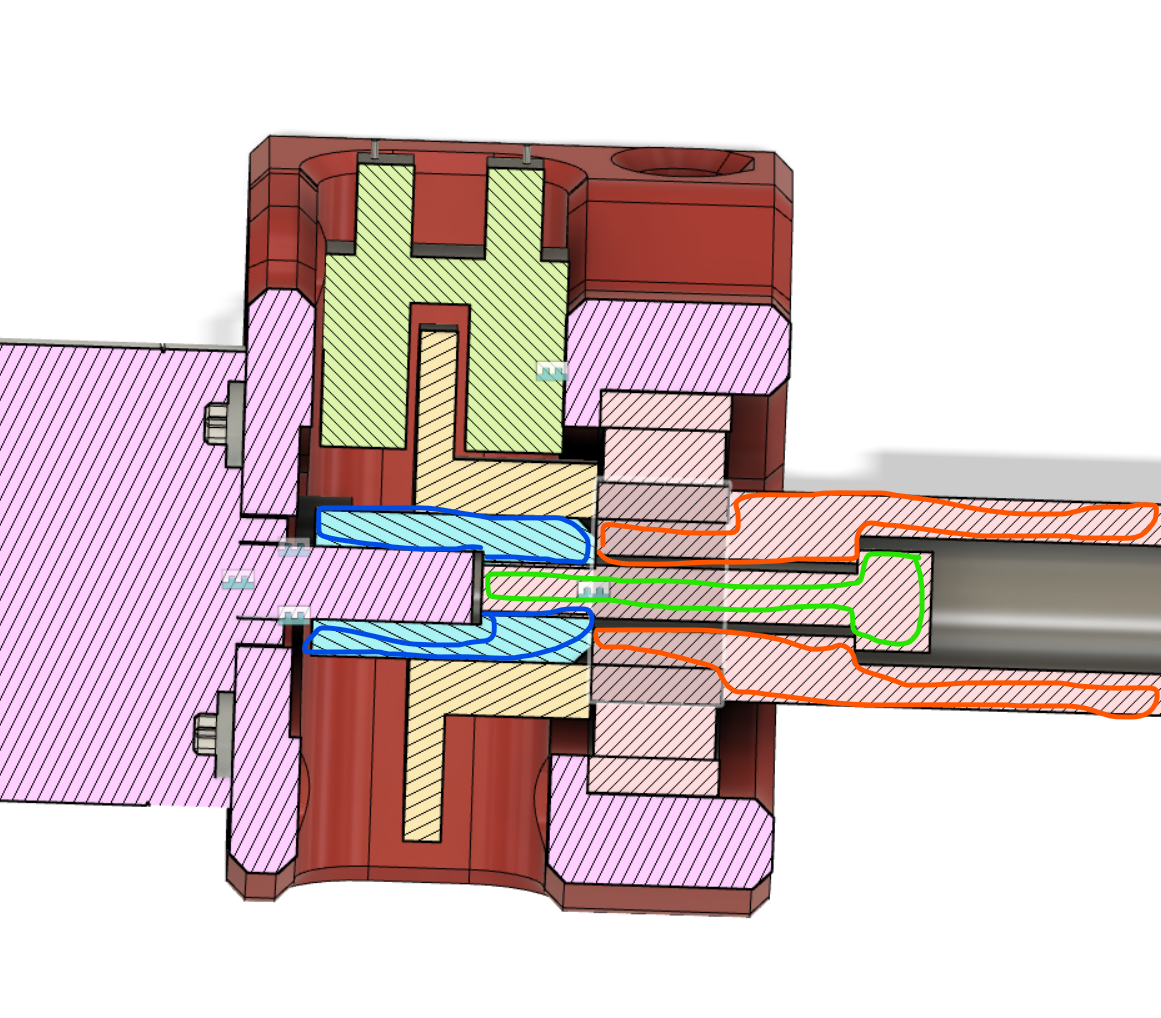
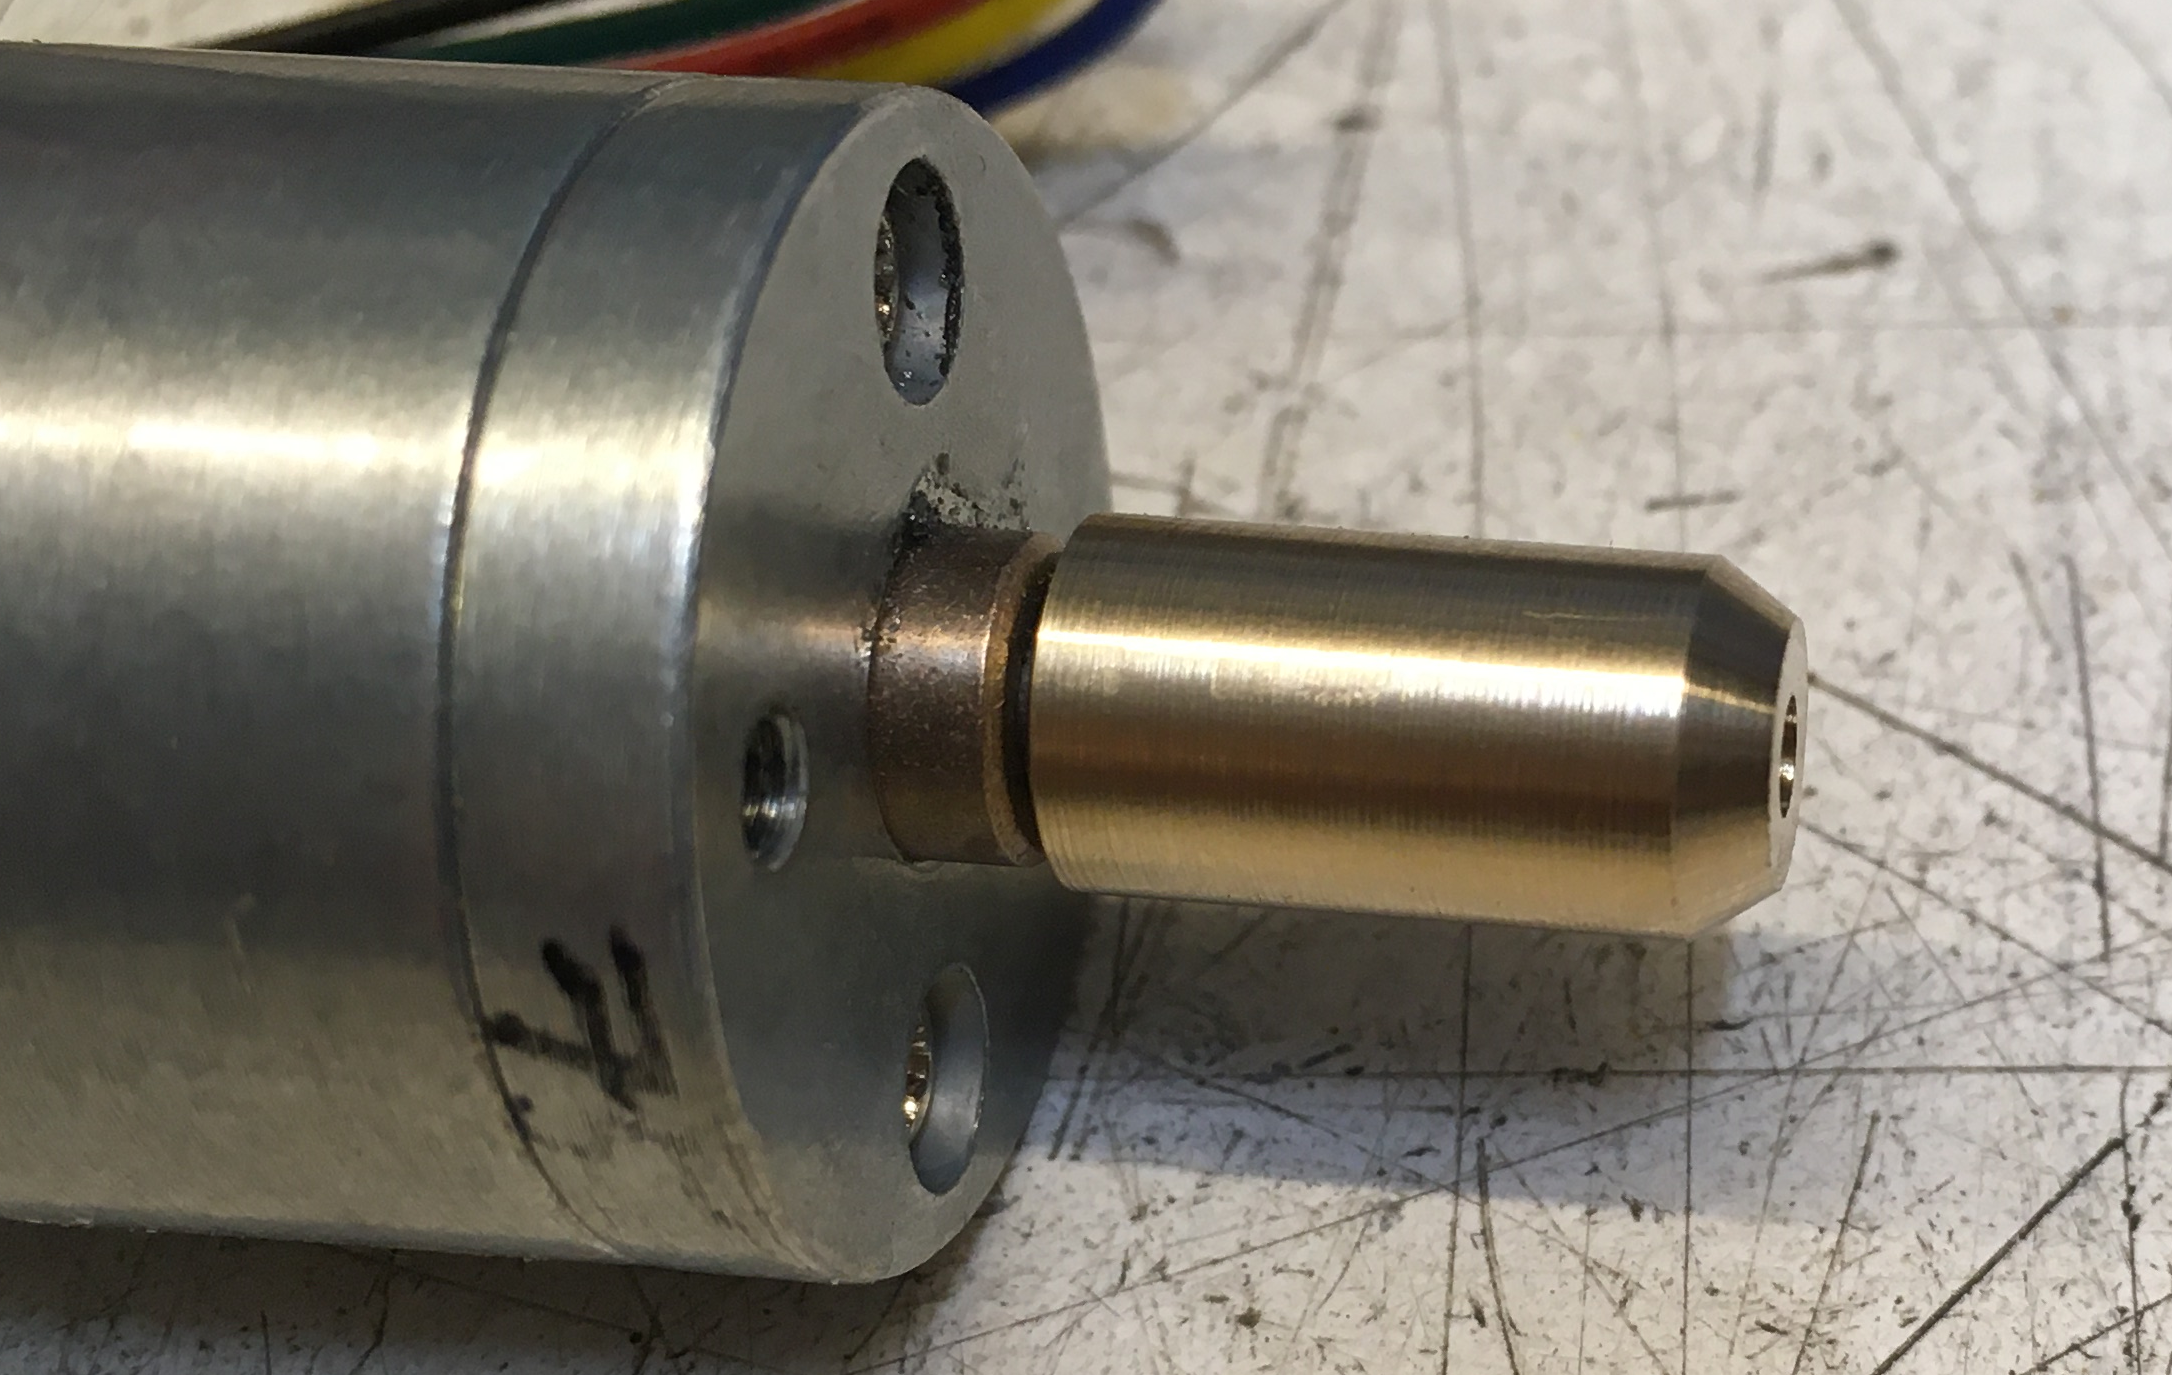
Well, back to design. After some thinking about mixing metal and plastig to get the stiffness I needed to grip the D-shaft of the motors, but then use plastic to get some flexibility. After some back and forth, here is where I landed. A brass collar around the motor shaft. A rather hefty plastic axel. And a m3x20 screw to bind it all together. A key in the brass collar and plastic axel should give some additional grip as the motor spins.
Here is the collar right out of the lathe. Stopscrew holes and the key for the axel are not done here. But I did those right after taking the picture.
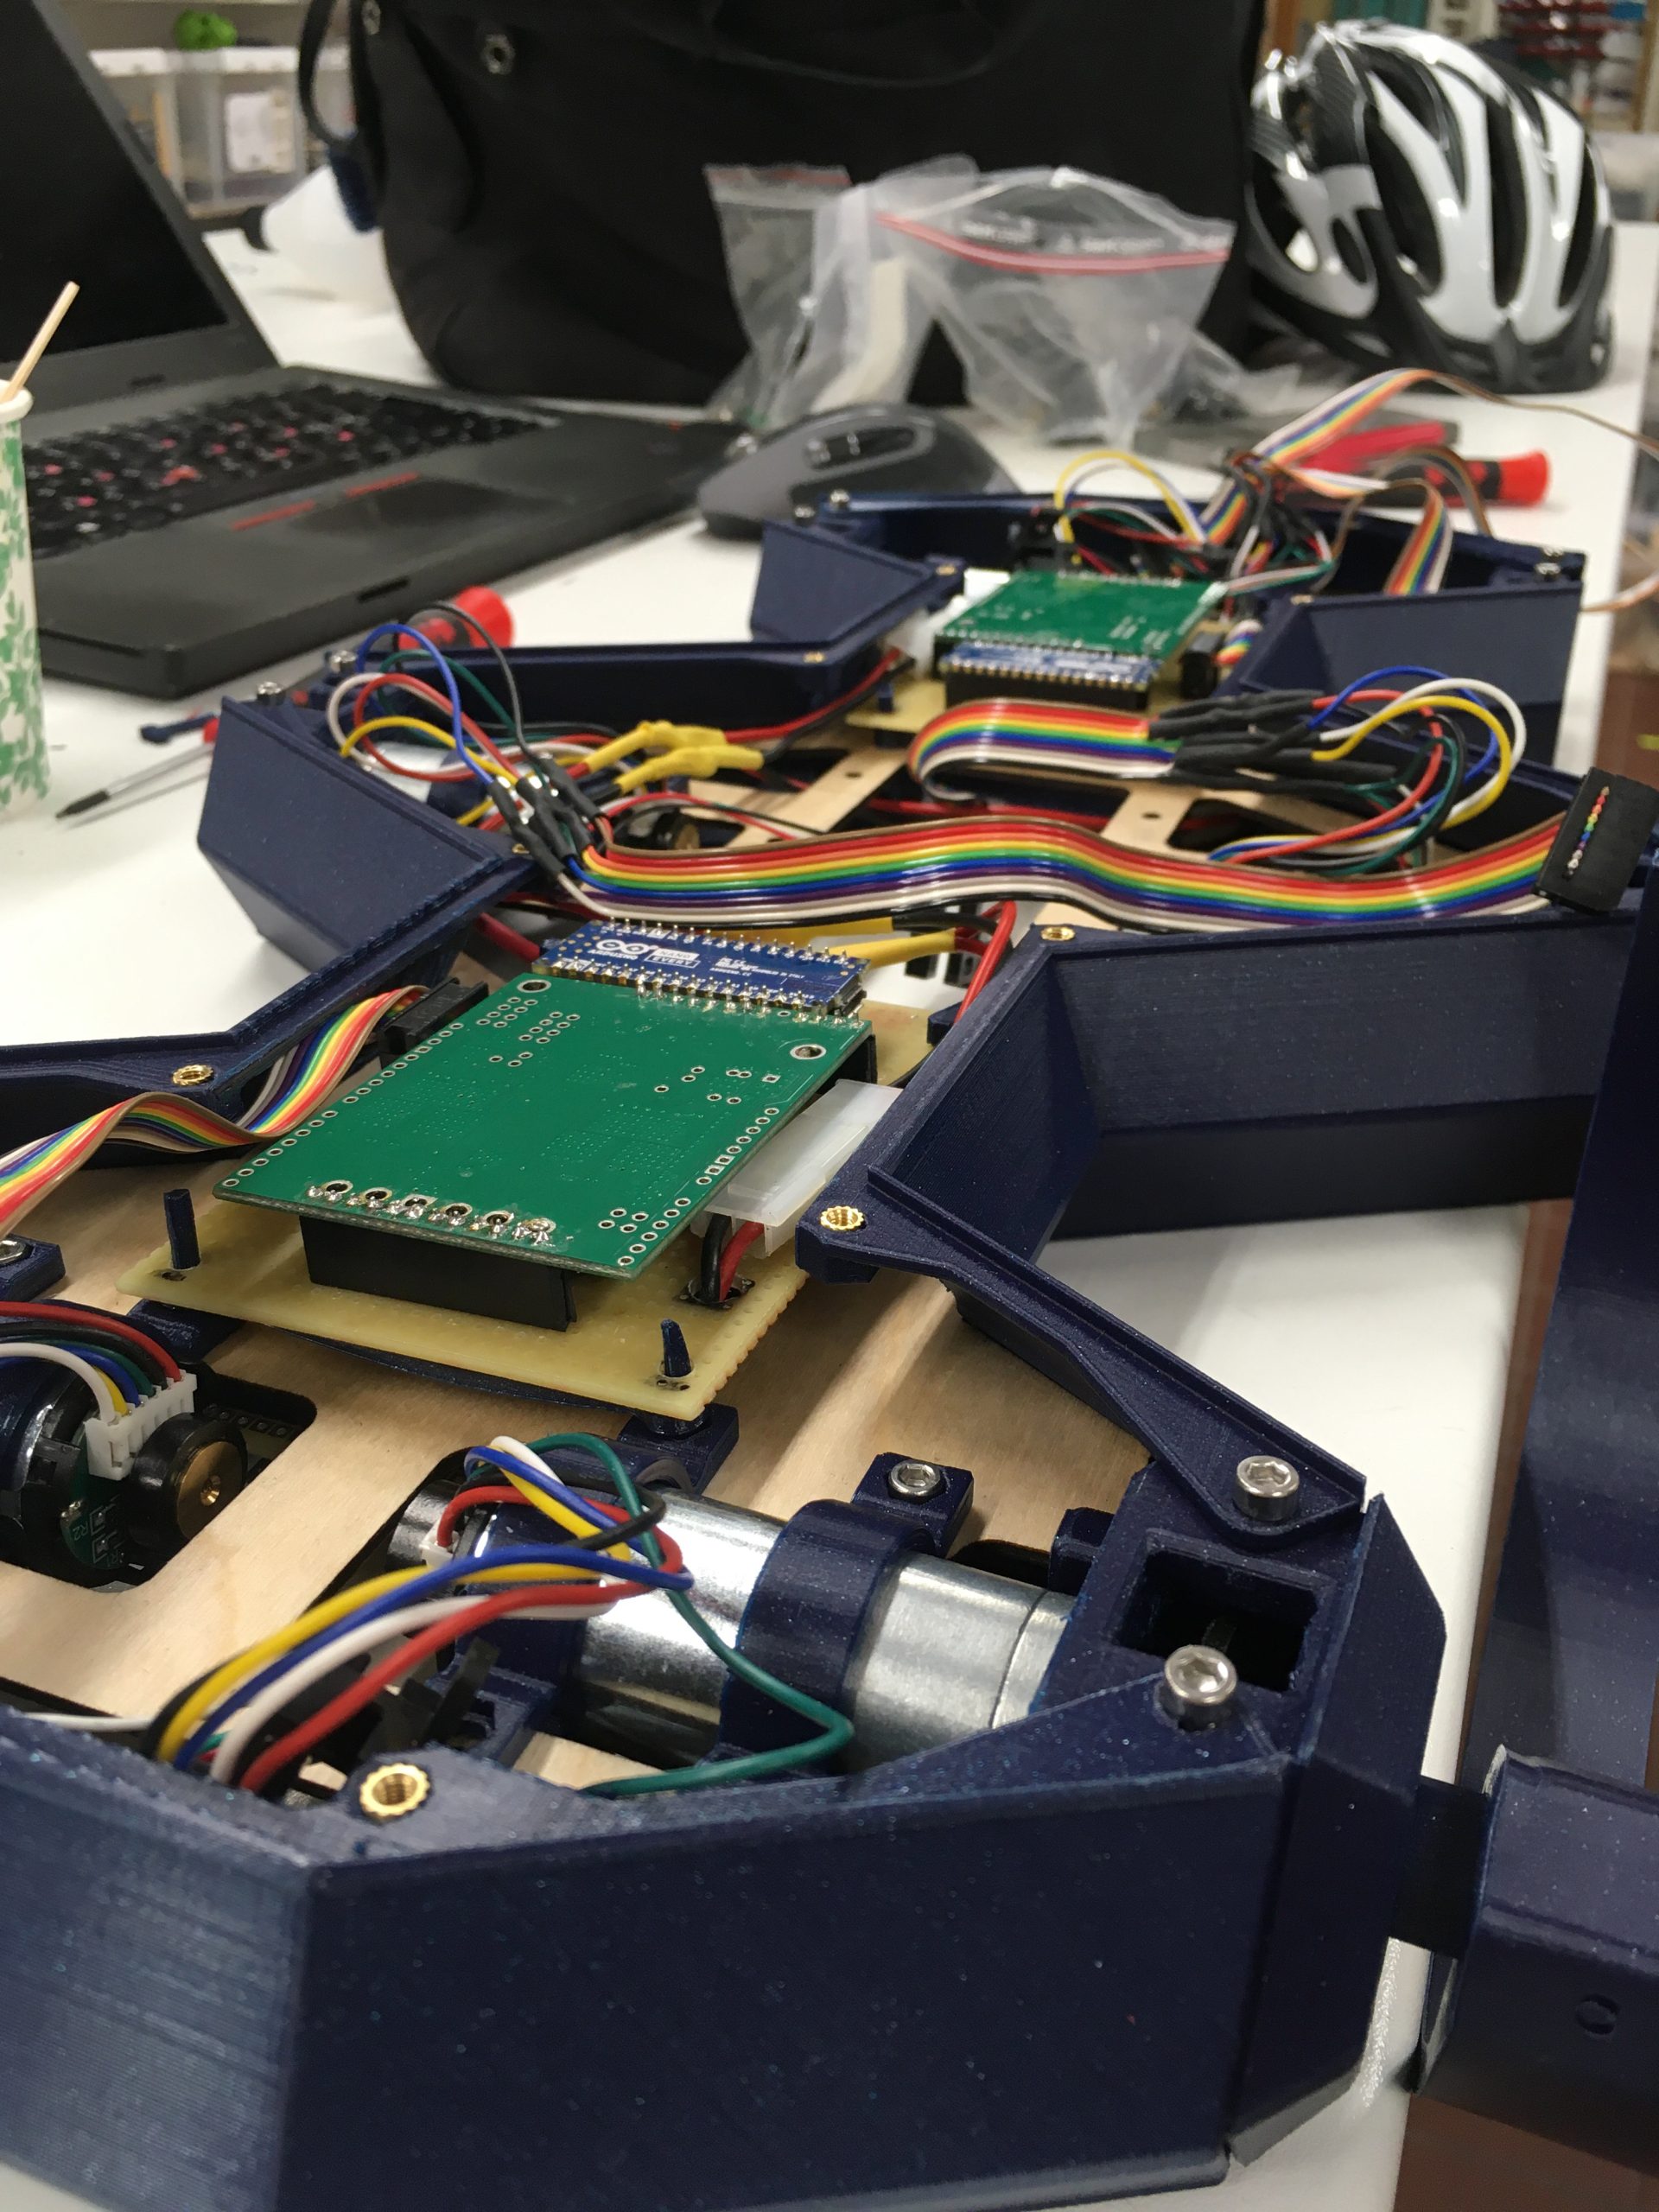
Yesterday I wrapped the controller board as well. Now, all connections are in place on both boards.
I checked for shorts and found one, so I hope that was the only one….

I also collected the 3d-printed covers to protect the wires above. A single quick move with a screwdriver could really mess things up otherwise….
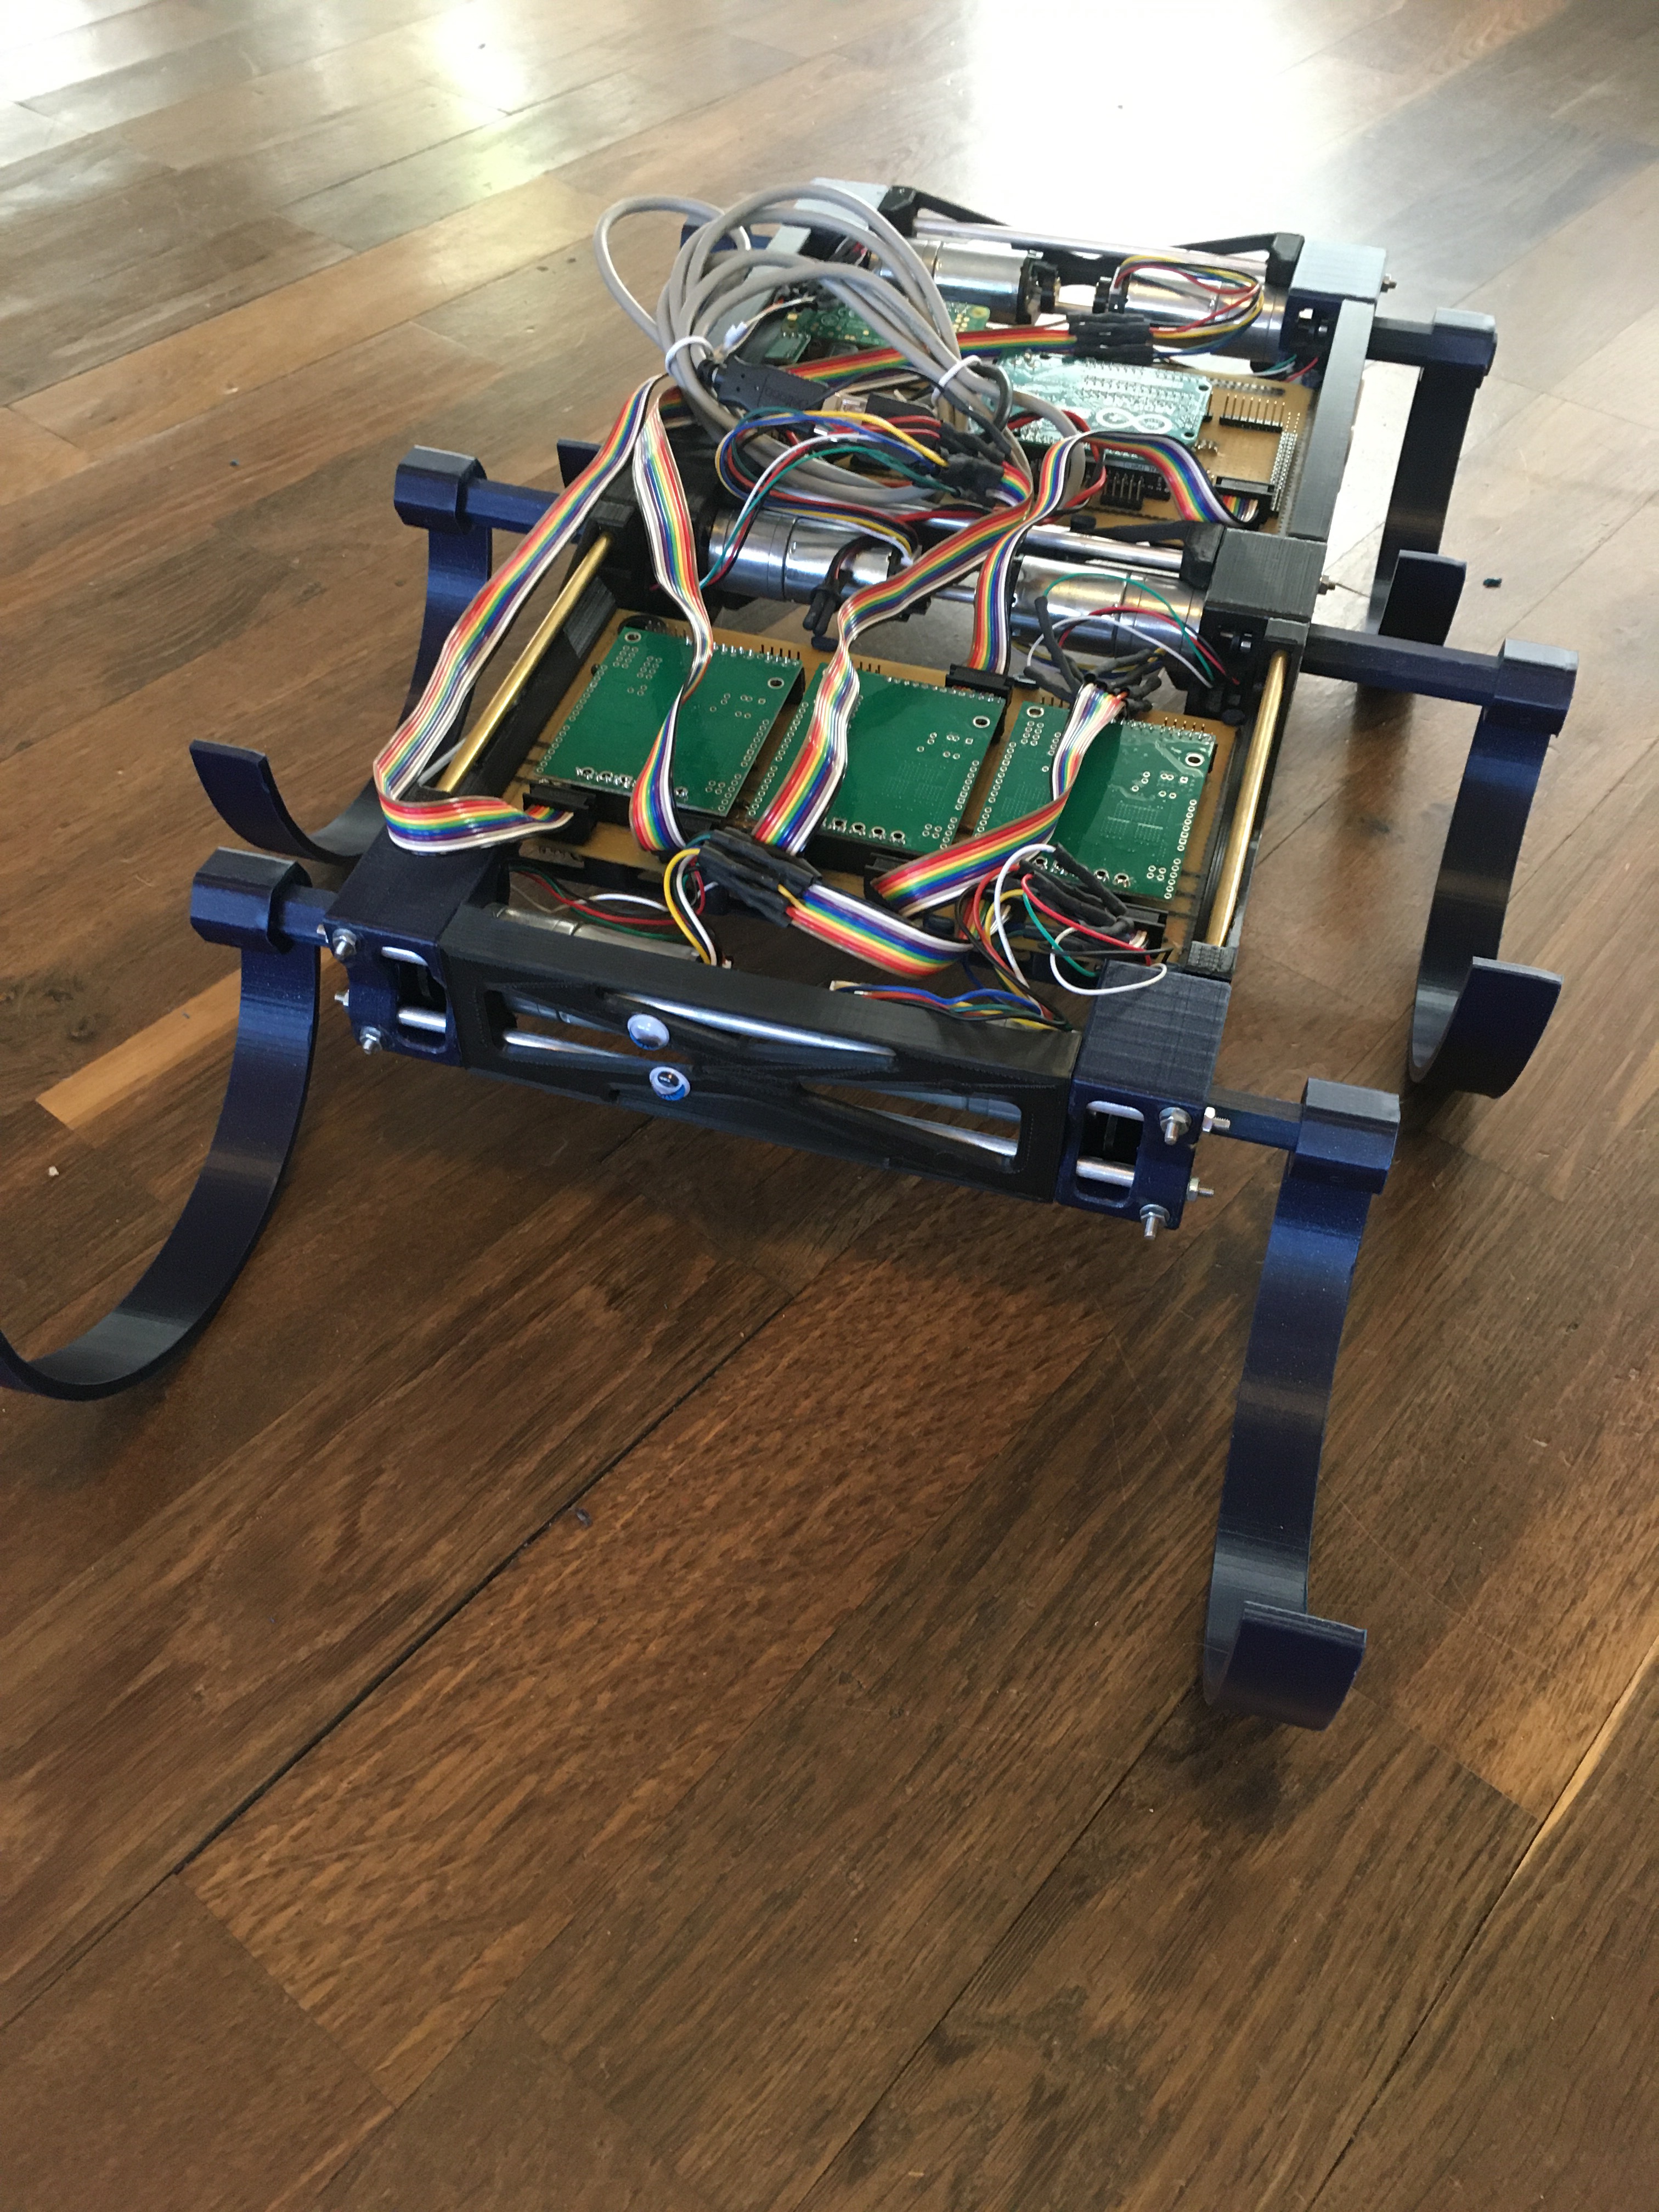
And with that, I am starting to put everything together.

So now I will slowly connect things one by one to see that it all works and nothing is broken…..
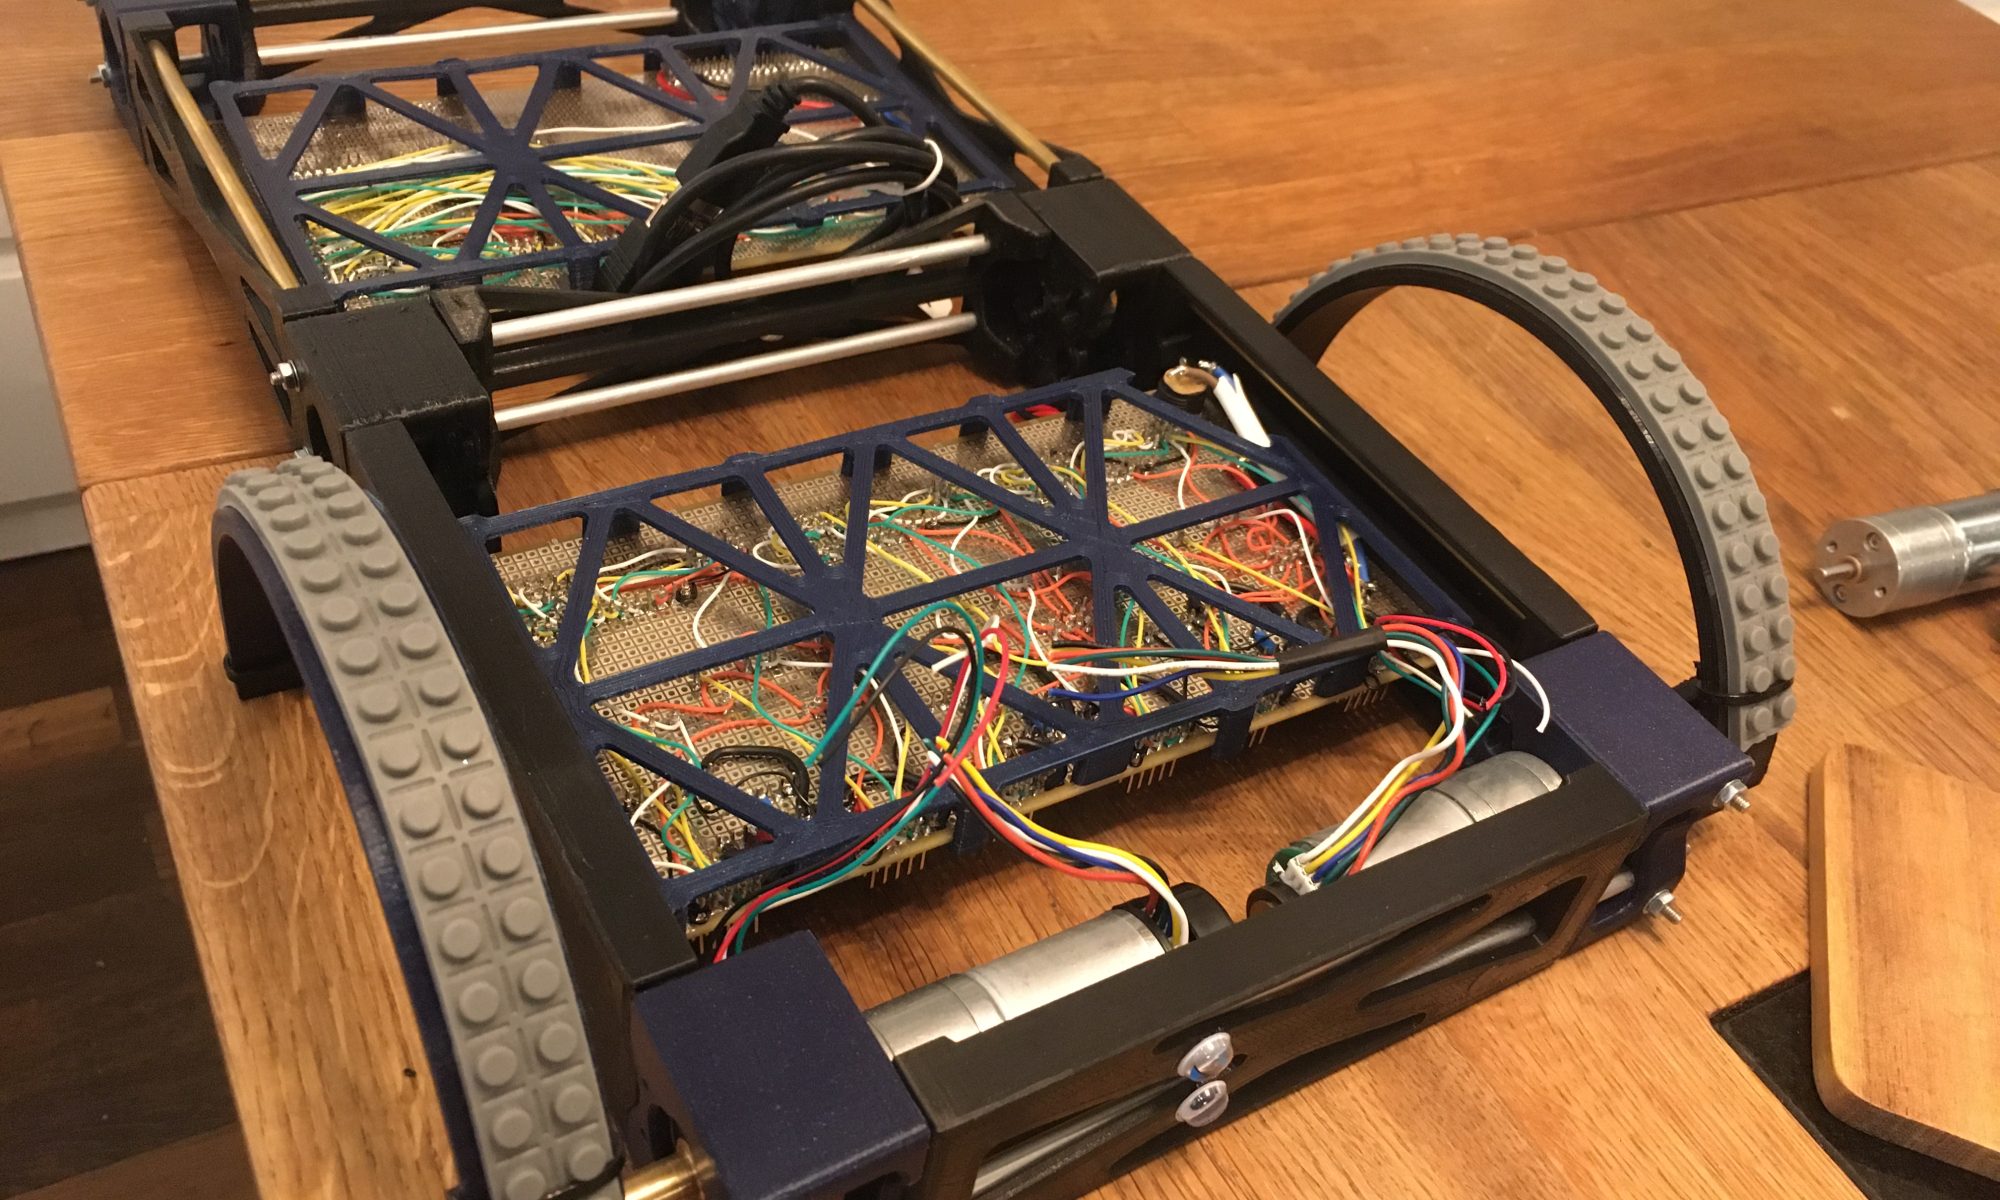
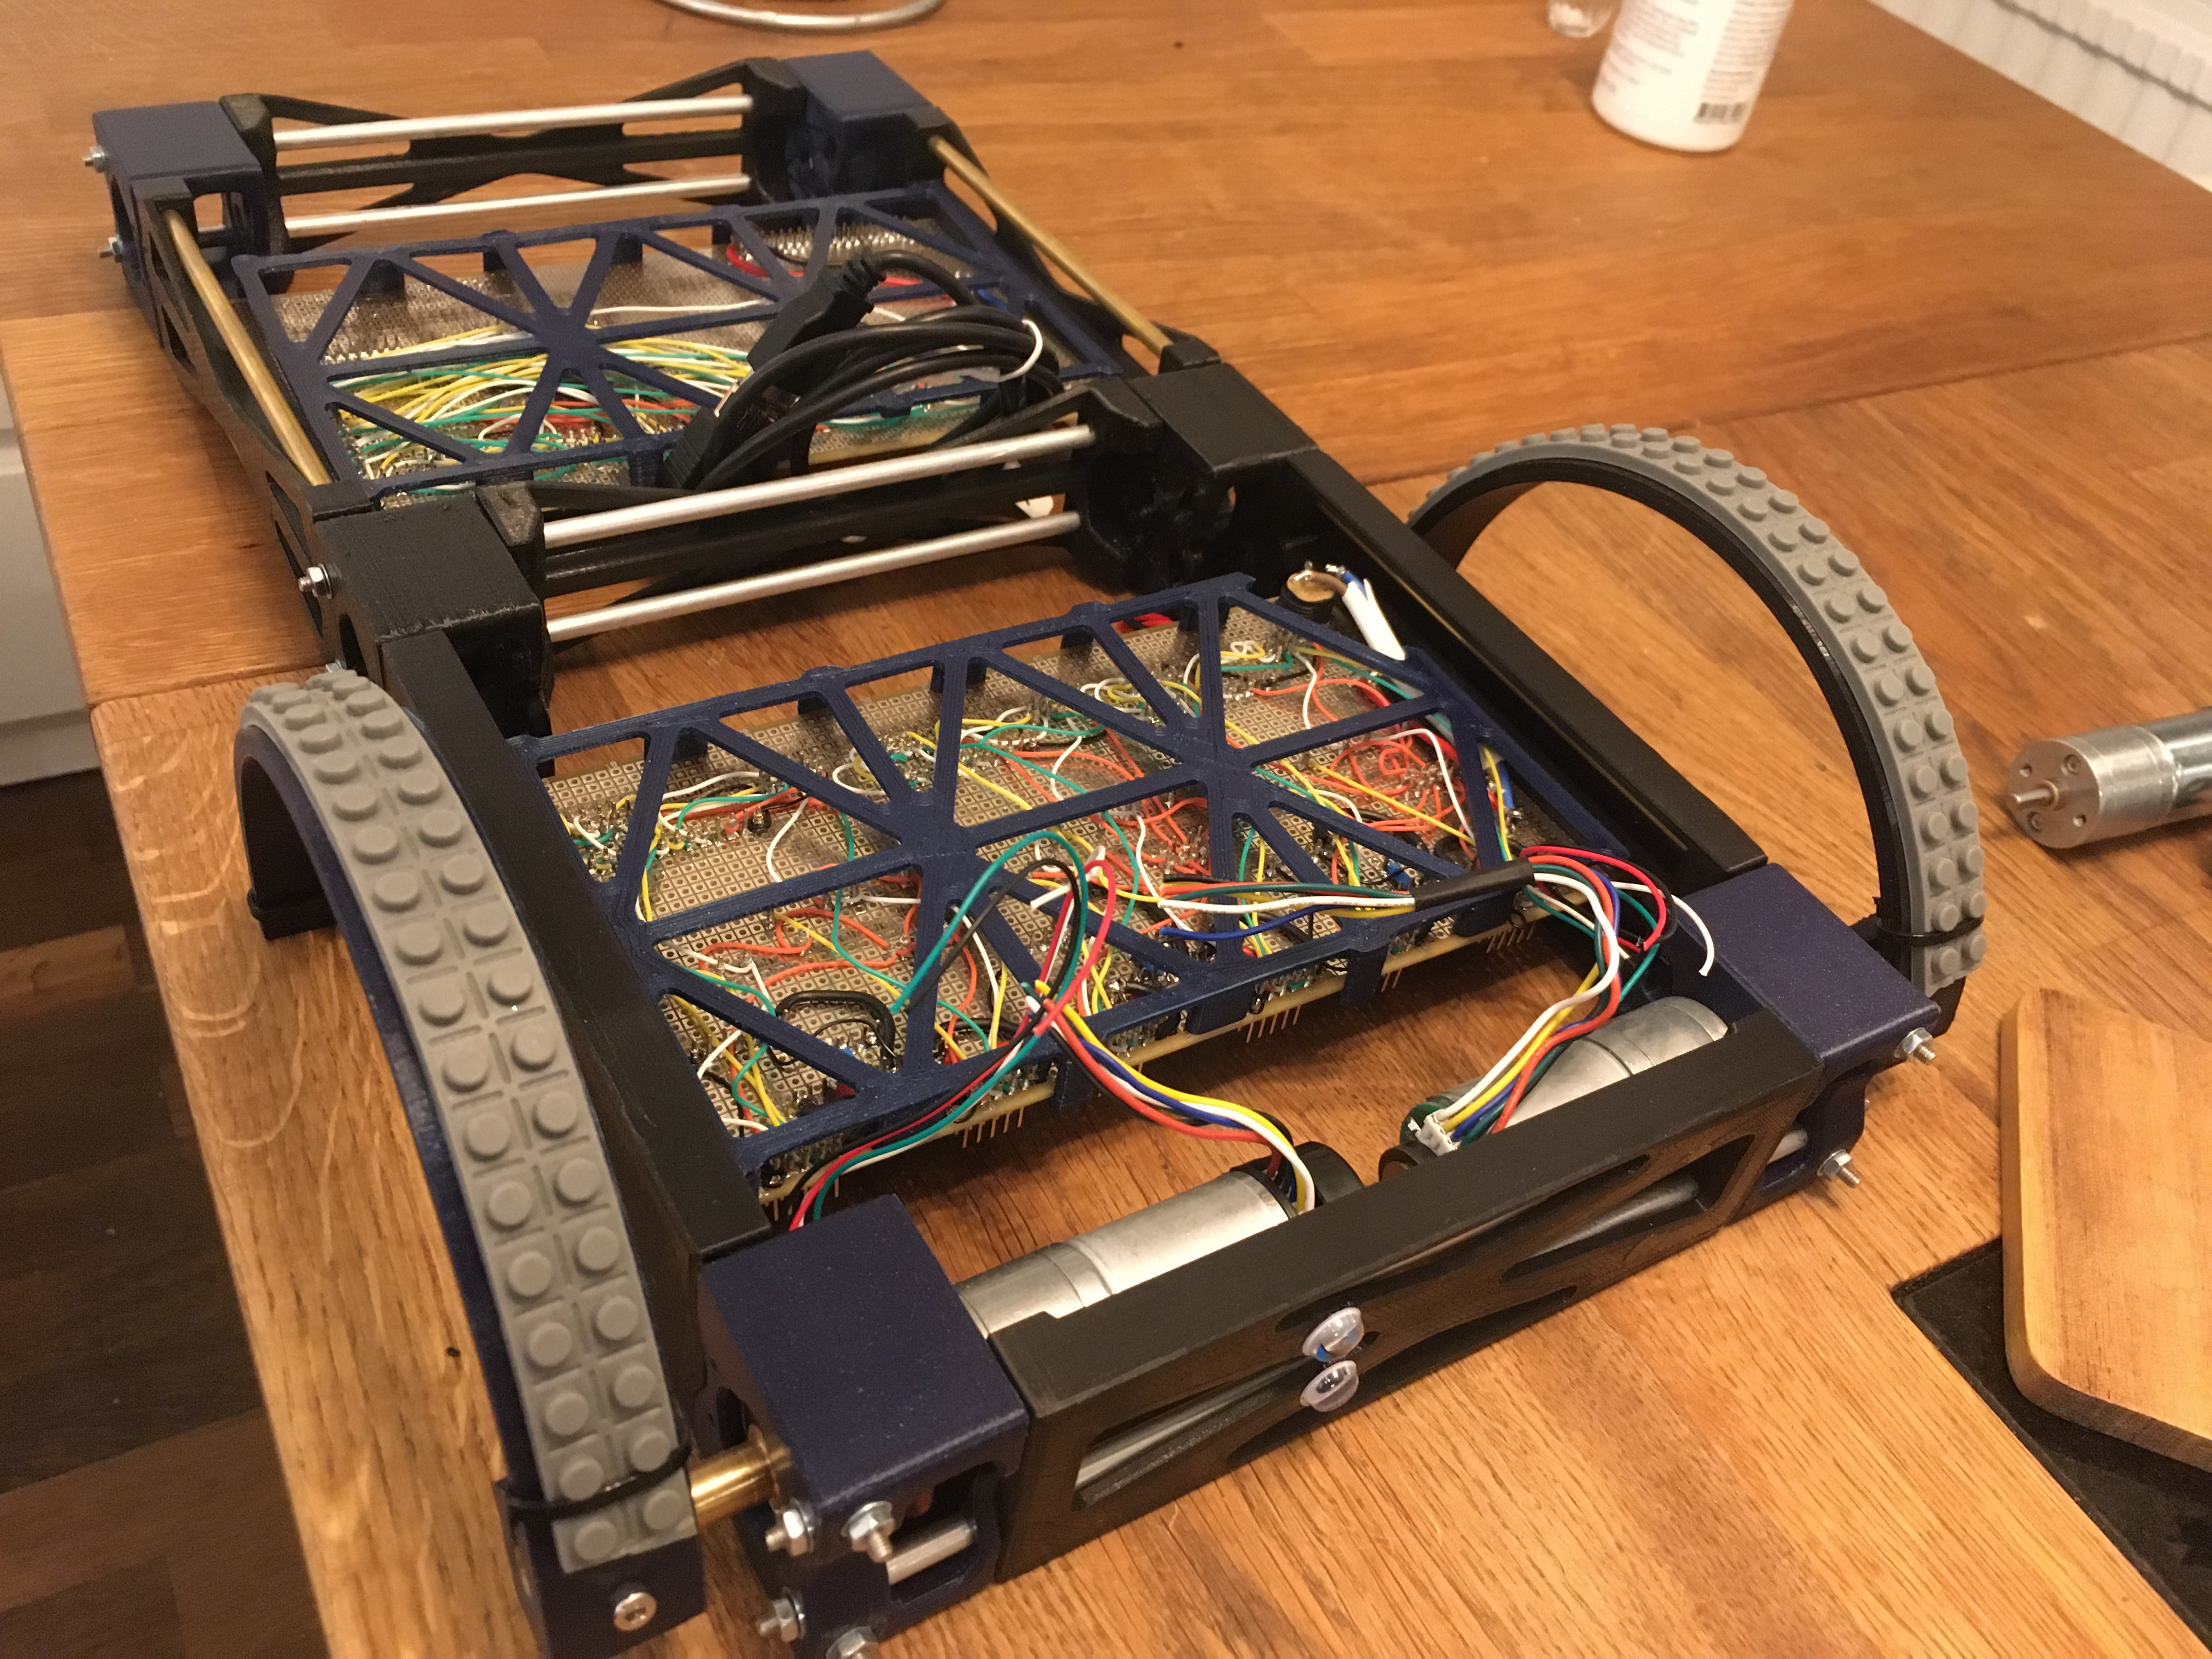
So I wrapped the entire driver board, and it worked perfectly on the first test. So now I have a board with three dual-driver cards that can power and controll a total of 6 motors complete with all of their detectors.

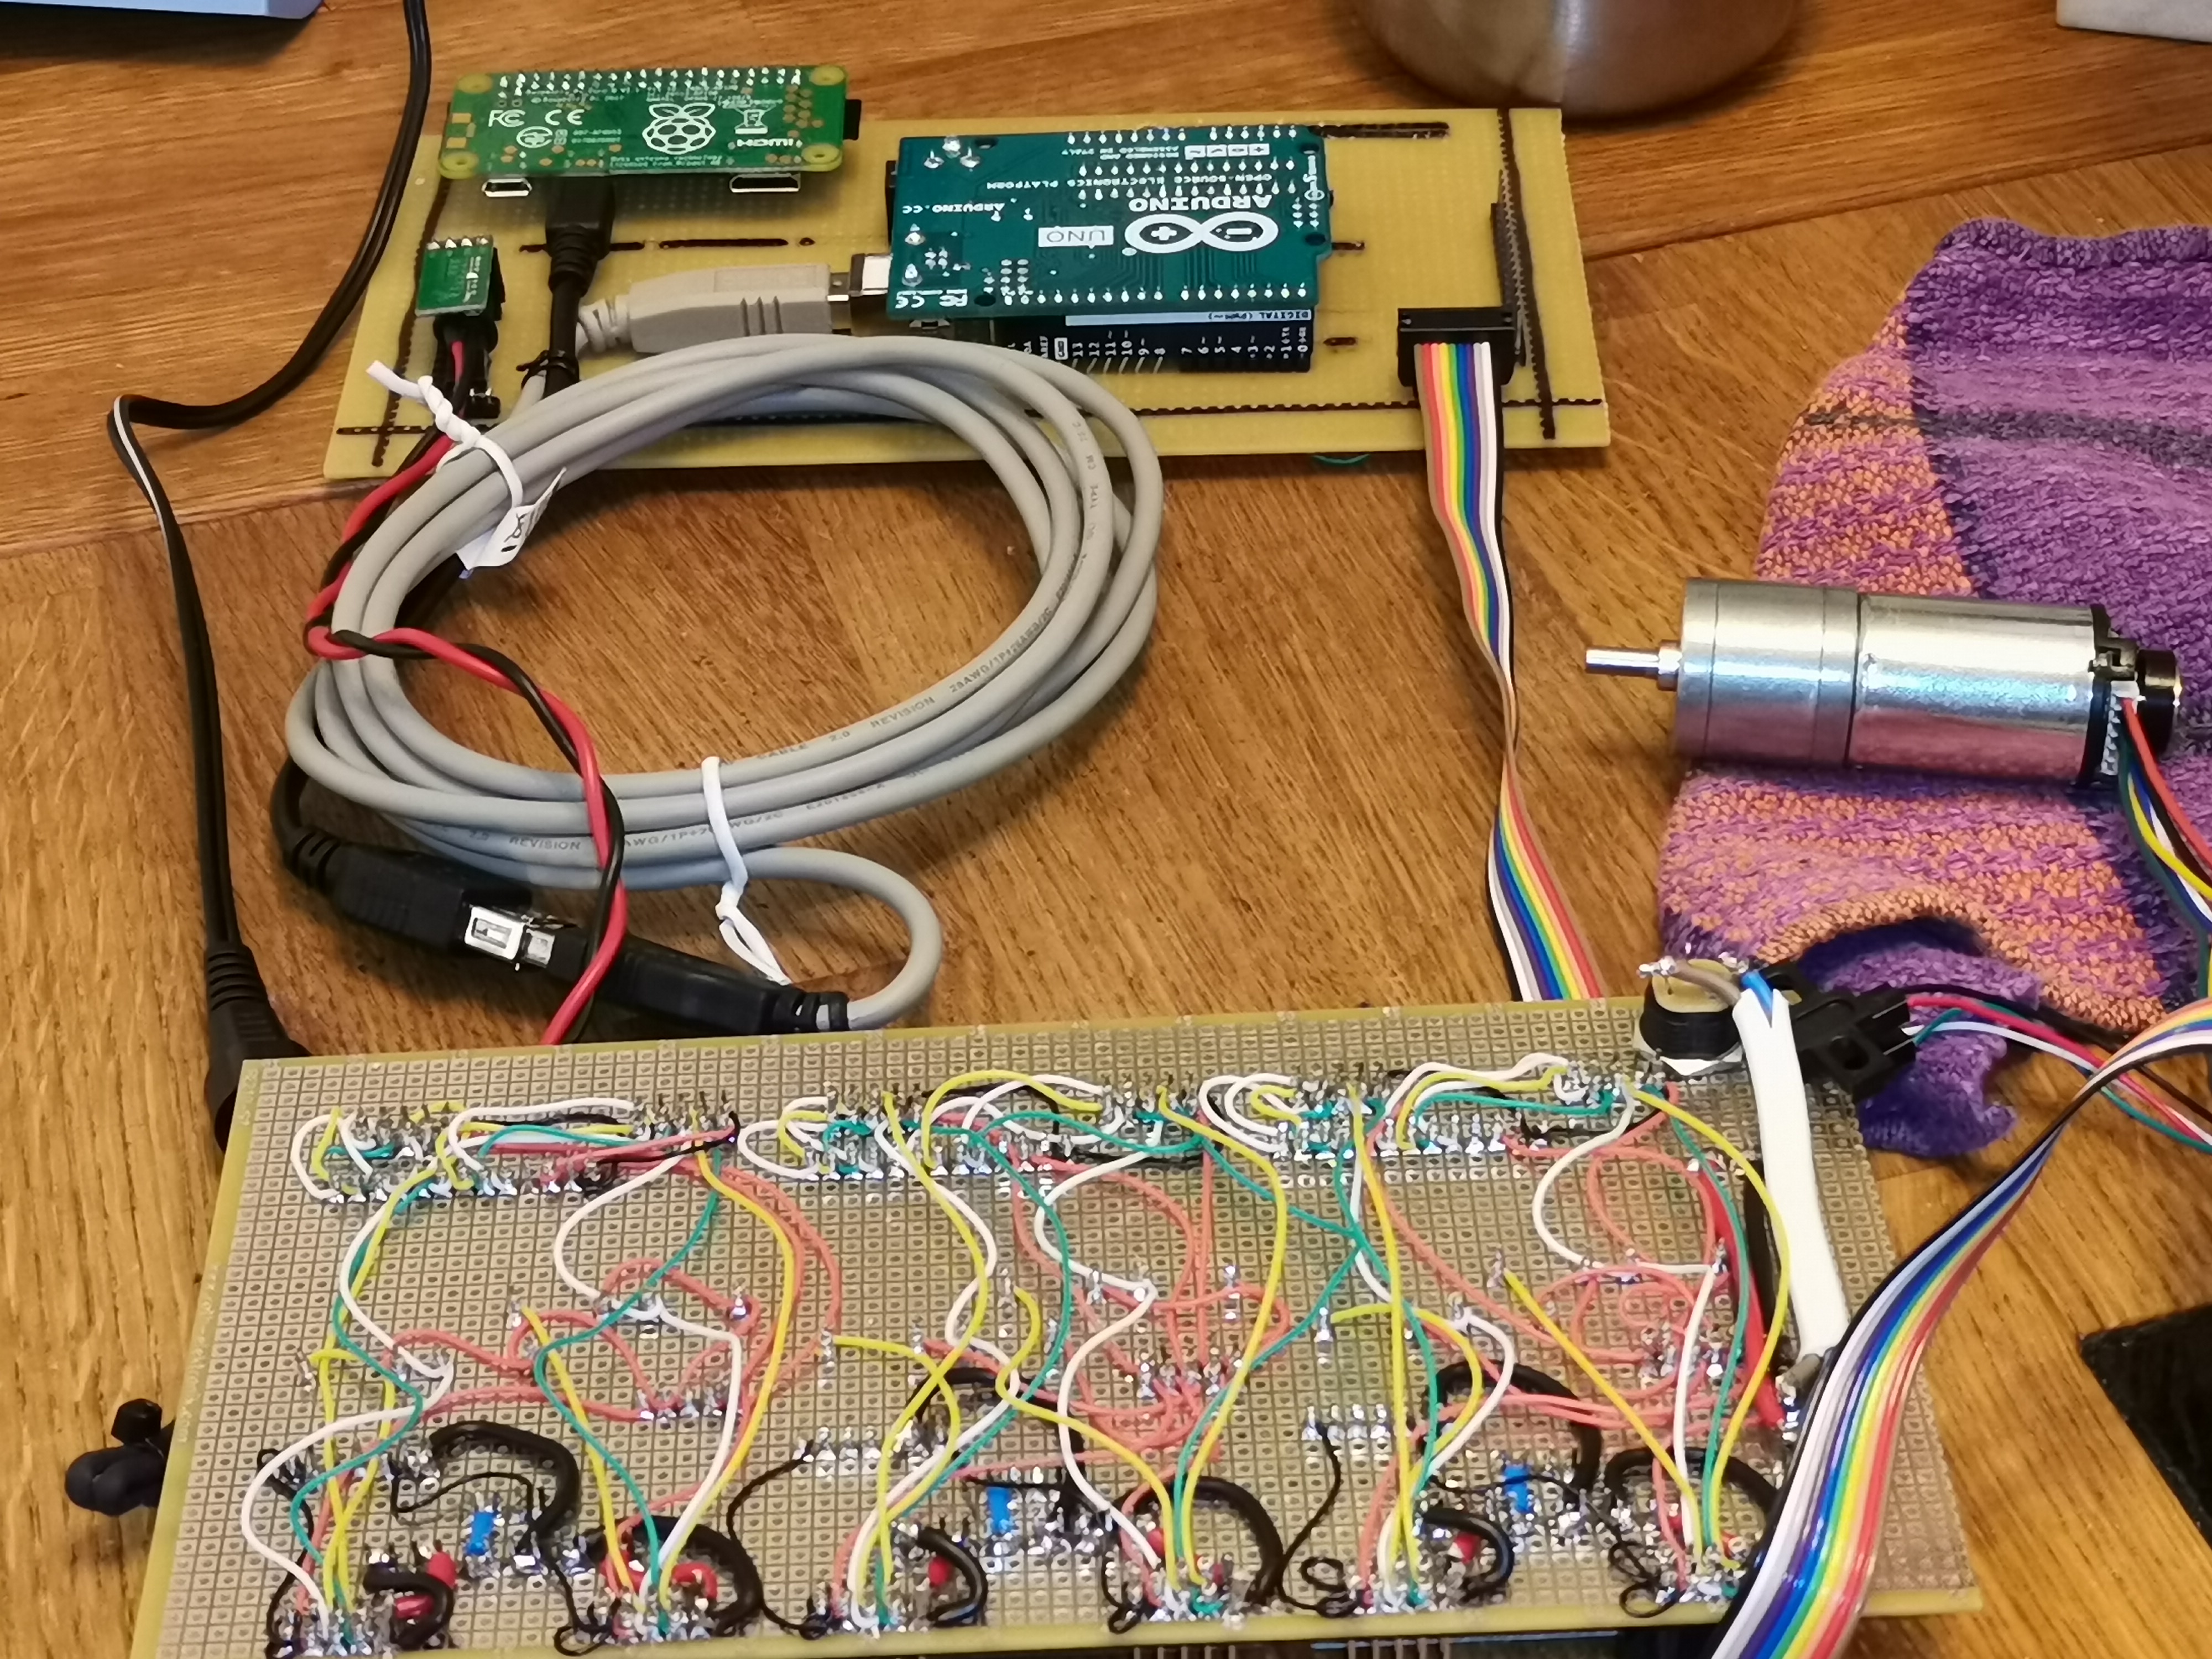
Also, I don’t think I have uploaded a picture of the entire development setup. In the foreground, you see the backside of the powerboard with all of its wires. In the background, you see another board with two mini-computers on it. One is an Arduino that I use for the real-time stuff. Here you see an Uno mounted, which does not have enough pins to control all of the 6 motors (7 pins per motor means 42 pins, of which 6 analog-in and 6 PWM). So the plan is to place my Due there to be able to controll all motors at the same time.
But the real nice detail is the tiny little Raspberry Pi Zero W you see furthest away. In that super-tiny board is a completre computer, including Wifi. So I simply installed my development environment on there. As soon as it coot sup, it connects to my home WiFi and I can just telnet in and continue where I left off. No need to maintain a dev environment on my laptops (I have 2). Everythingis just there, guaranteed to be perfectly compatible.