So my RHex just needs software now, and it is more efficient to program at home. But I still wanted to get out of the house, so I went to the makerspace without any supplies.
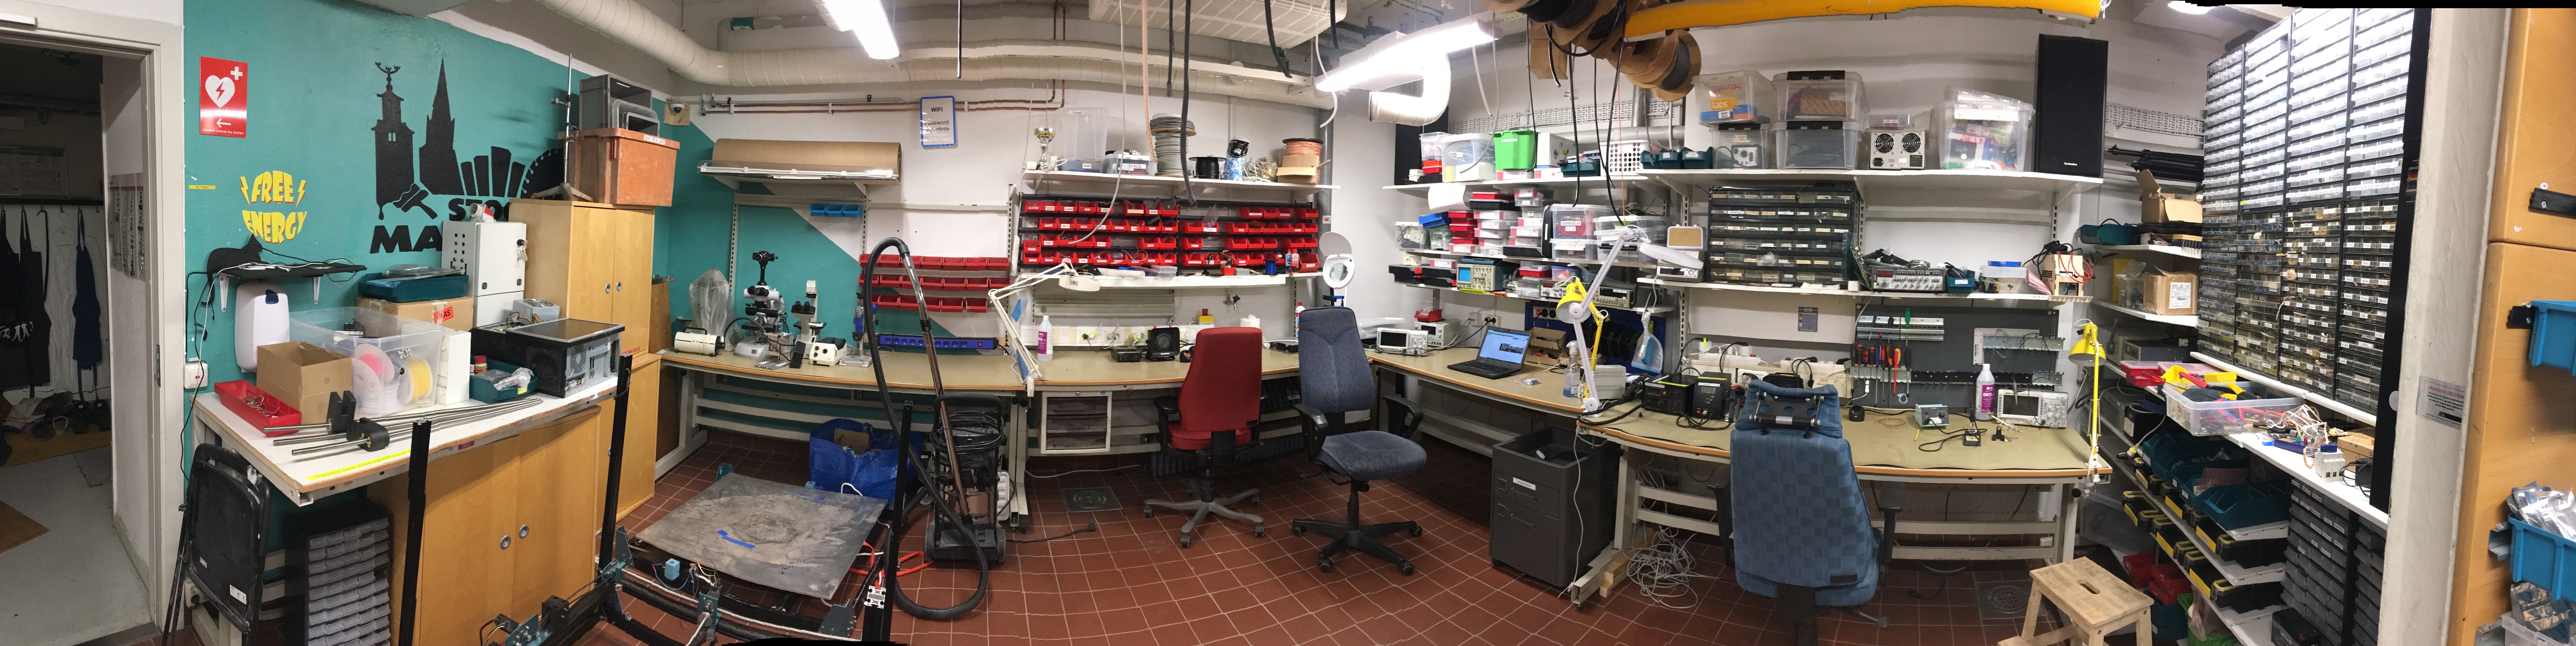
The electronics corner has been rather messy since the days of the big reorganization, so I took it upon myself to clean things up.
Now it looks way better.
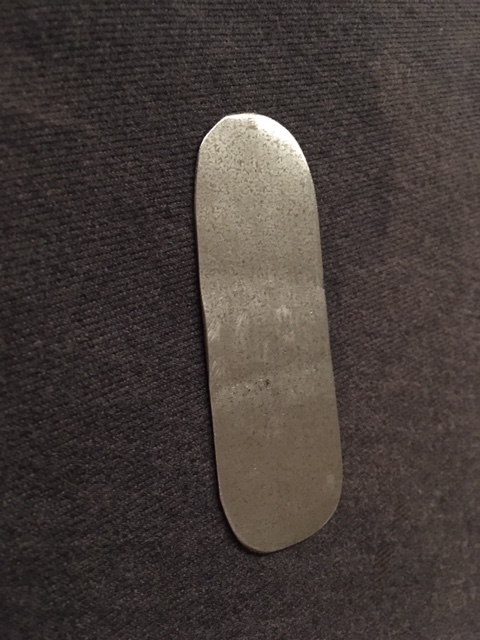
Also, I made a piece of metal to make a clip for the garage door remote controll.
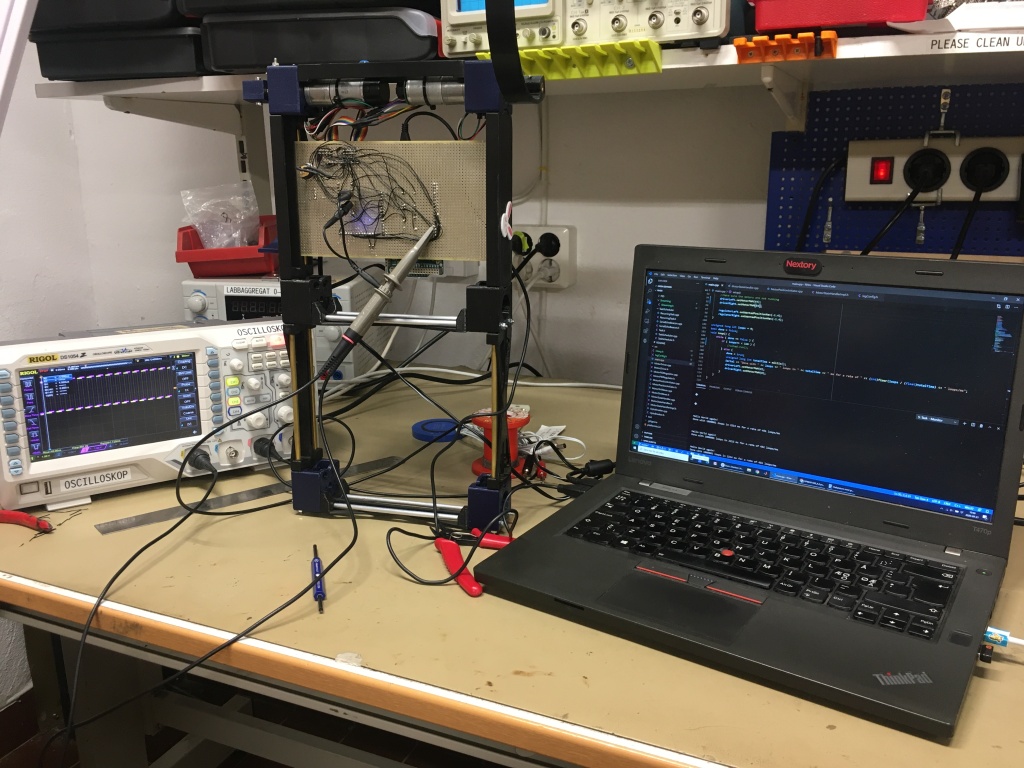
So I had some issues with the software not behaving as I expected, and I realized that the signals from the encoders and breakers might now be as clean as needed now that the driving voltage has been dropped from 5 to 3.3V. The encoders even state that they need 3.5V minimum to operate.
So to the Makerspace to check out all of the signals on the oscilloscope. With a change of two resitors, the breaker signals became clean and clear. And the encoder seemed to work fine on 3.3V as well.
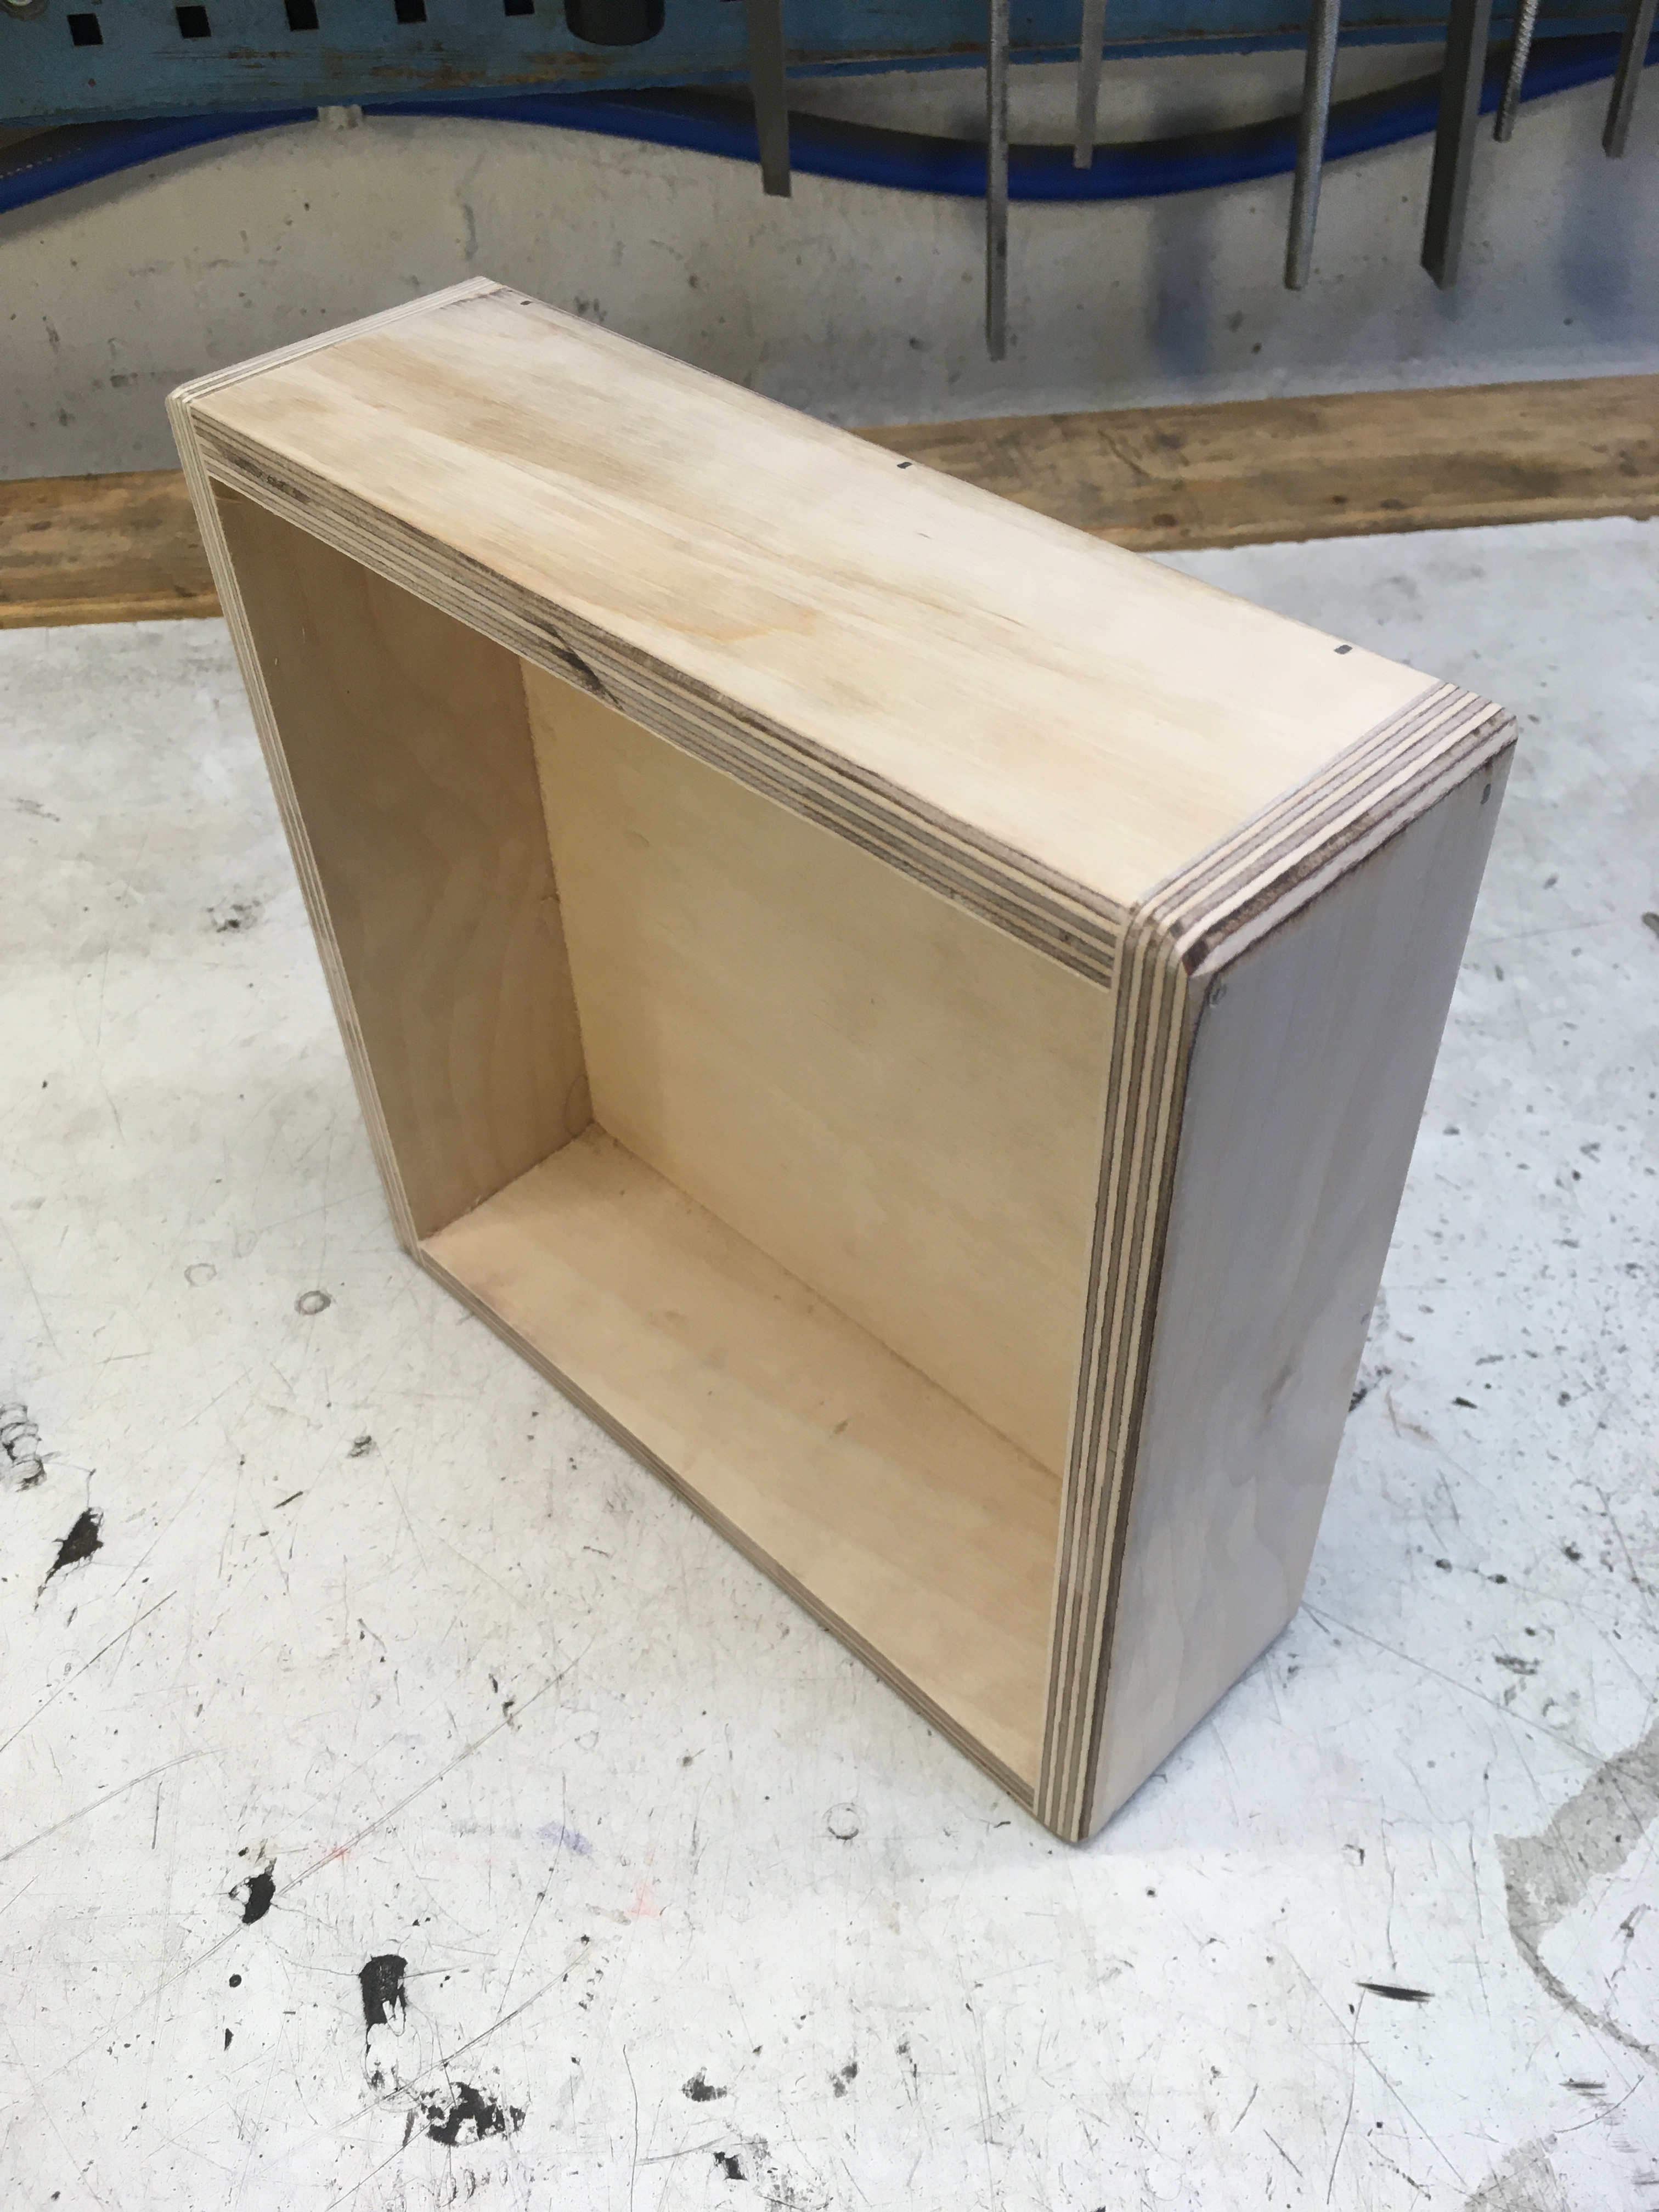
With some time to spare, I also built a small wooden box for a freezing block to keep butter cool in the summer. Plywood + table saw + glue + nailgun is a really powerful combination.
But why does the nail gun not shoot the nails all the way into the wood, I wonder? Oh well. The end result was good enough. 😀
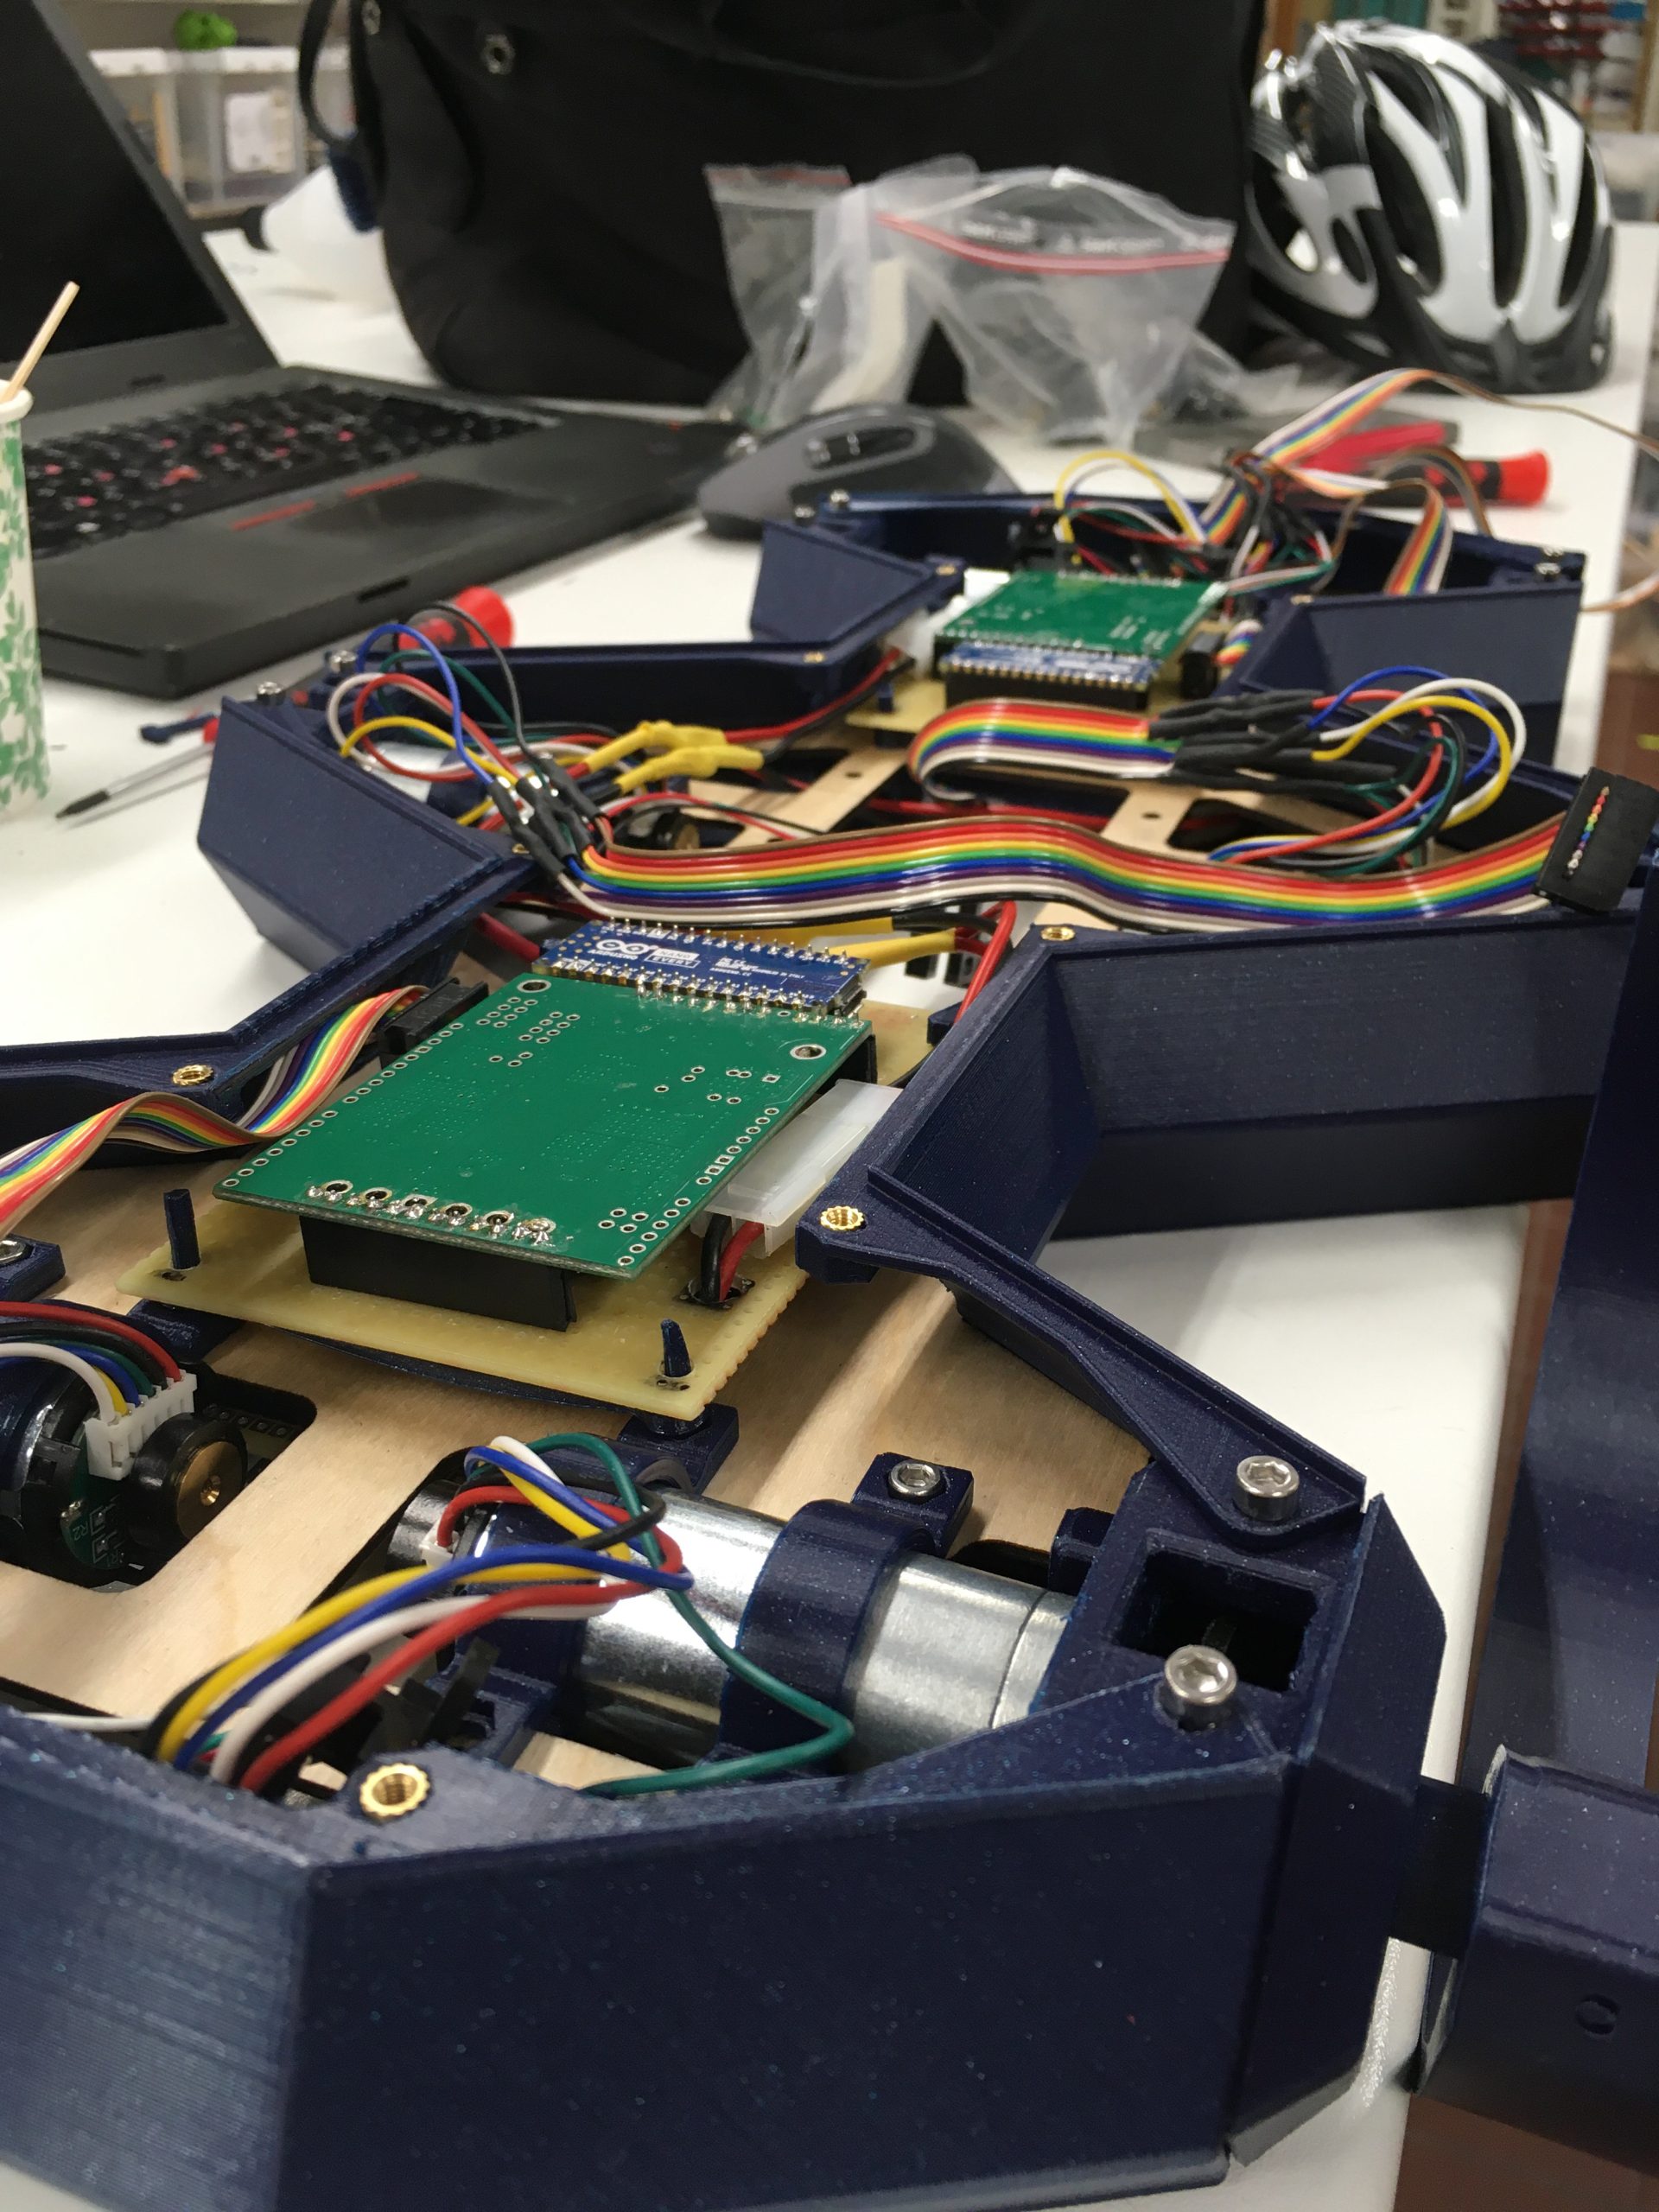
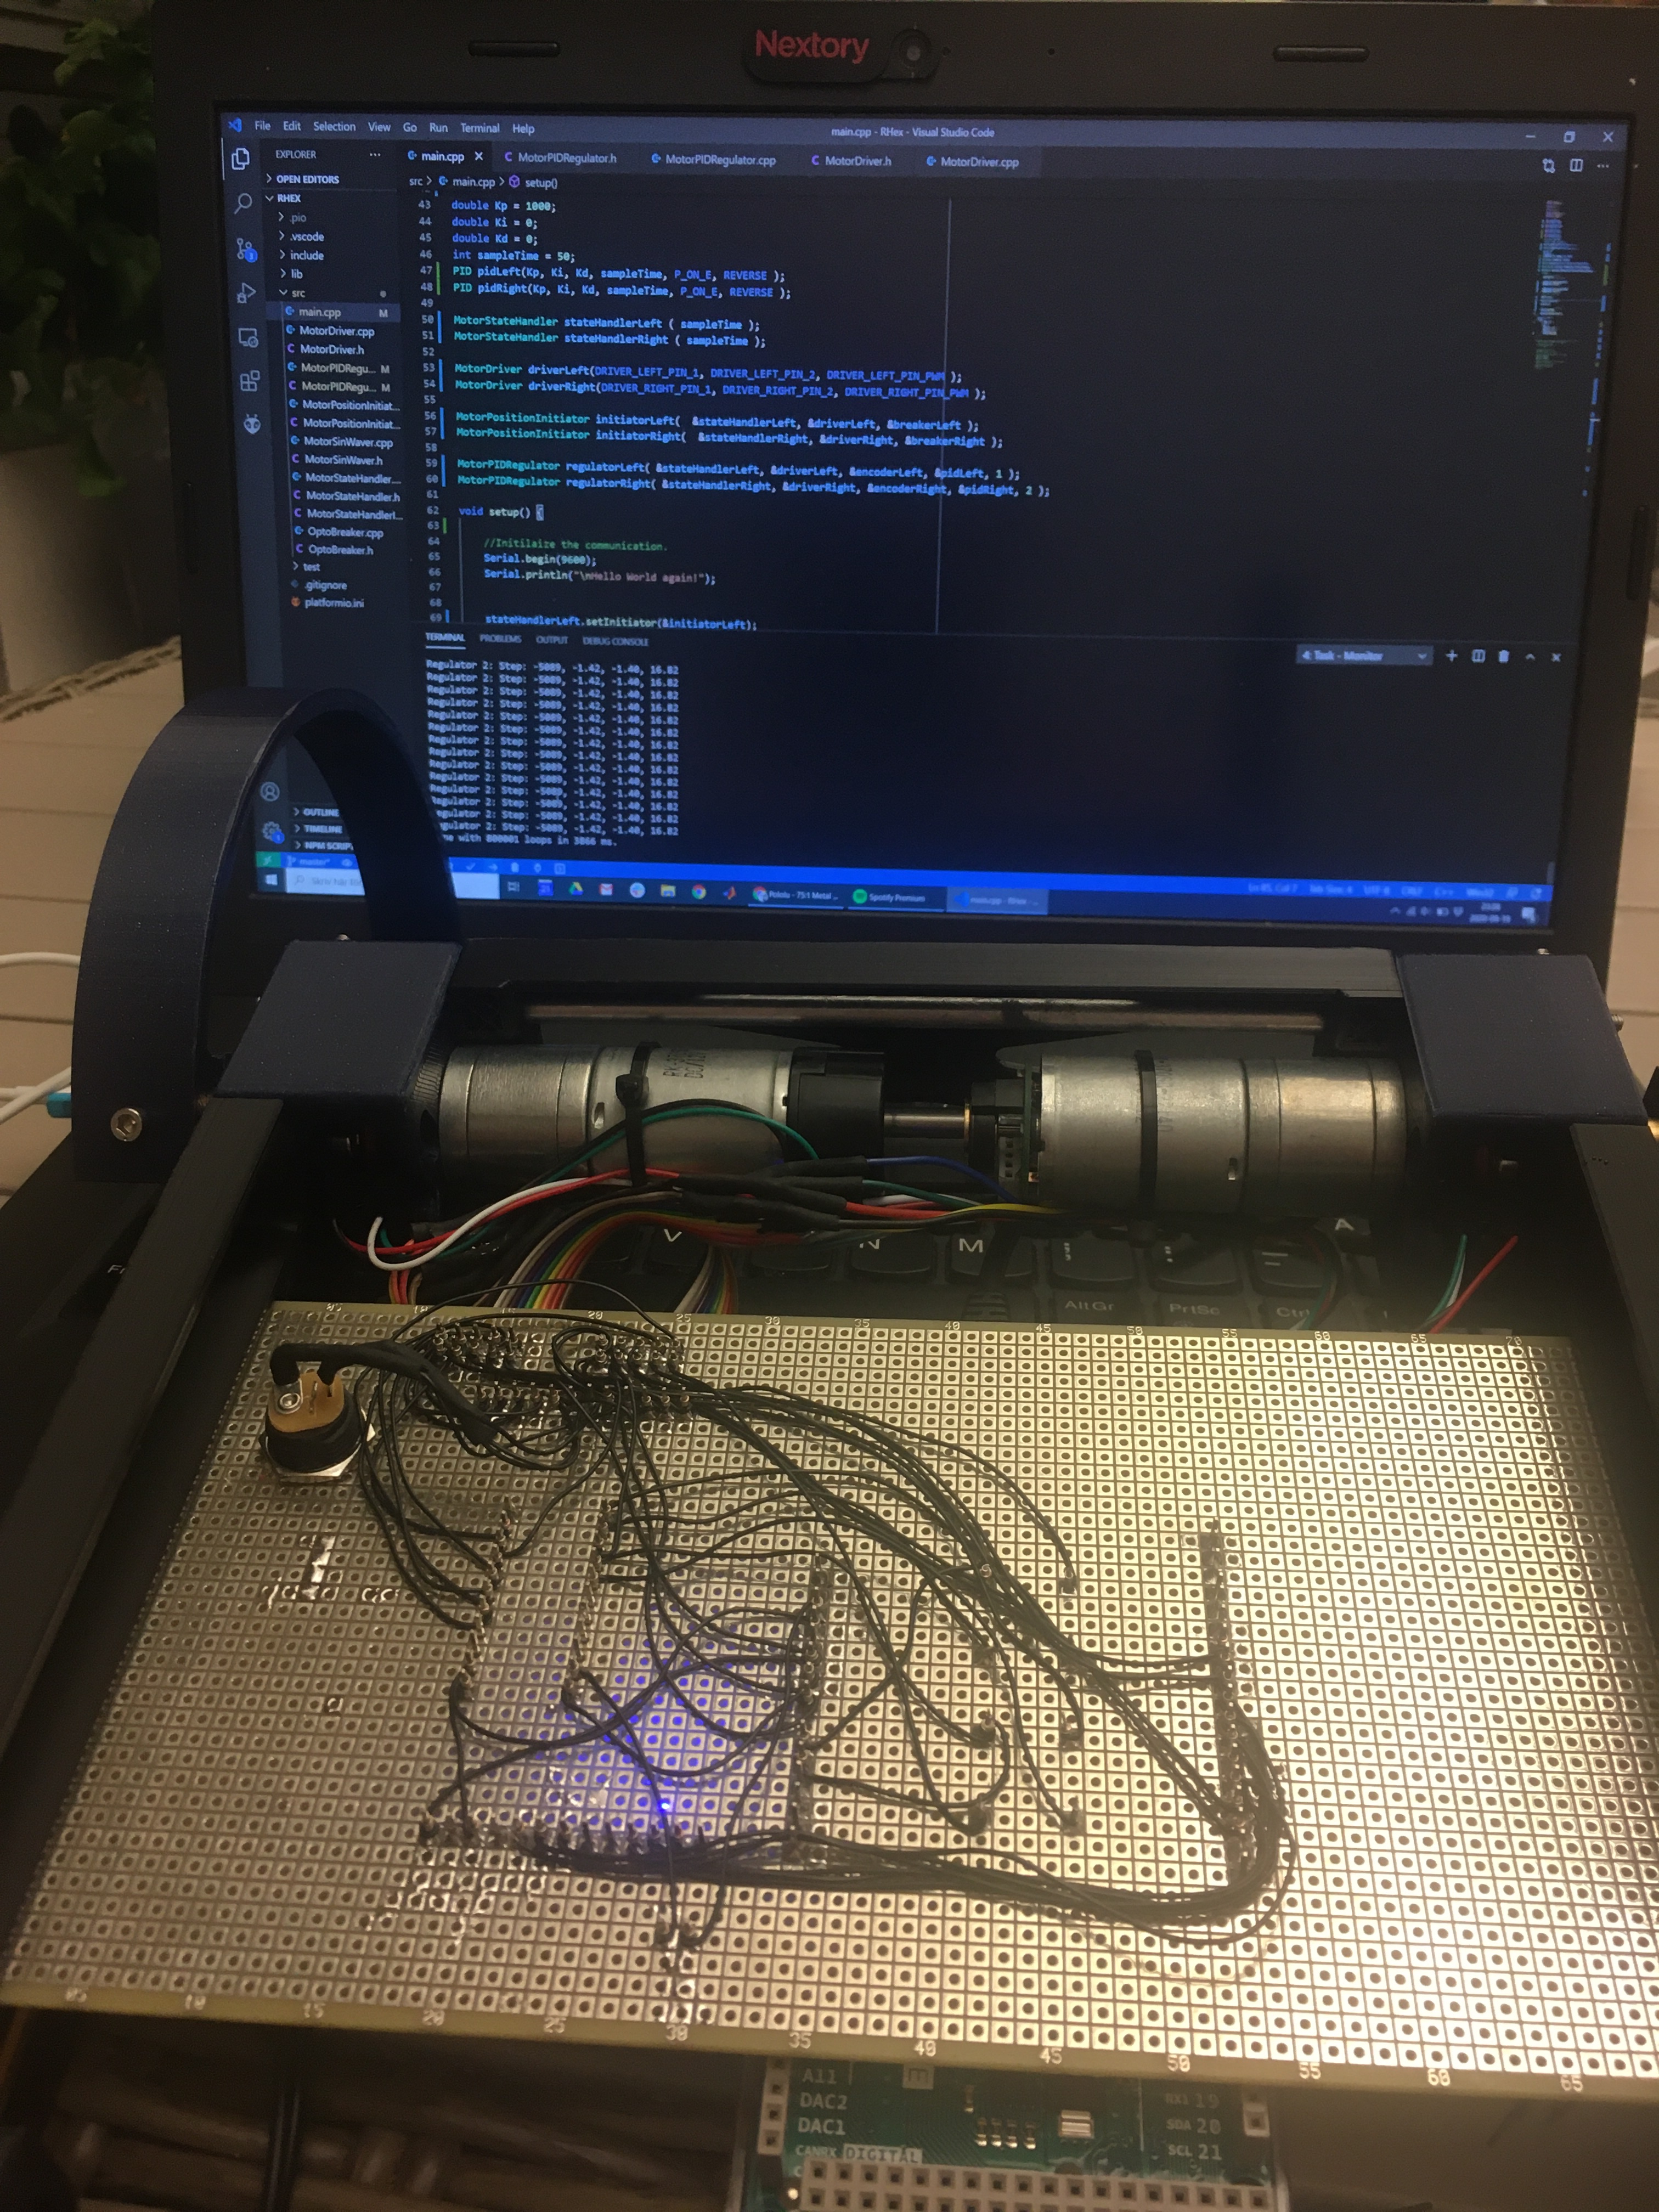
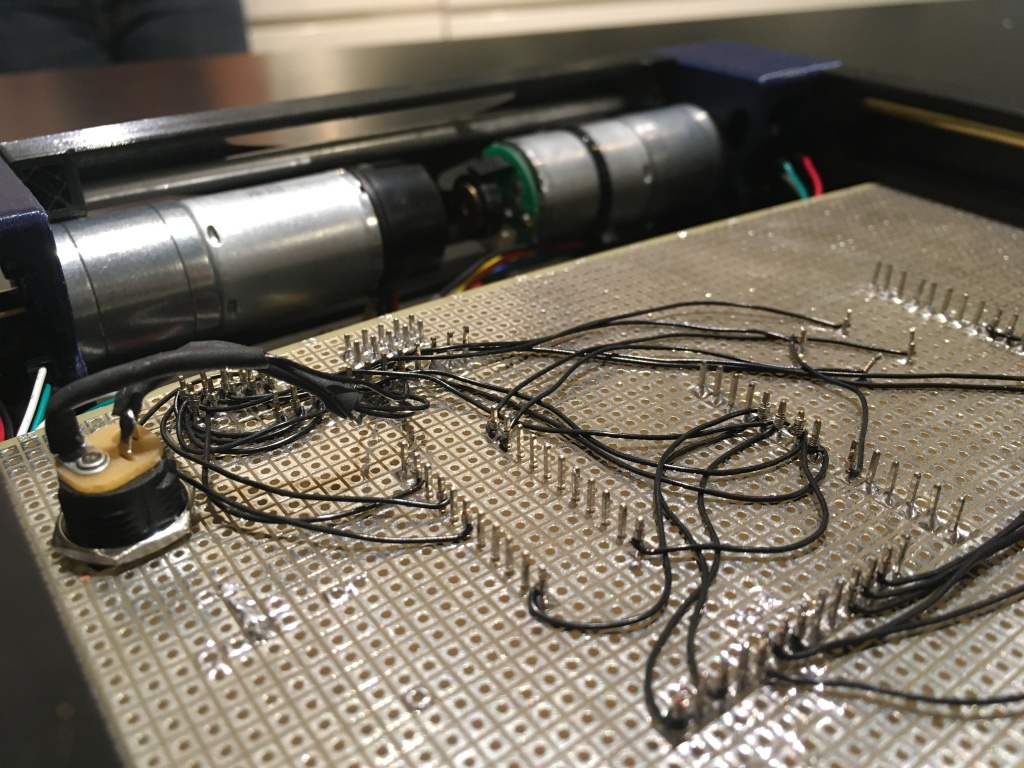
My RHex now has a second leg! All wired and seems to work. But as soon as I enable both legs something goes really wrong in the regulators. I think I just made som stupid mistake in the code so that the two legs are not as independent as I think they are.
Oh. And I seriously need to learn how to route wire wrappings…..
So I started this project with an Arduino Uno because that seemed to be the right place to start.
However, I quickly learned that in order to read the encoders, I need digital pins with interrupt capability. The Uno has 2 of these. And I need 2 per motor. Or even better 3. So for more than one leg, the Uno was simply a no-go.
Fortunately, the Due is compatible (Except it uses 3.3V logic) has a load of digital pins and all of them have interrupt capability. 😀
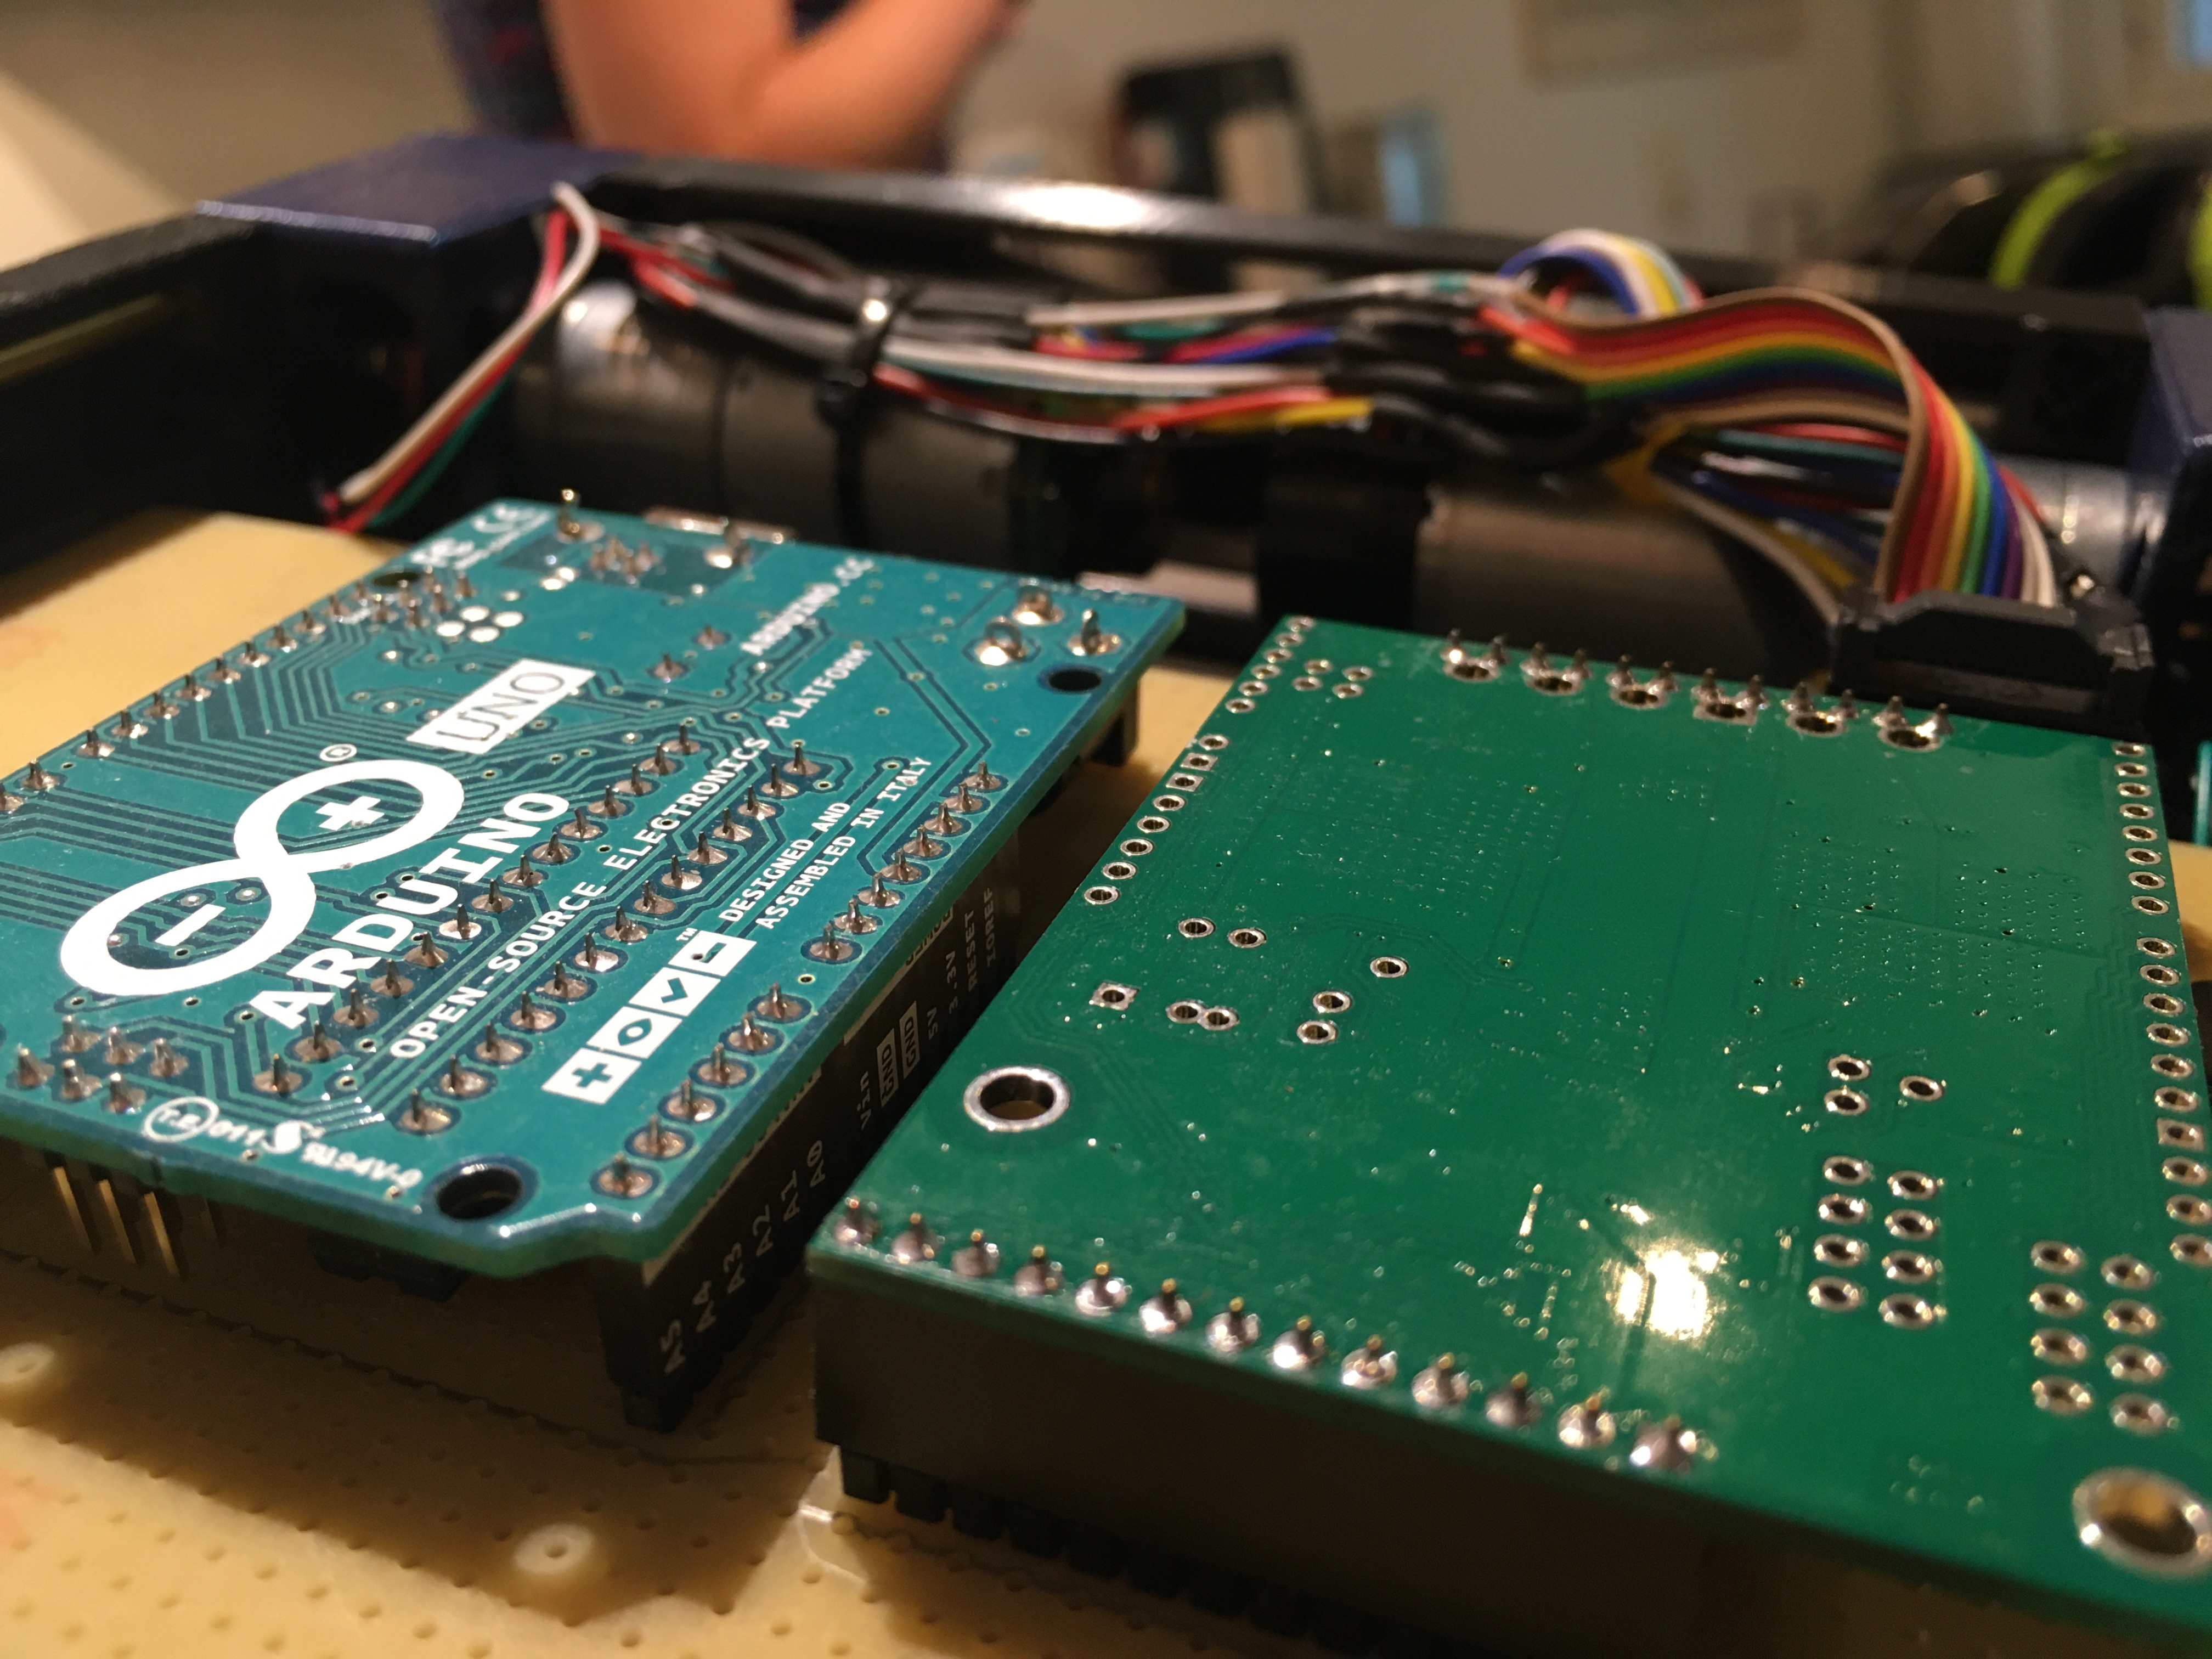
The Due mounted in place of the Uno
Unfortunately, it seems that the Sloeber IDE I was using did not support the Due, so it was off to find a newer IDE.
And I am glad I did because PlatformIO for VS Code is clearly a better product. It even has support for unit testing!
So now I have my code running in the new IDE, and the Due drives the single motor I have installed.
Next step is to wire up a second motor and build a Zombie crawler. If that works, then I am off to buy the rest of the parts to make this thing real!
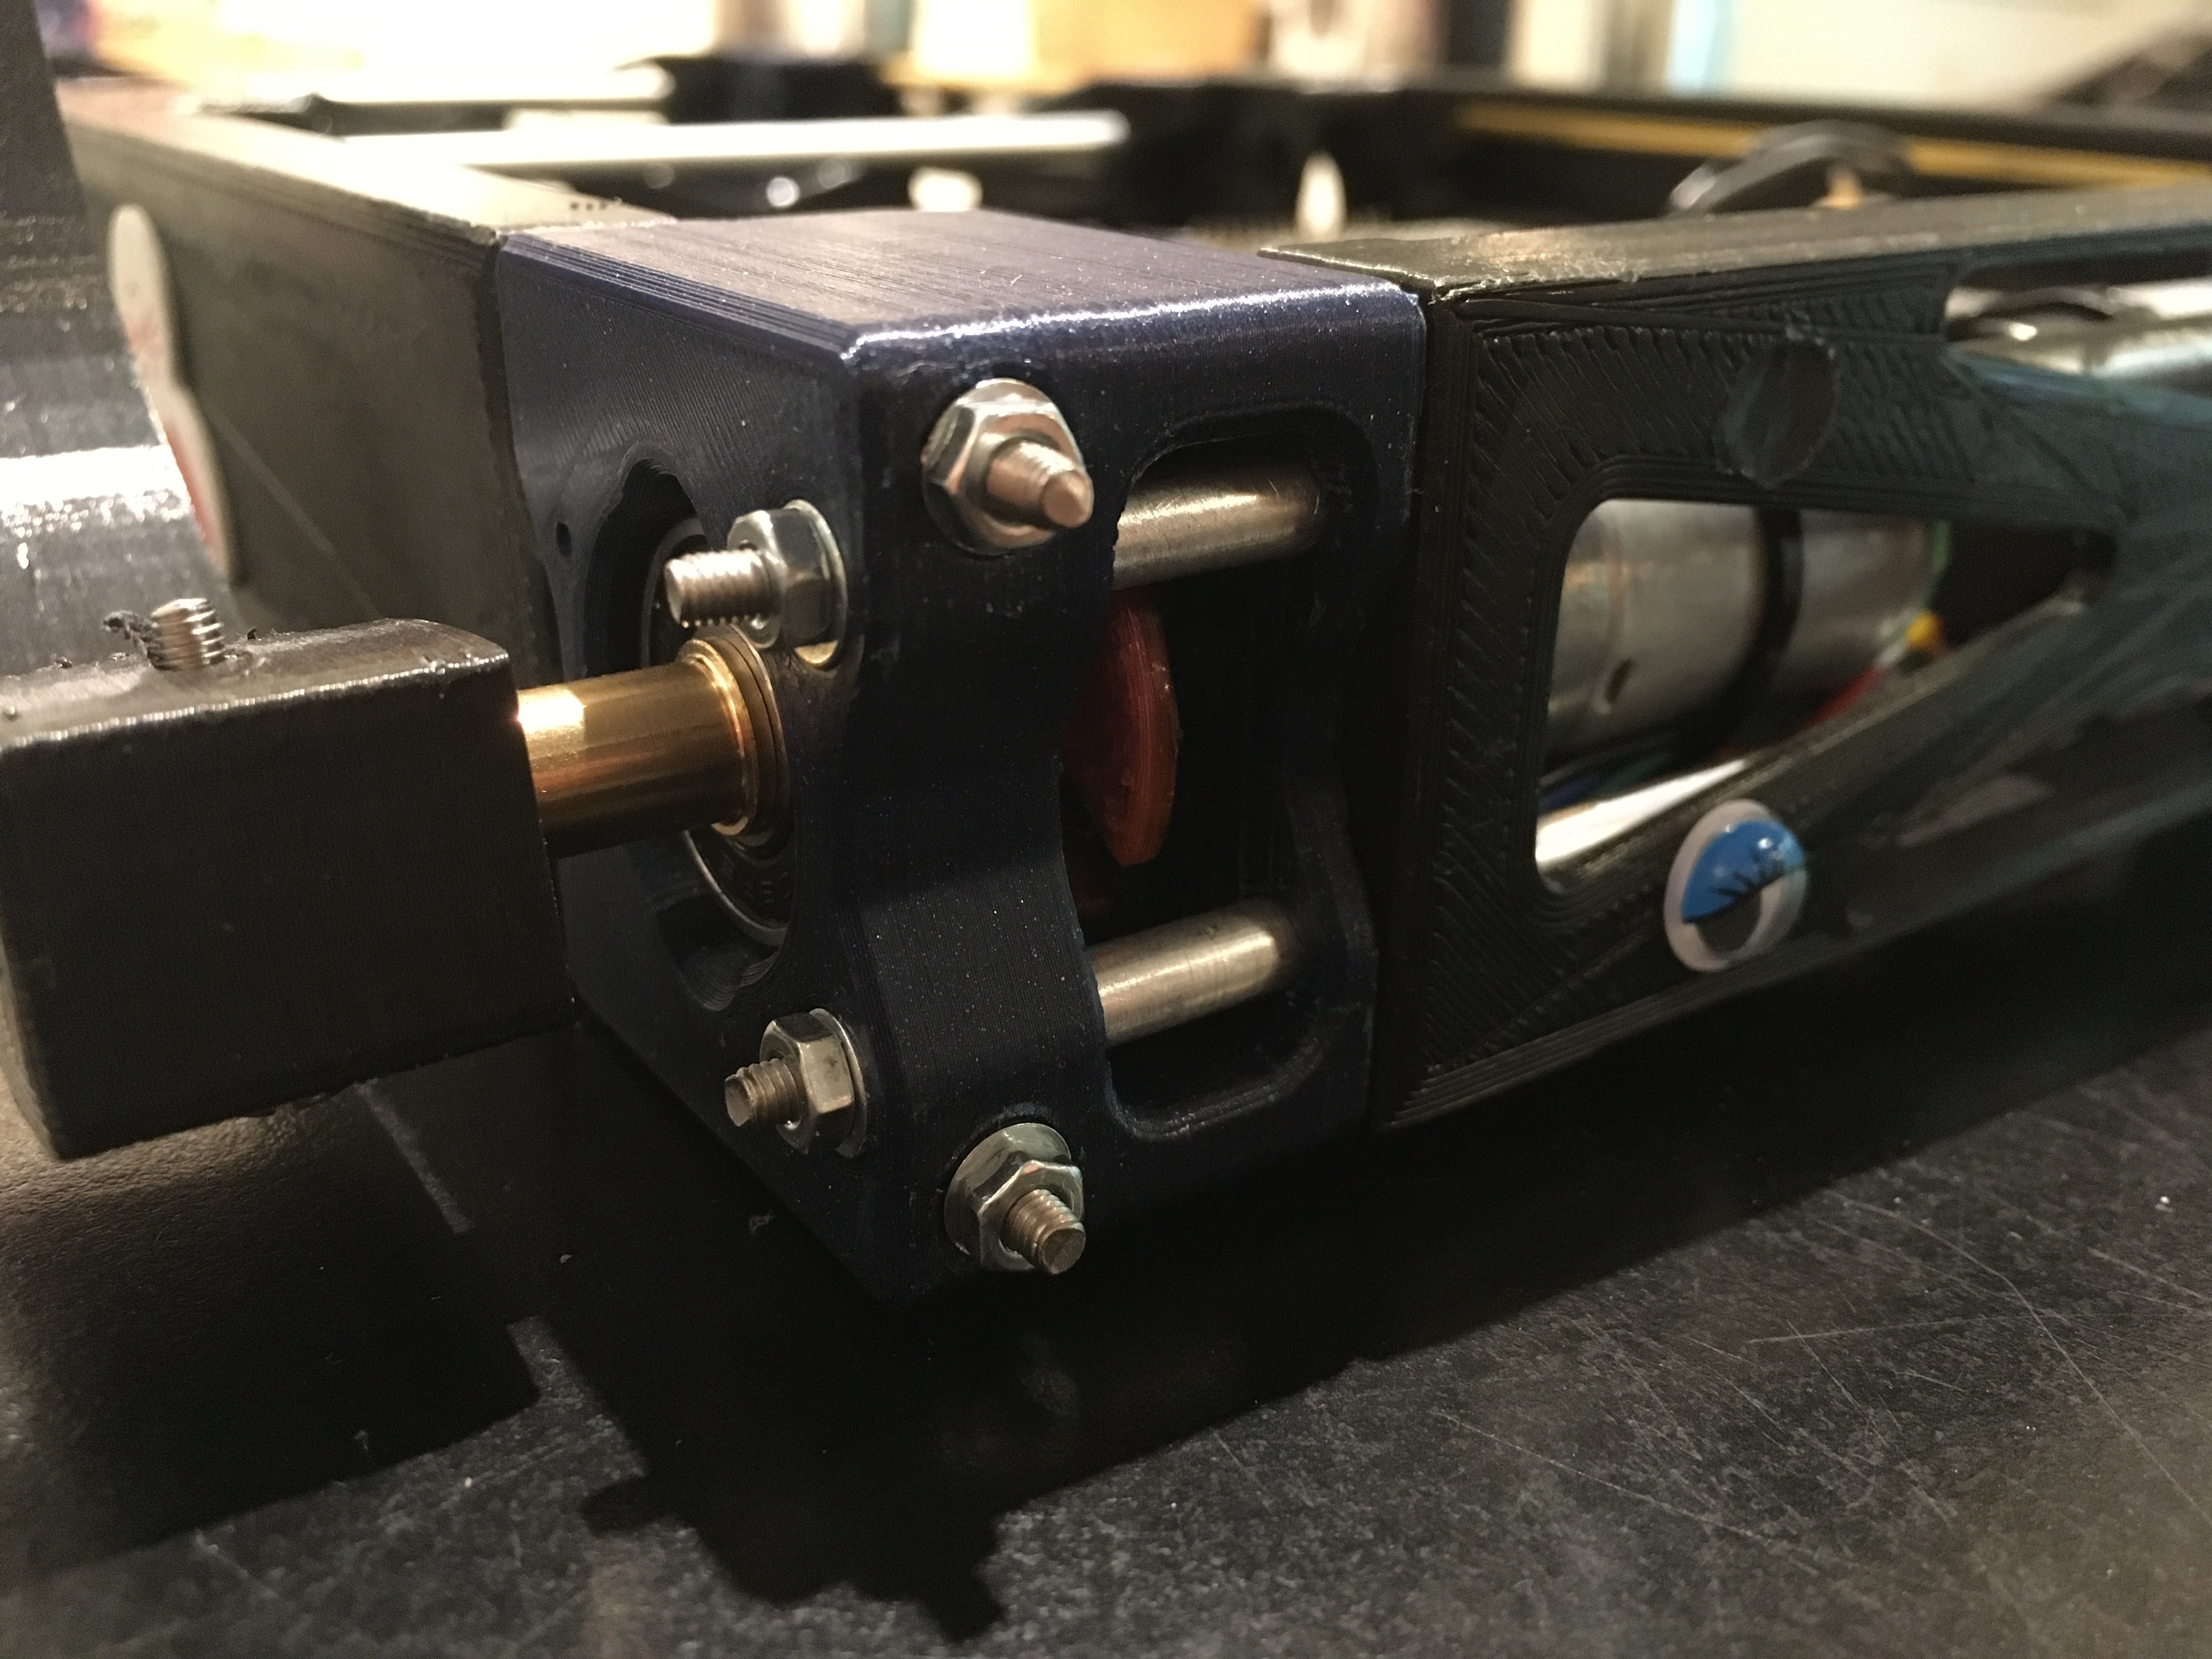
So mostly working from home this week (Yeah, it is 2020. :P) and finally the slightly shorter m3 screws arrived so I could mount a second motor. Now I have all of the mechanics for this thing to crawl. Will have to see if the two interrupt pins on the Uno allow me to measure two encoders or just one. Hopefully, it can handle two.
Anyways, here are some closeups.
And a short clip of the one-legged robot trying to move forward on a slippery floor. No, you are right. This isn’t very impressive, is it…..