So back in the game, I have entered a period of working with oak.
First up was a holder for the toothbrush chargers. Having more than one really looks messy, but now they stand in a proper line.
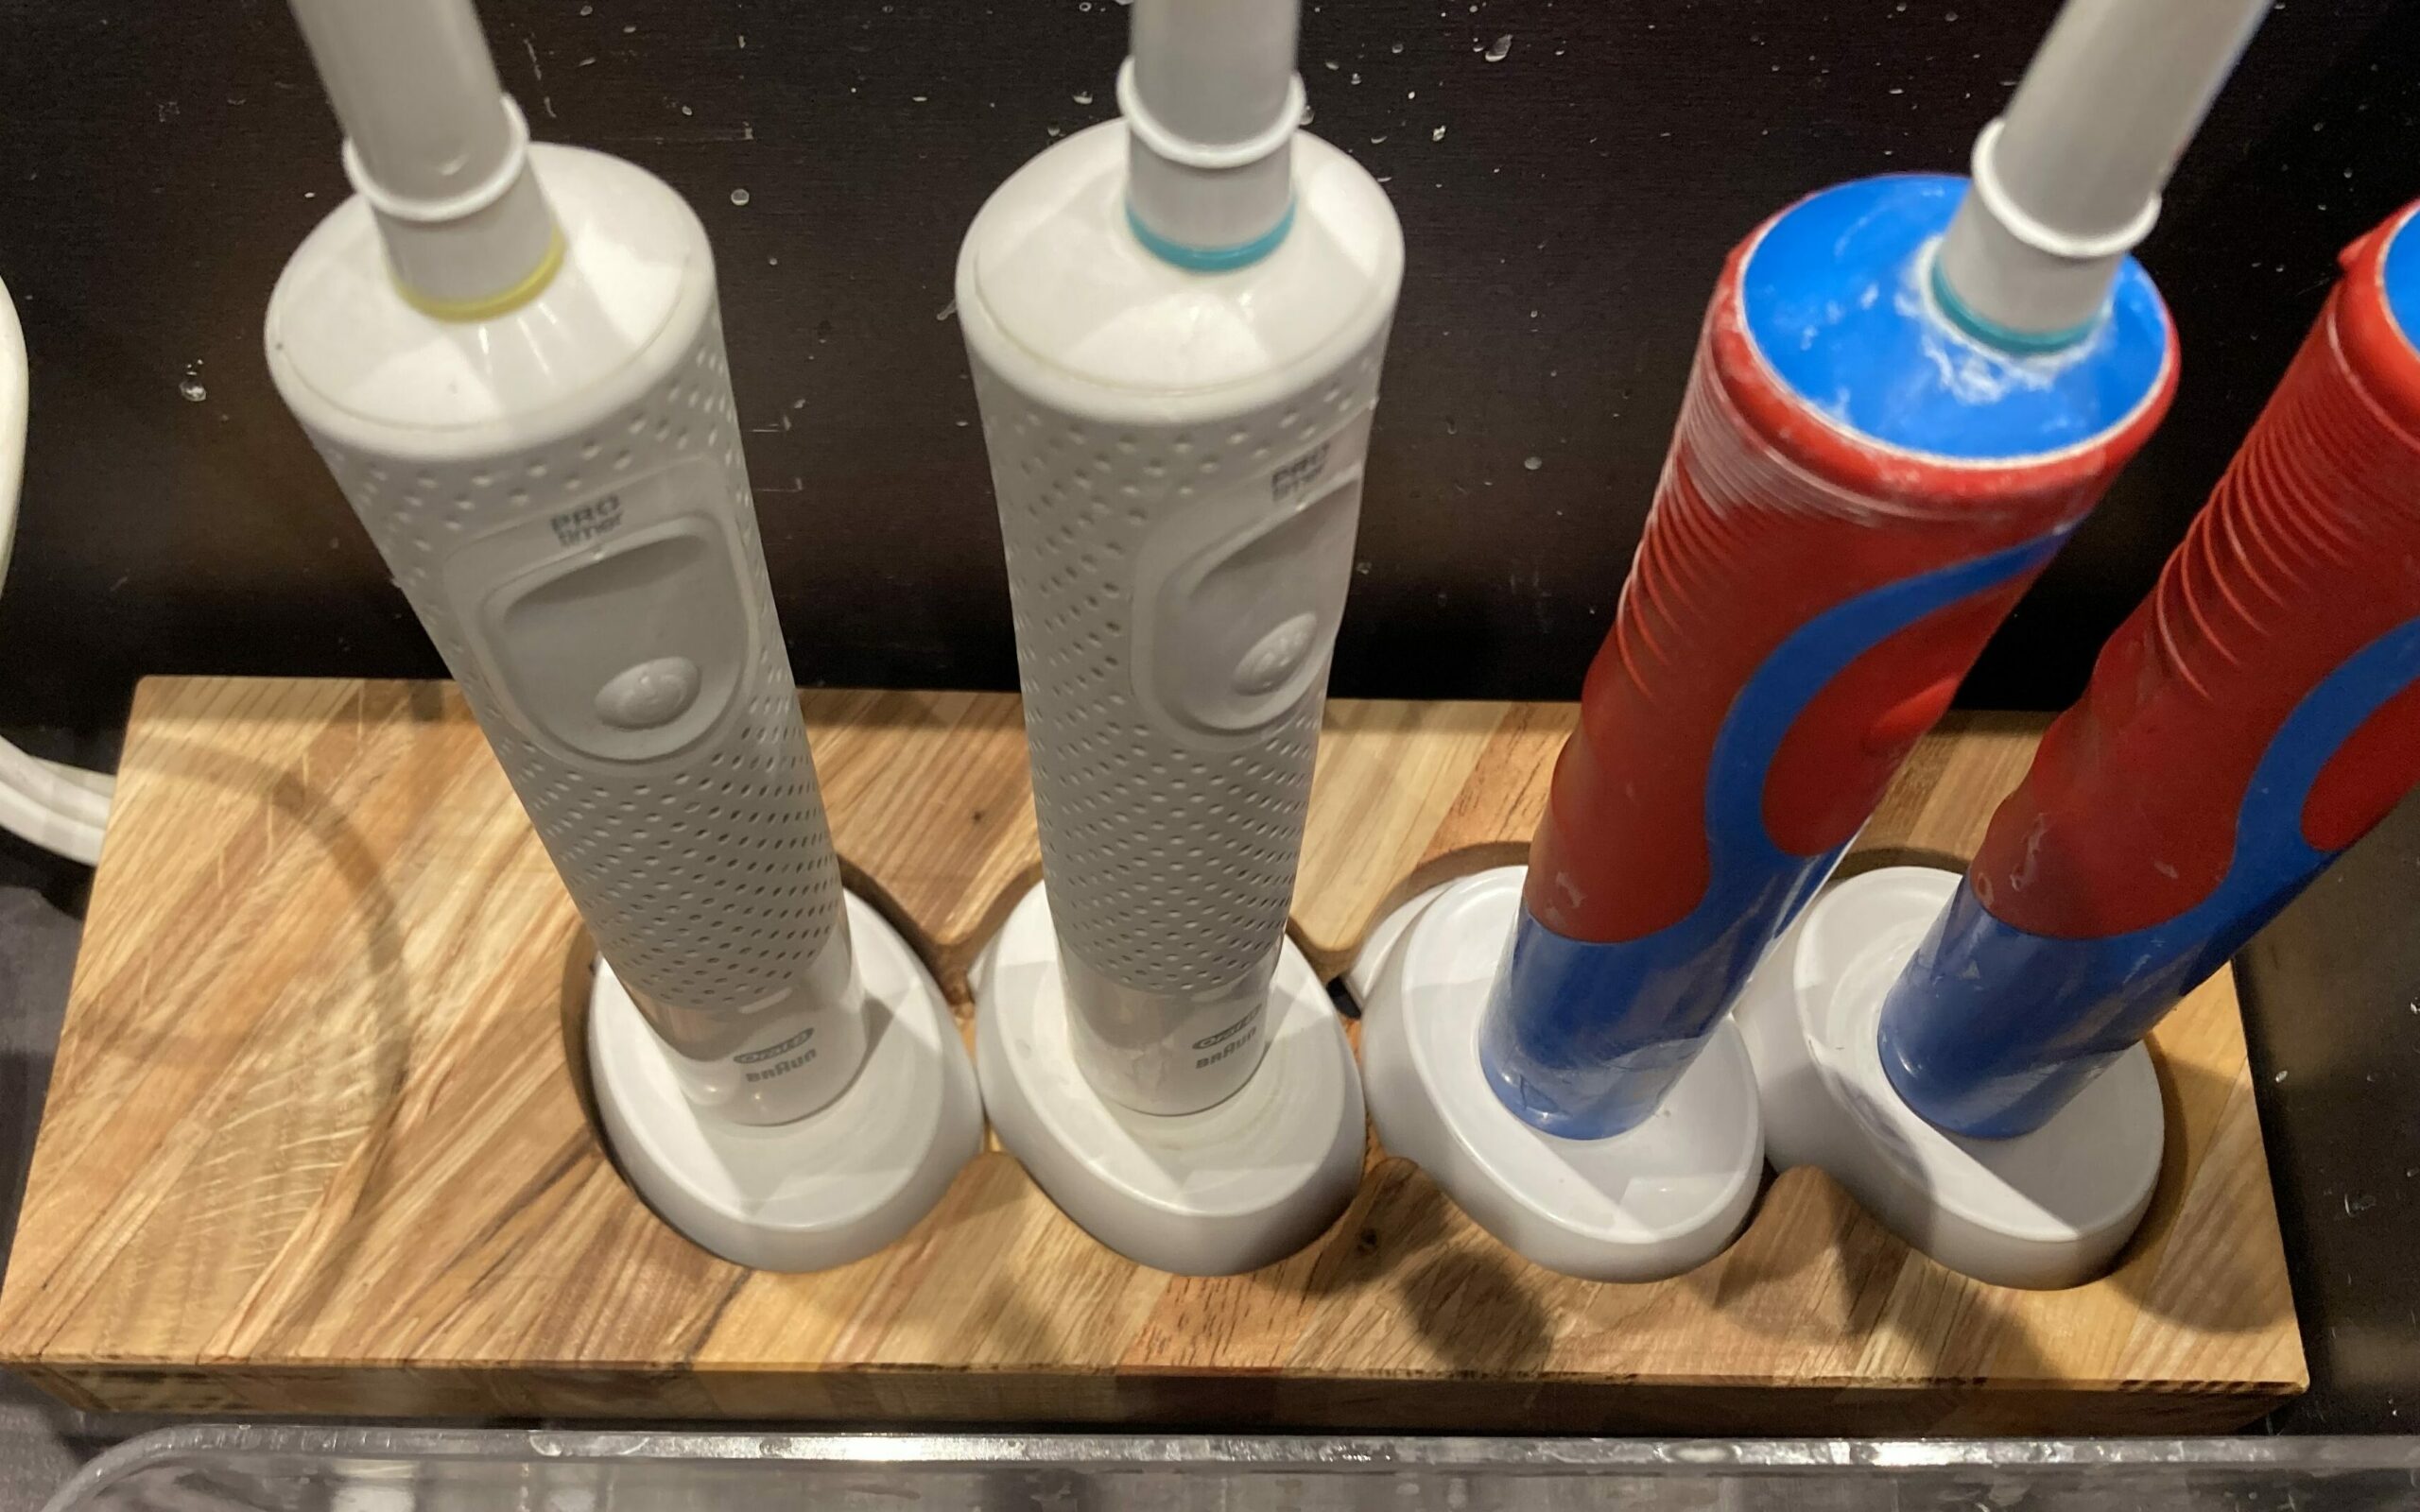
I knew that the makerspace had lots of tiny pieces of high quality wood, mostly oak, so I took all of the tiny pieces, planed them up and glued them together into a block. I put them on a diagonal, just to make things a bit more interesting.
Finally, the CNC made the holes for the chargers, both from above and from below to be able to hide all of the cables.
Table extension
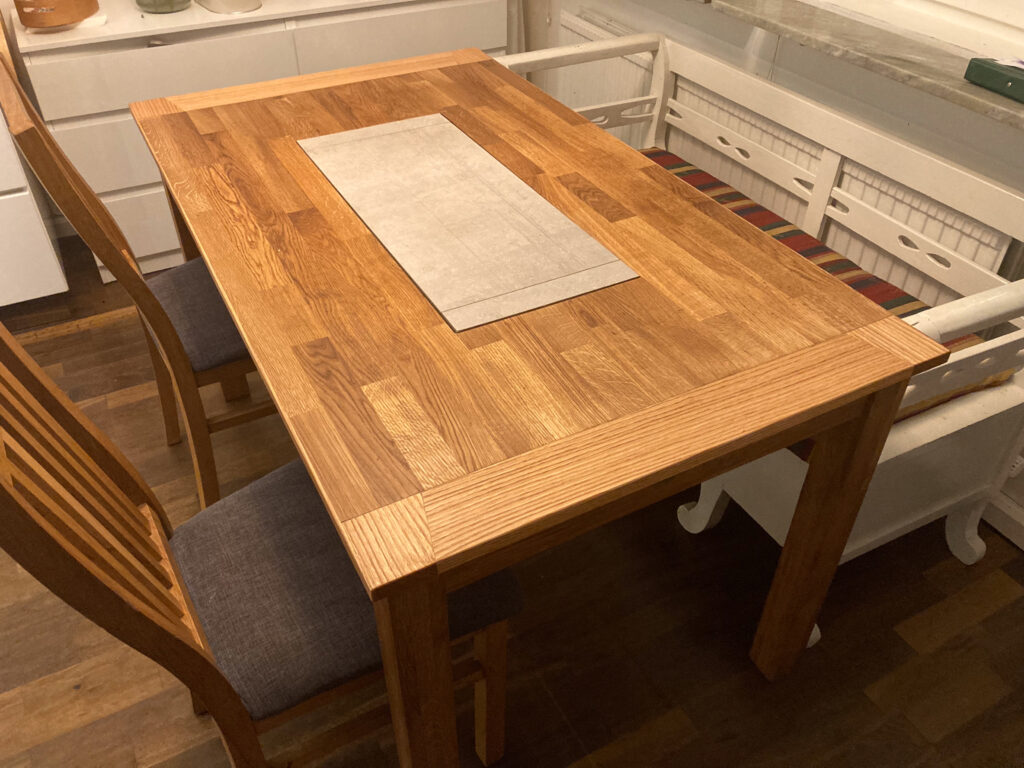
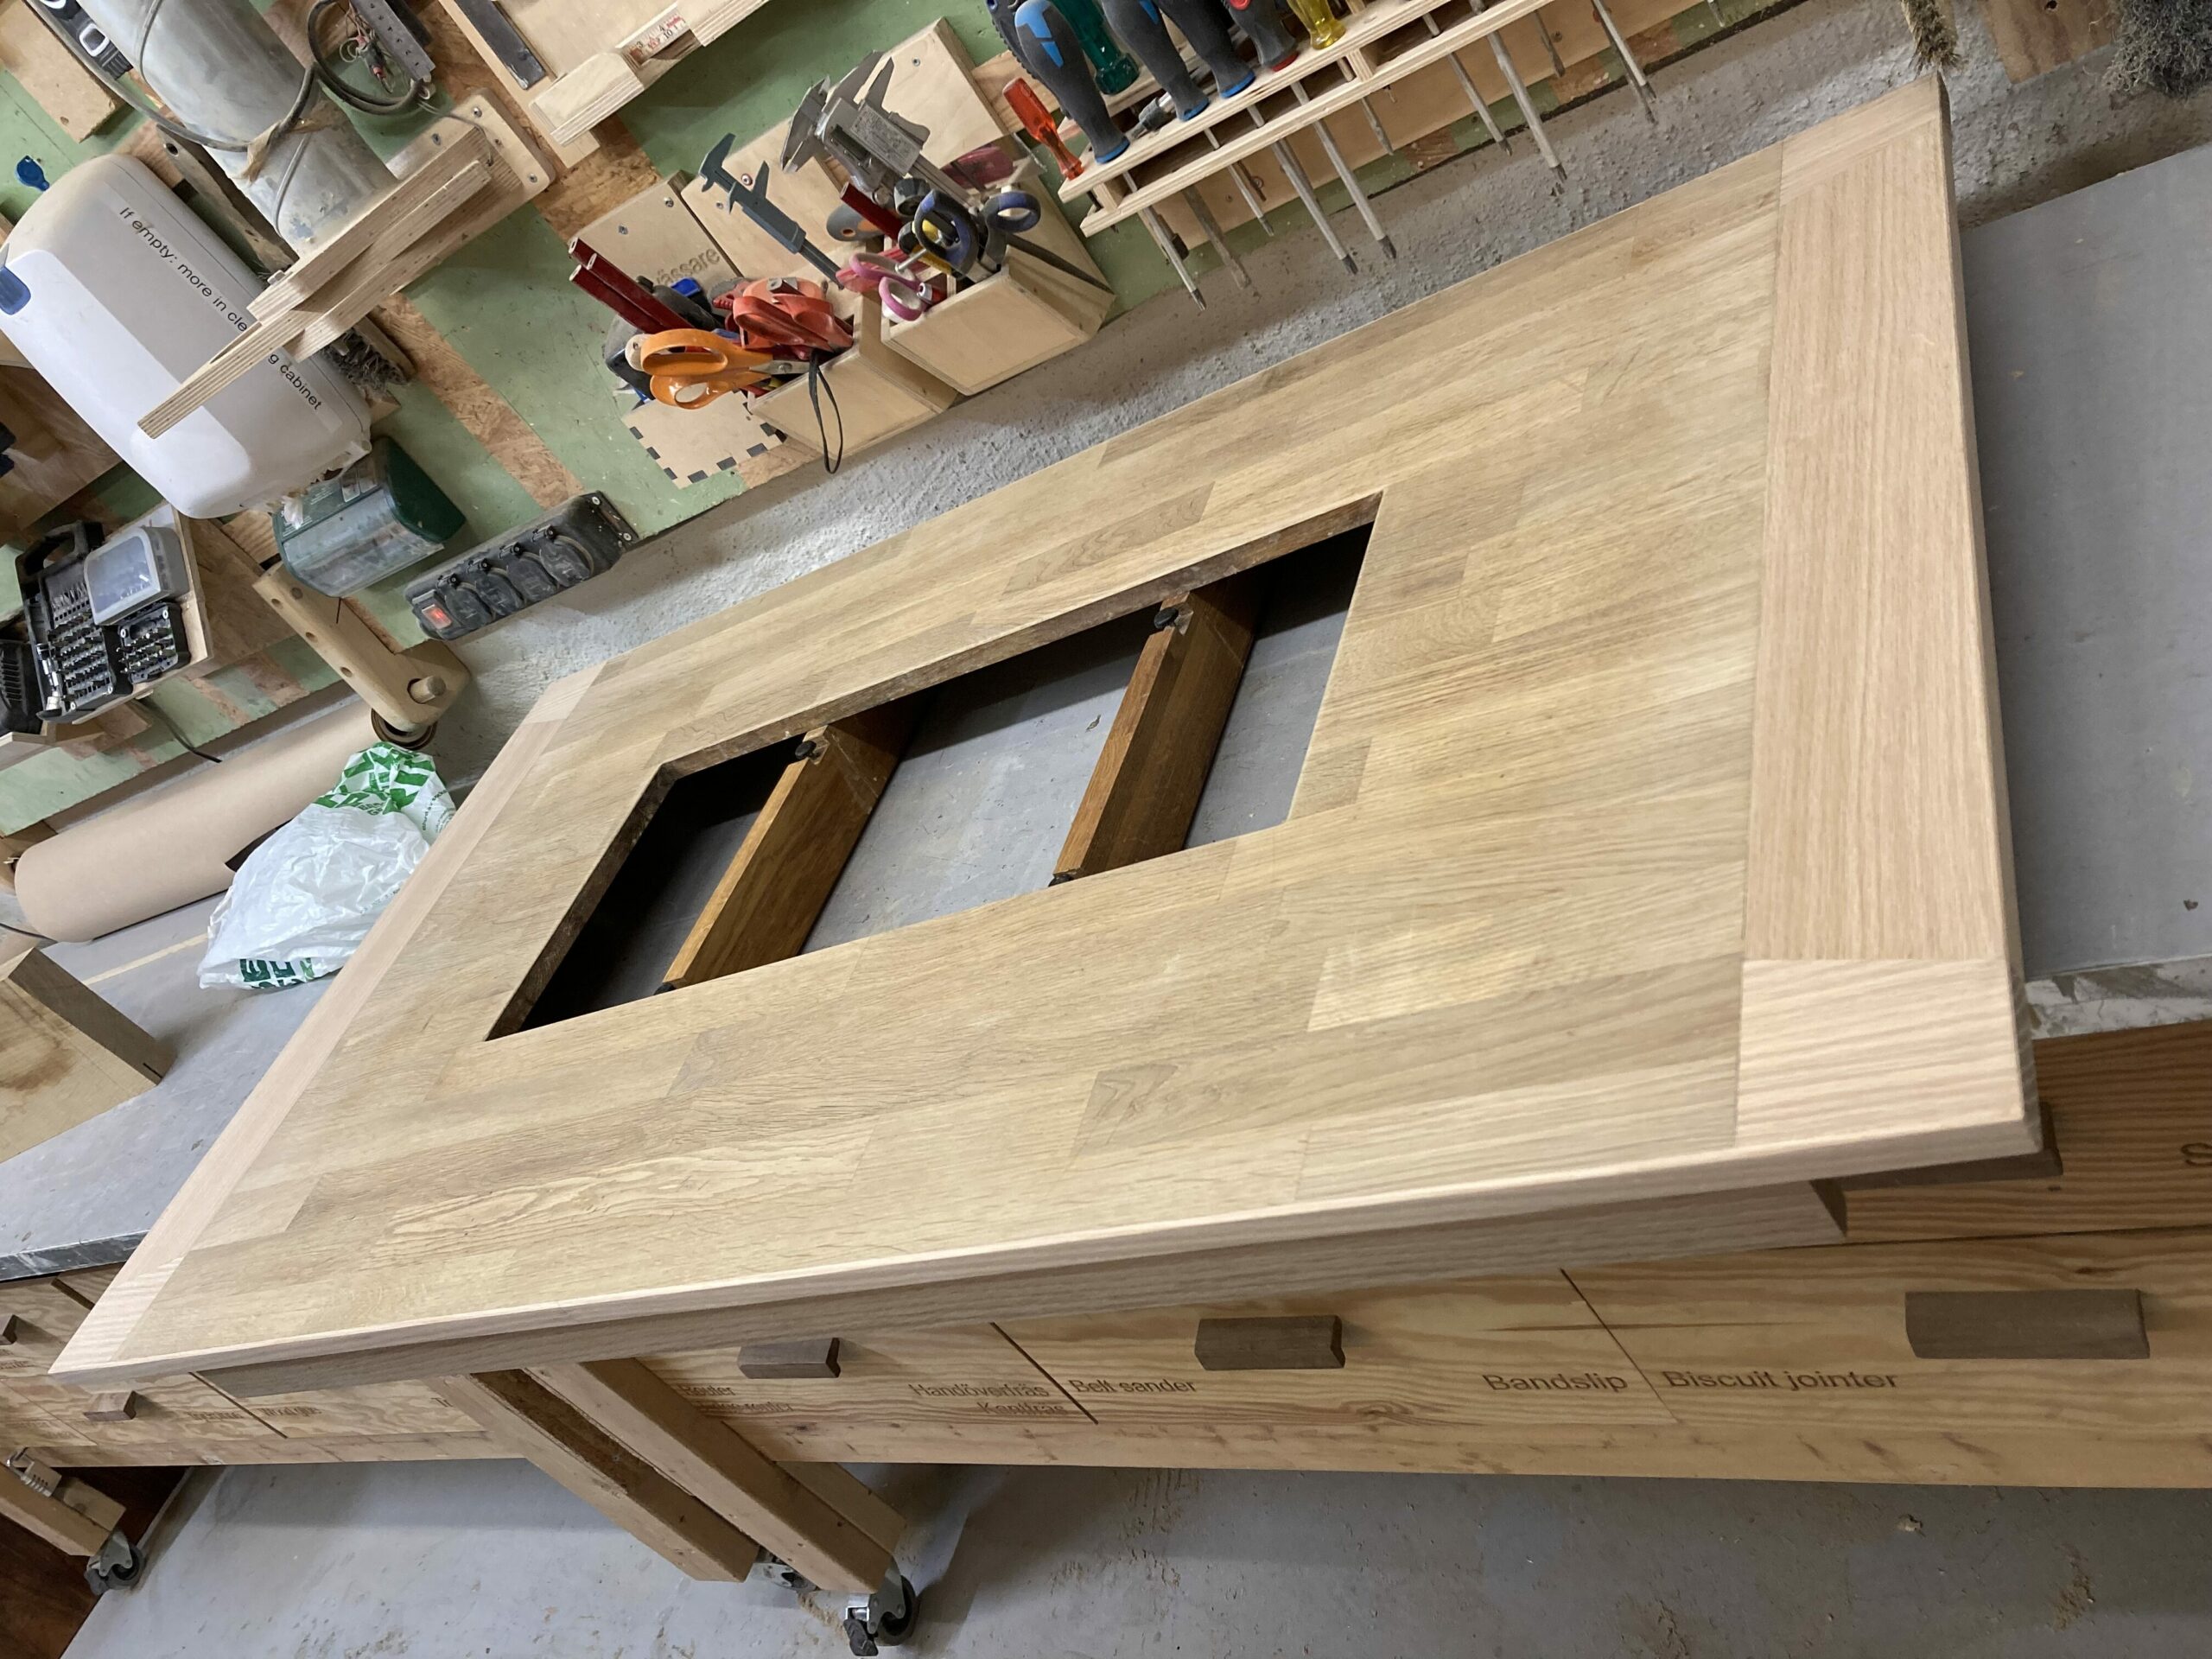
Next up was the dining table. I love our dining table that has a hole in the middle for a stone slab that allows you to put hot things directly on the table without worrying about burn marks. But we purchased a slightly smaller table than standard, at just 120cm, because that is what could fit the way we had the table placed back when we bought it.
Now, we have moved the table further out into the room, and the fact that the table is just 120cm is becoming an irritation. With two very much larger kids now, you simply need bigger plates and bowls of food than we used to need.
So rather than buy a new table (Although we found a really nice round table that can be extended to fit Everybody, at a mere 30 000kr) I decided it was worth trying to add 20cm to its length.
First up, I got to try a new tool, the track saw. Amazing how just a length of aluminium can make a regular hand saw do almost everything that a full-sized table saw can do.
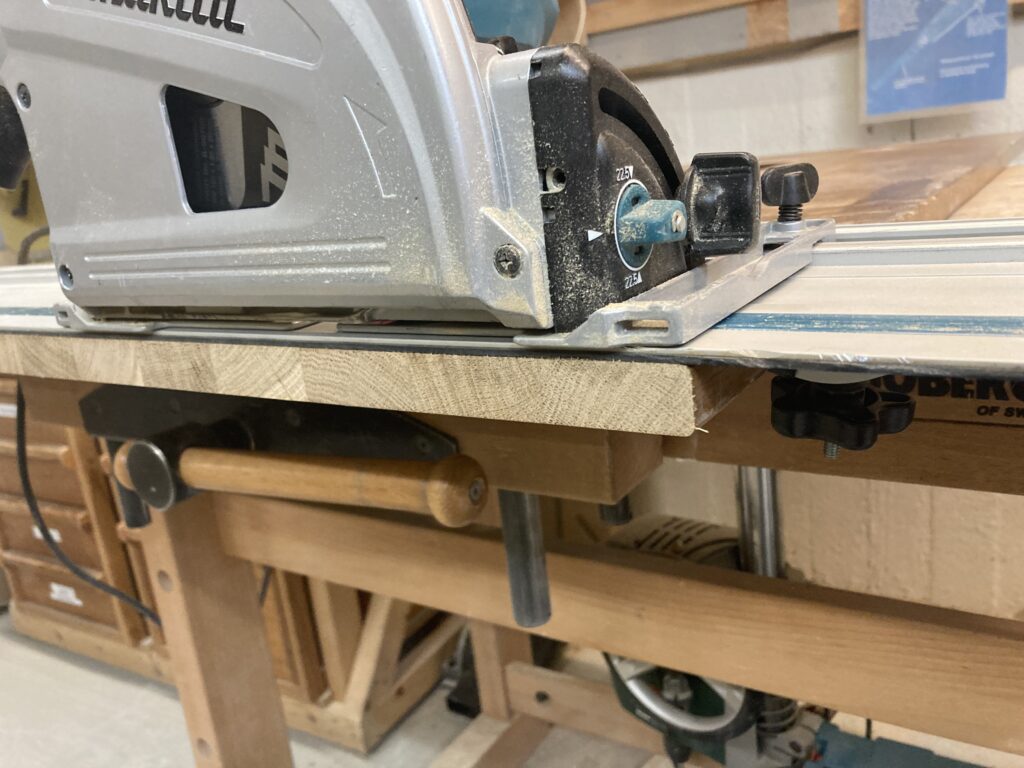
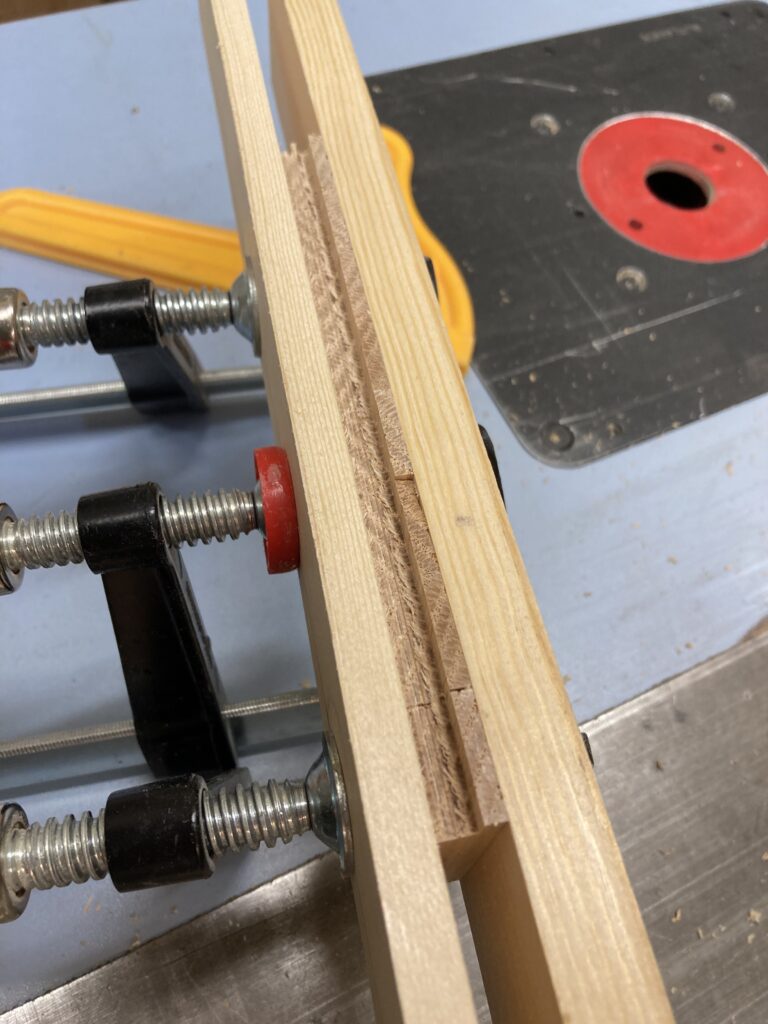
Two oak boards later and the wood really spoke to me. I also used the biscuit joiner, another new tool for me, and together with lots of clamps from every direction I could get all of the pieces to glue up nice and straight.
You will also notice that the edges are not cut flush, but almost a centimeter off. This is part of my new mission to learn how to design things that do not require any tolerances. Better have proper overhangs, and then use the track saw to cut everything straight after the glue has set.
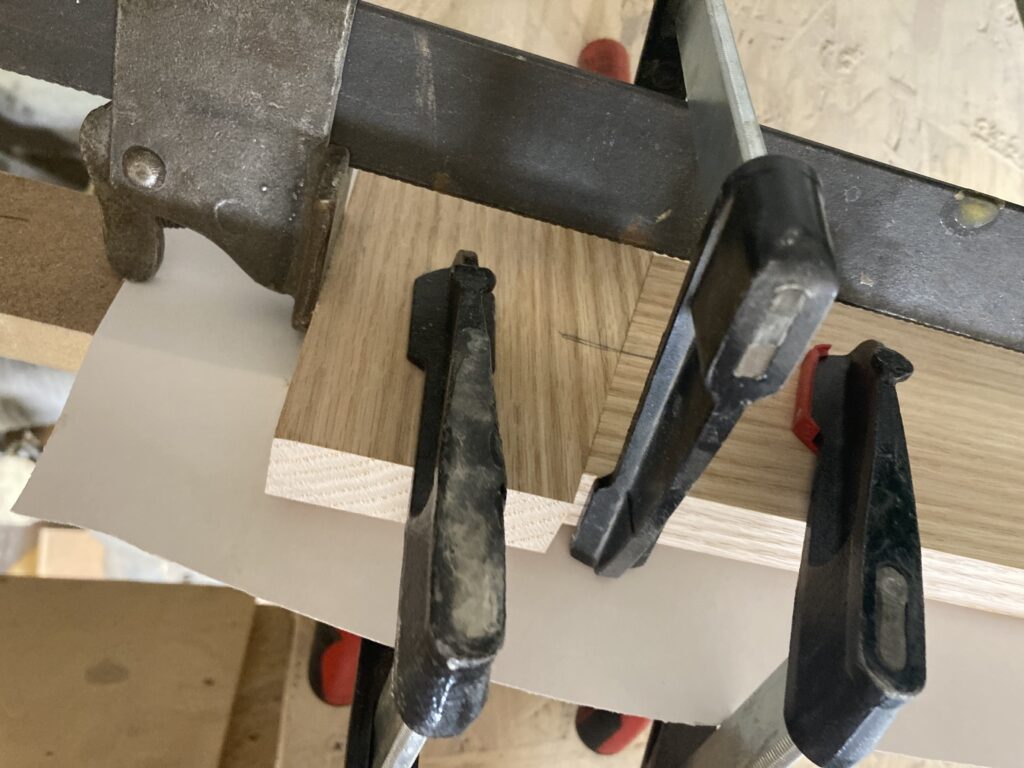
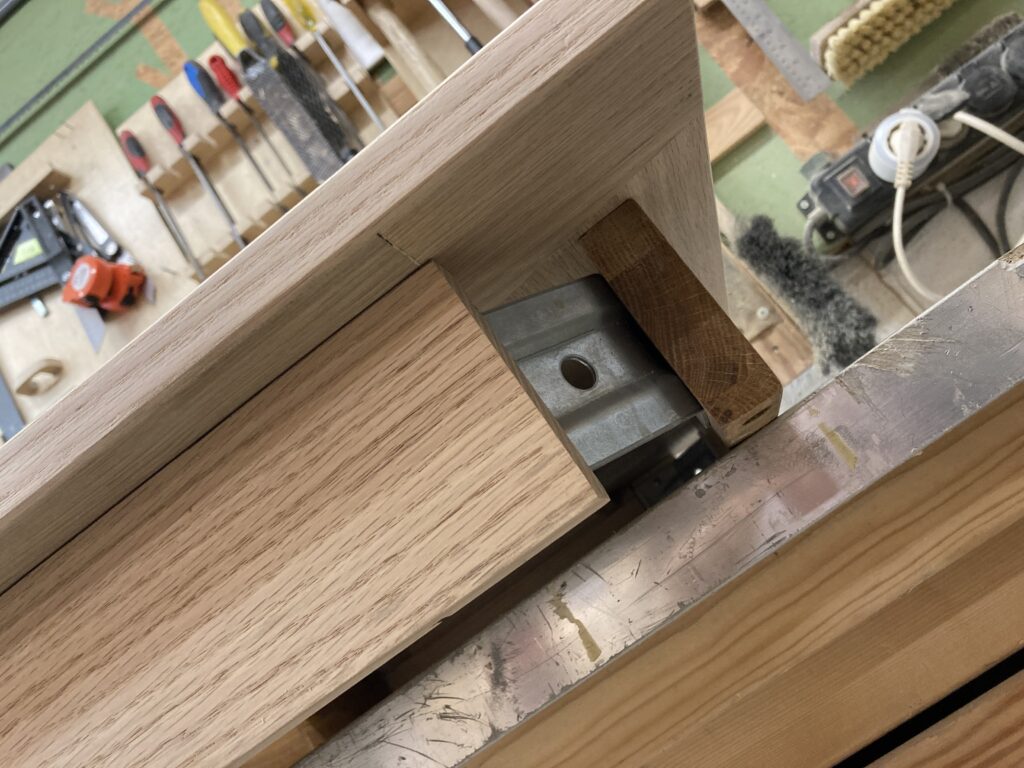
The original table has holes drilled down through the supporting beams, but that requires some precision work and a very robust drill, so I decided to go old-school and fasten the beams with little wooden clamps.
Here they all are fastened together so I could cut them all in one go on the table saw. And mounted holding the beam in place.

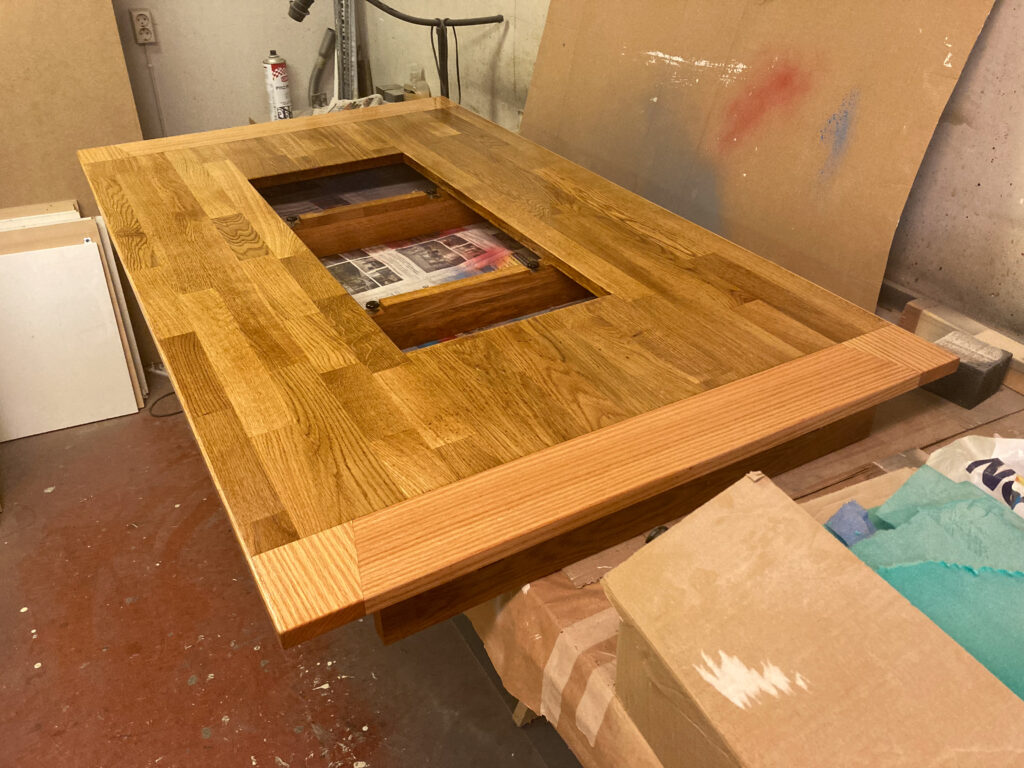
And finally, here it is, after hours of sanding…. I am extremely pleased with how the korners came out and the slim band along the long edges that gives a complete frame of new wood around the old wood.
Some linseed oil brings out the gold in the oak…
And finally, back in its old place.