Smooth as butter, hard as rock

So the bearings were clearly too tight before and that was just not right. So today I pulled the entire machine apart and made sure to shim everything properly with aluminum foil to get those last 1/100s.

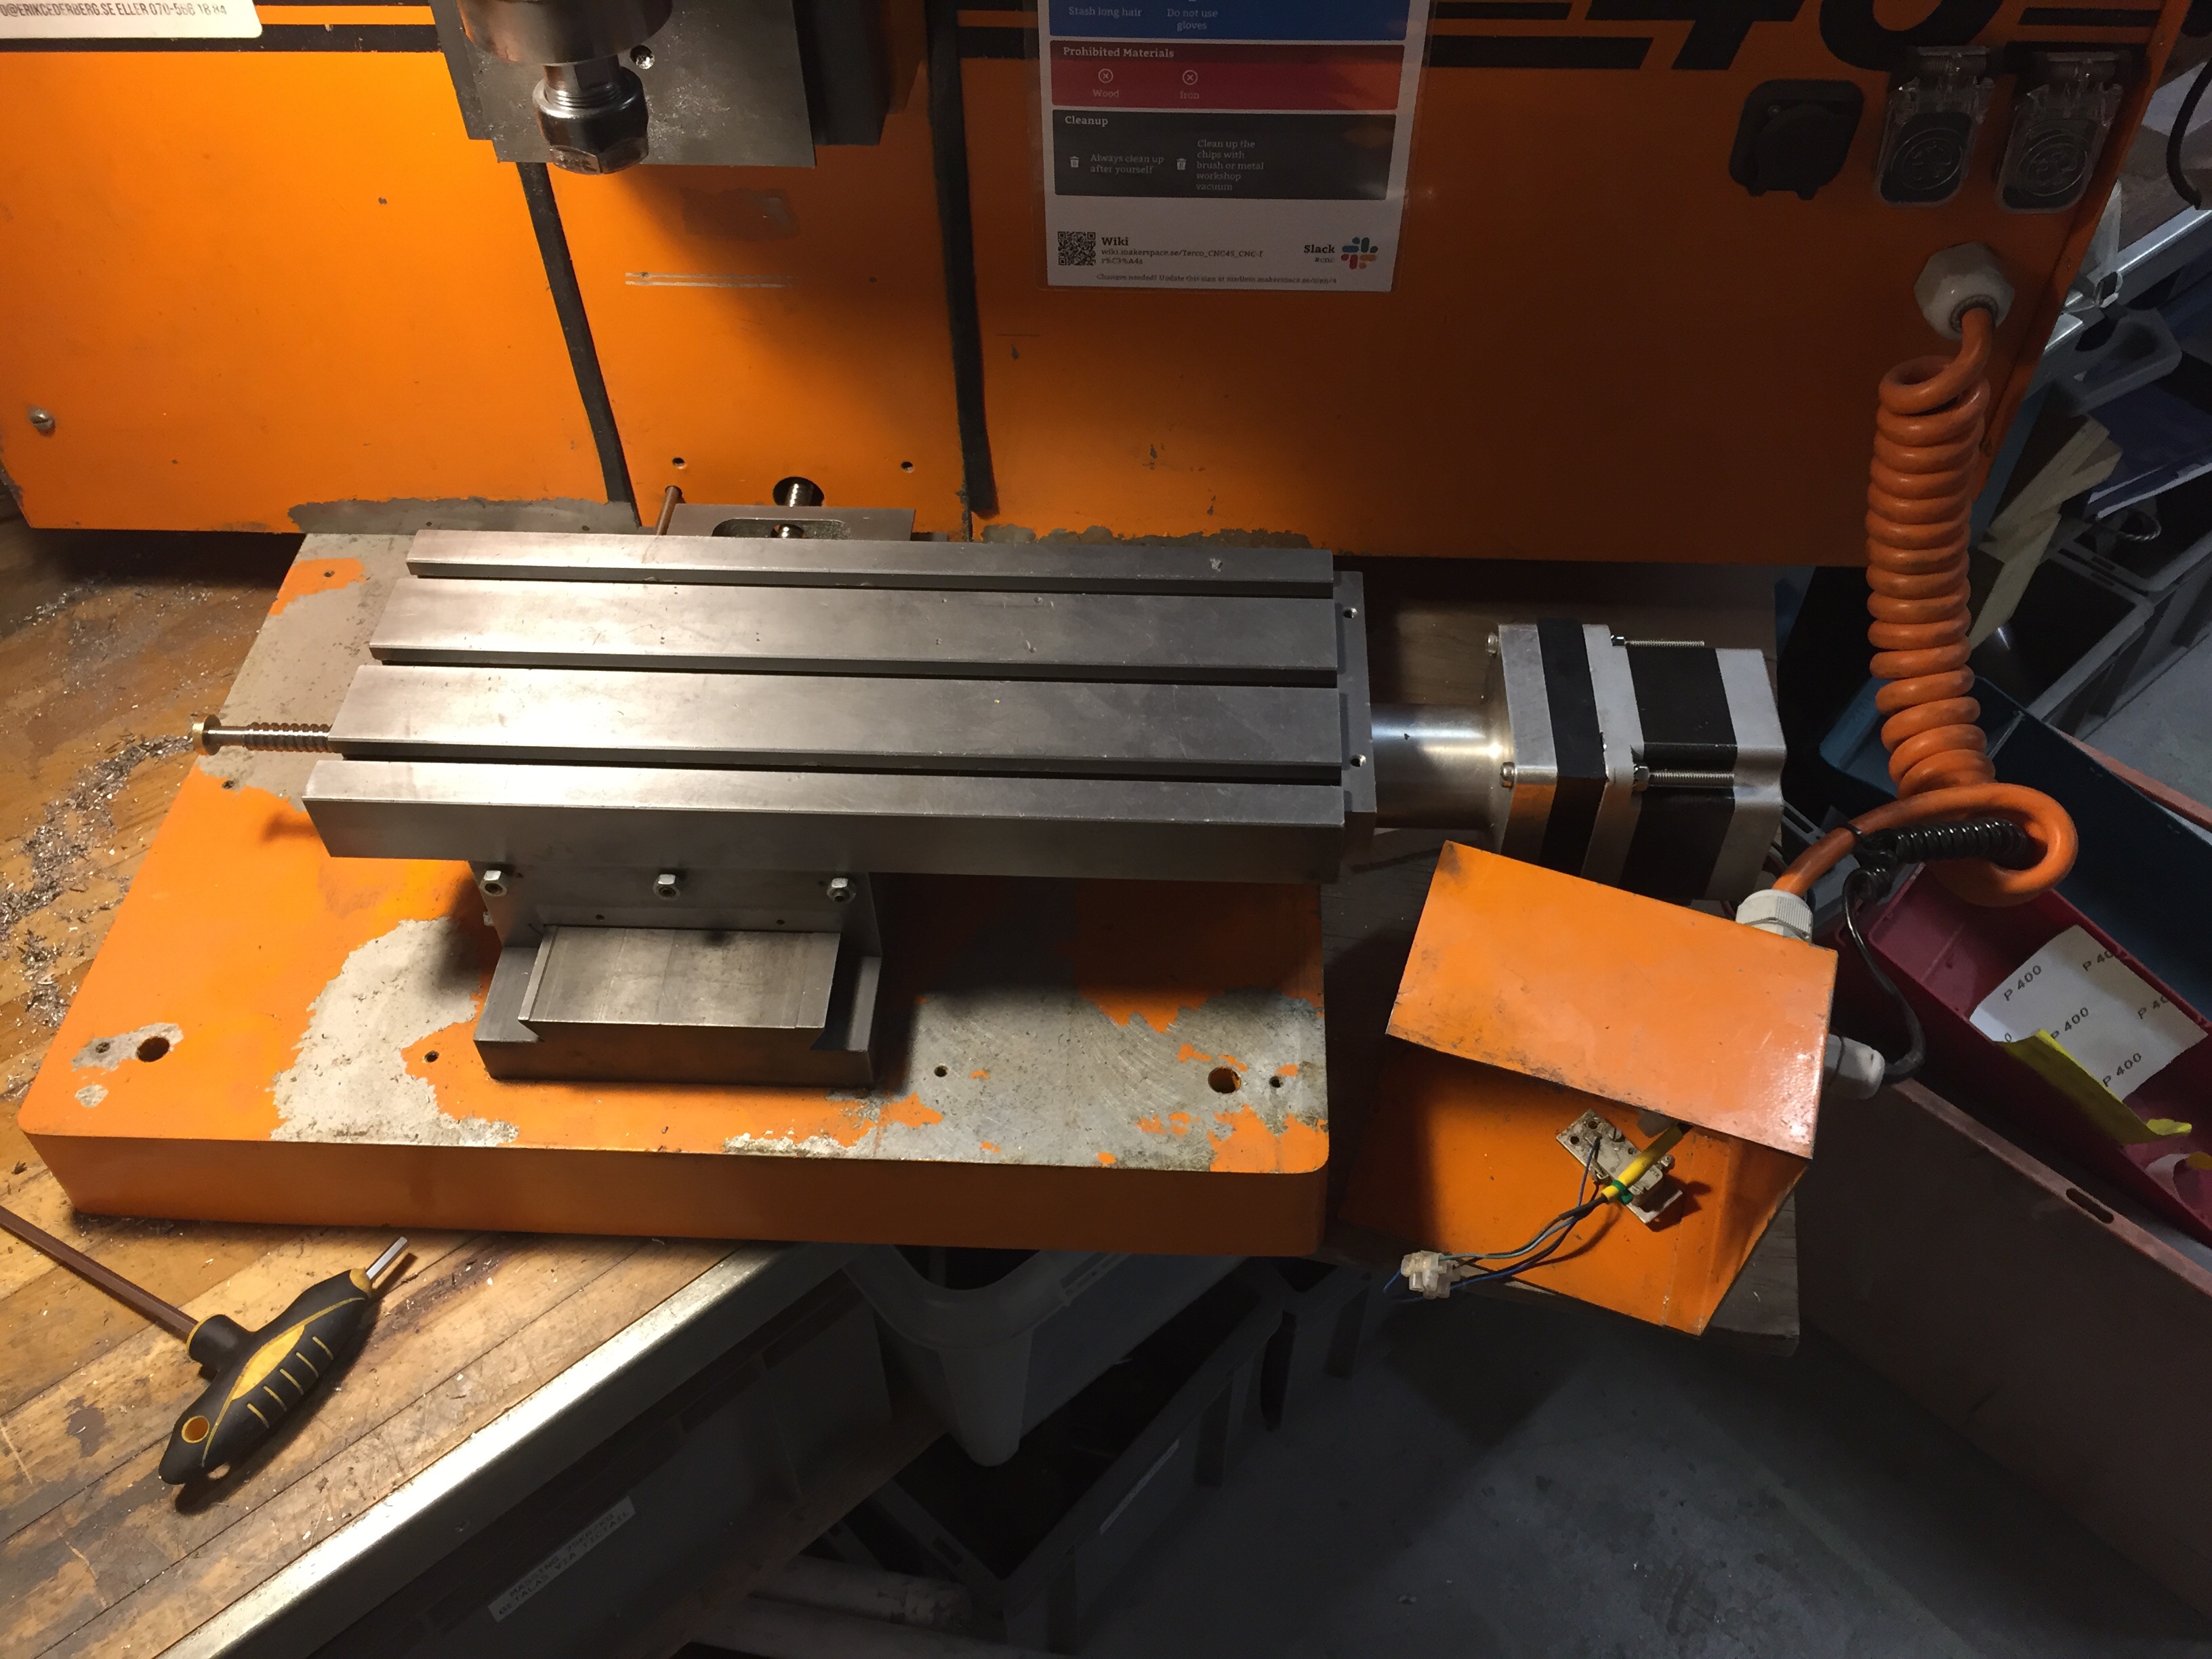
I also realized that my cheating with the bearing fasteners for the Y axis had come back to haunt me as the Y axis was both too tightly shimmed and still wiggled at the same time. not sure you can see it in the image below, but the pin does not go all the way through meaning the axel is not fastened symmetrically in the bearing holder.

So nothing else to do but pull these pieces apart and refasten everything correctly.

Now this is how a bearing should behave. 😀

Finally all pieces are back together and the wiggle is now down to a consistent 5/100. Given that many of the solid parts have a flex of about 1/100, I think this is as good as it gets.

All basic parts in their places!

So now all of the parts needed for actual operation came into place. Happy days!

First up was the X axis.

And a fee limit switches and some cable reattachment with Alvar and we have what could be a working (But ugly and fragile) CNC.

To quote an old colleague “stepper motors waking up are so cute”!

[wpvideo jc7KQ5Go ]

The next step was to check the rigidity of the entire construction….

Yeah, no breaks for me. I was hoping for about 0.02mm flex in the entire thing. Nut it was far above 0.05. That is probably worse than it was before the rebuild…. 🙁

Y axis complete

So today was rather uneventful. Y axis got completed as planned and x axis is almost done too.

First step was to cut out a hole for the now a bit longer motor assembly. Normally, the angle grinder is the tool you go to when all else fails. Not today!

The angle grinder started on a good note but ground (No pun intended) to a halt a few millimeters in. This chassis is not made of regular aluminum I tell you. It has to be some sort of hardened version.

The manual drill saved me and about 20 holes and a crowbar later, voila!

Y axis had to be rebuilt as well with all pieces in the right location. So here it is, a complete Y axis motor assembly.

A few bolts and some nervous seconds when reattaching the ball screw later and the Y axis was done.

And here is the X axis just waiting to be attached as well.