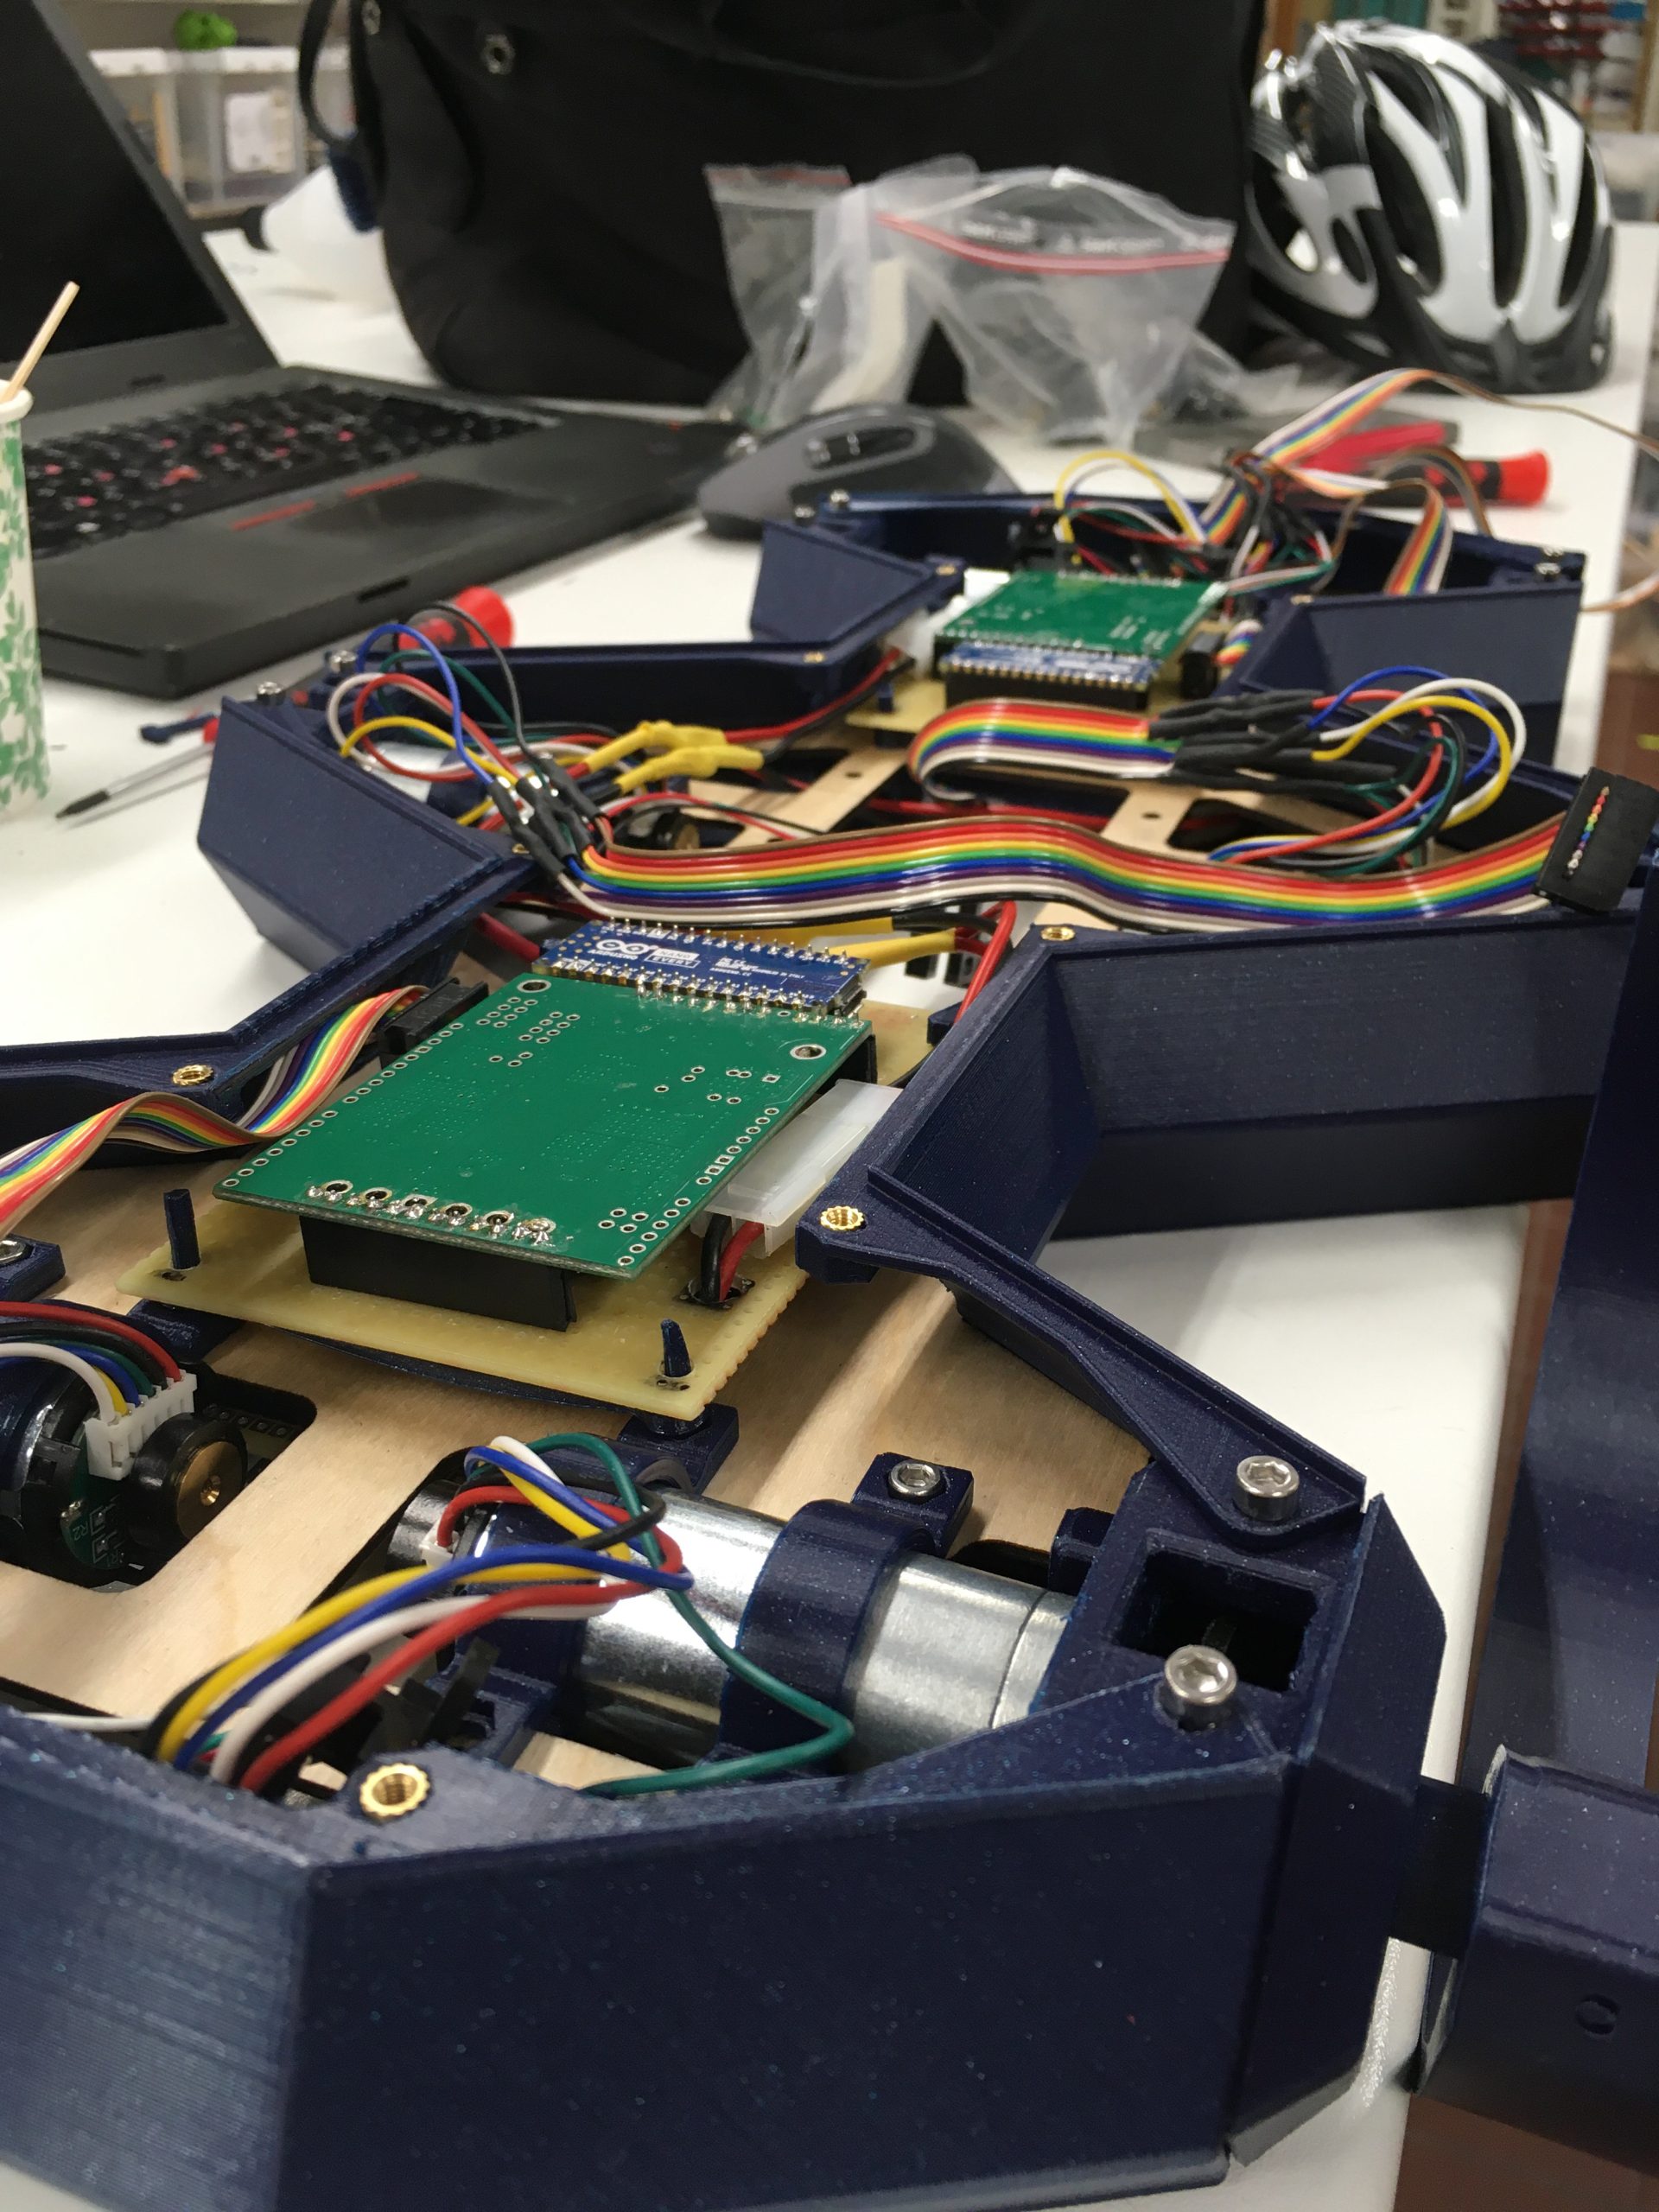
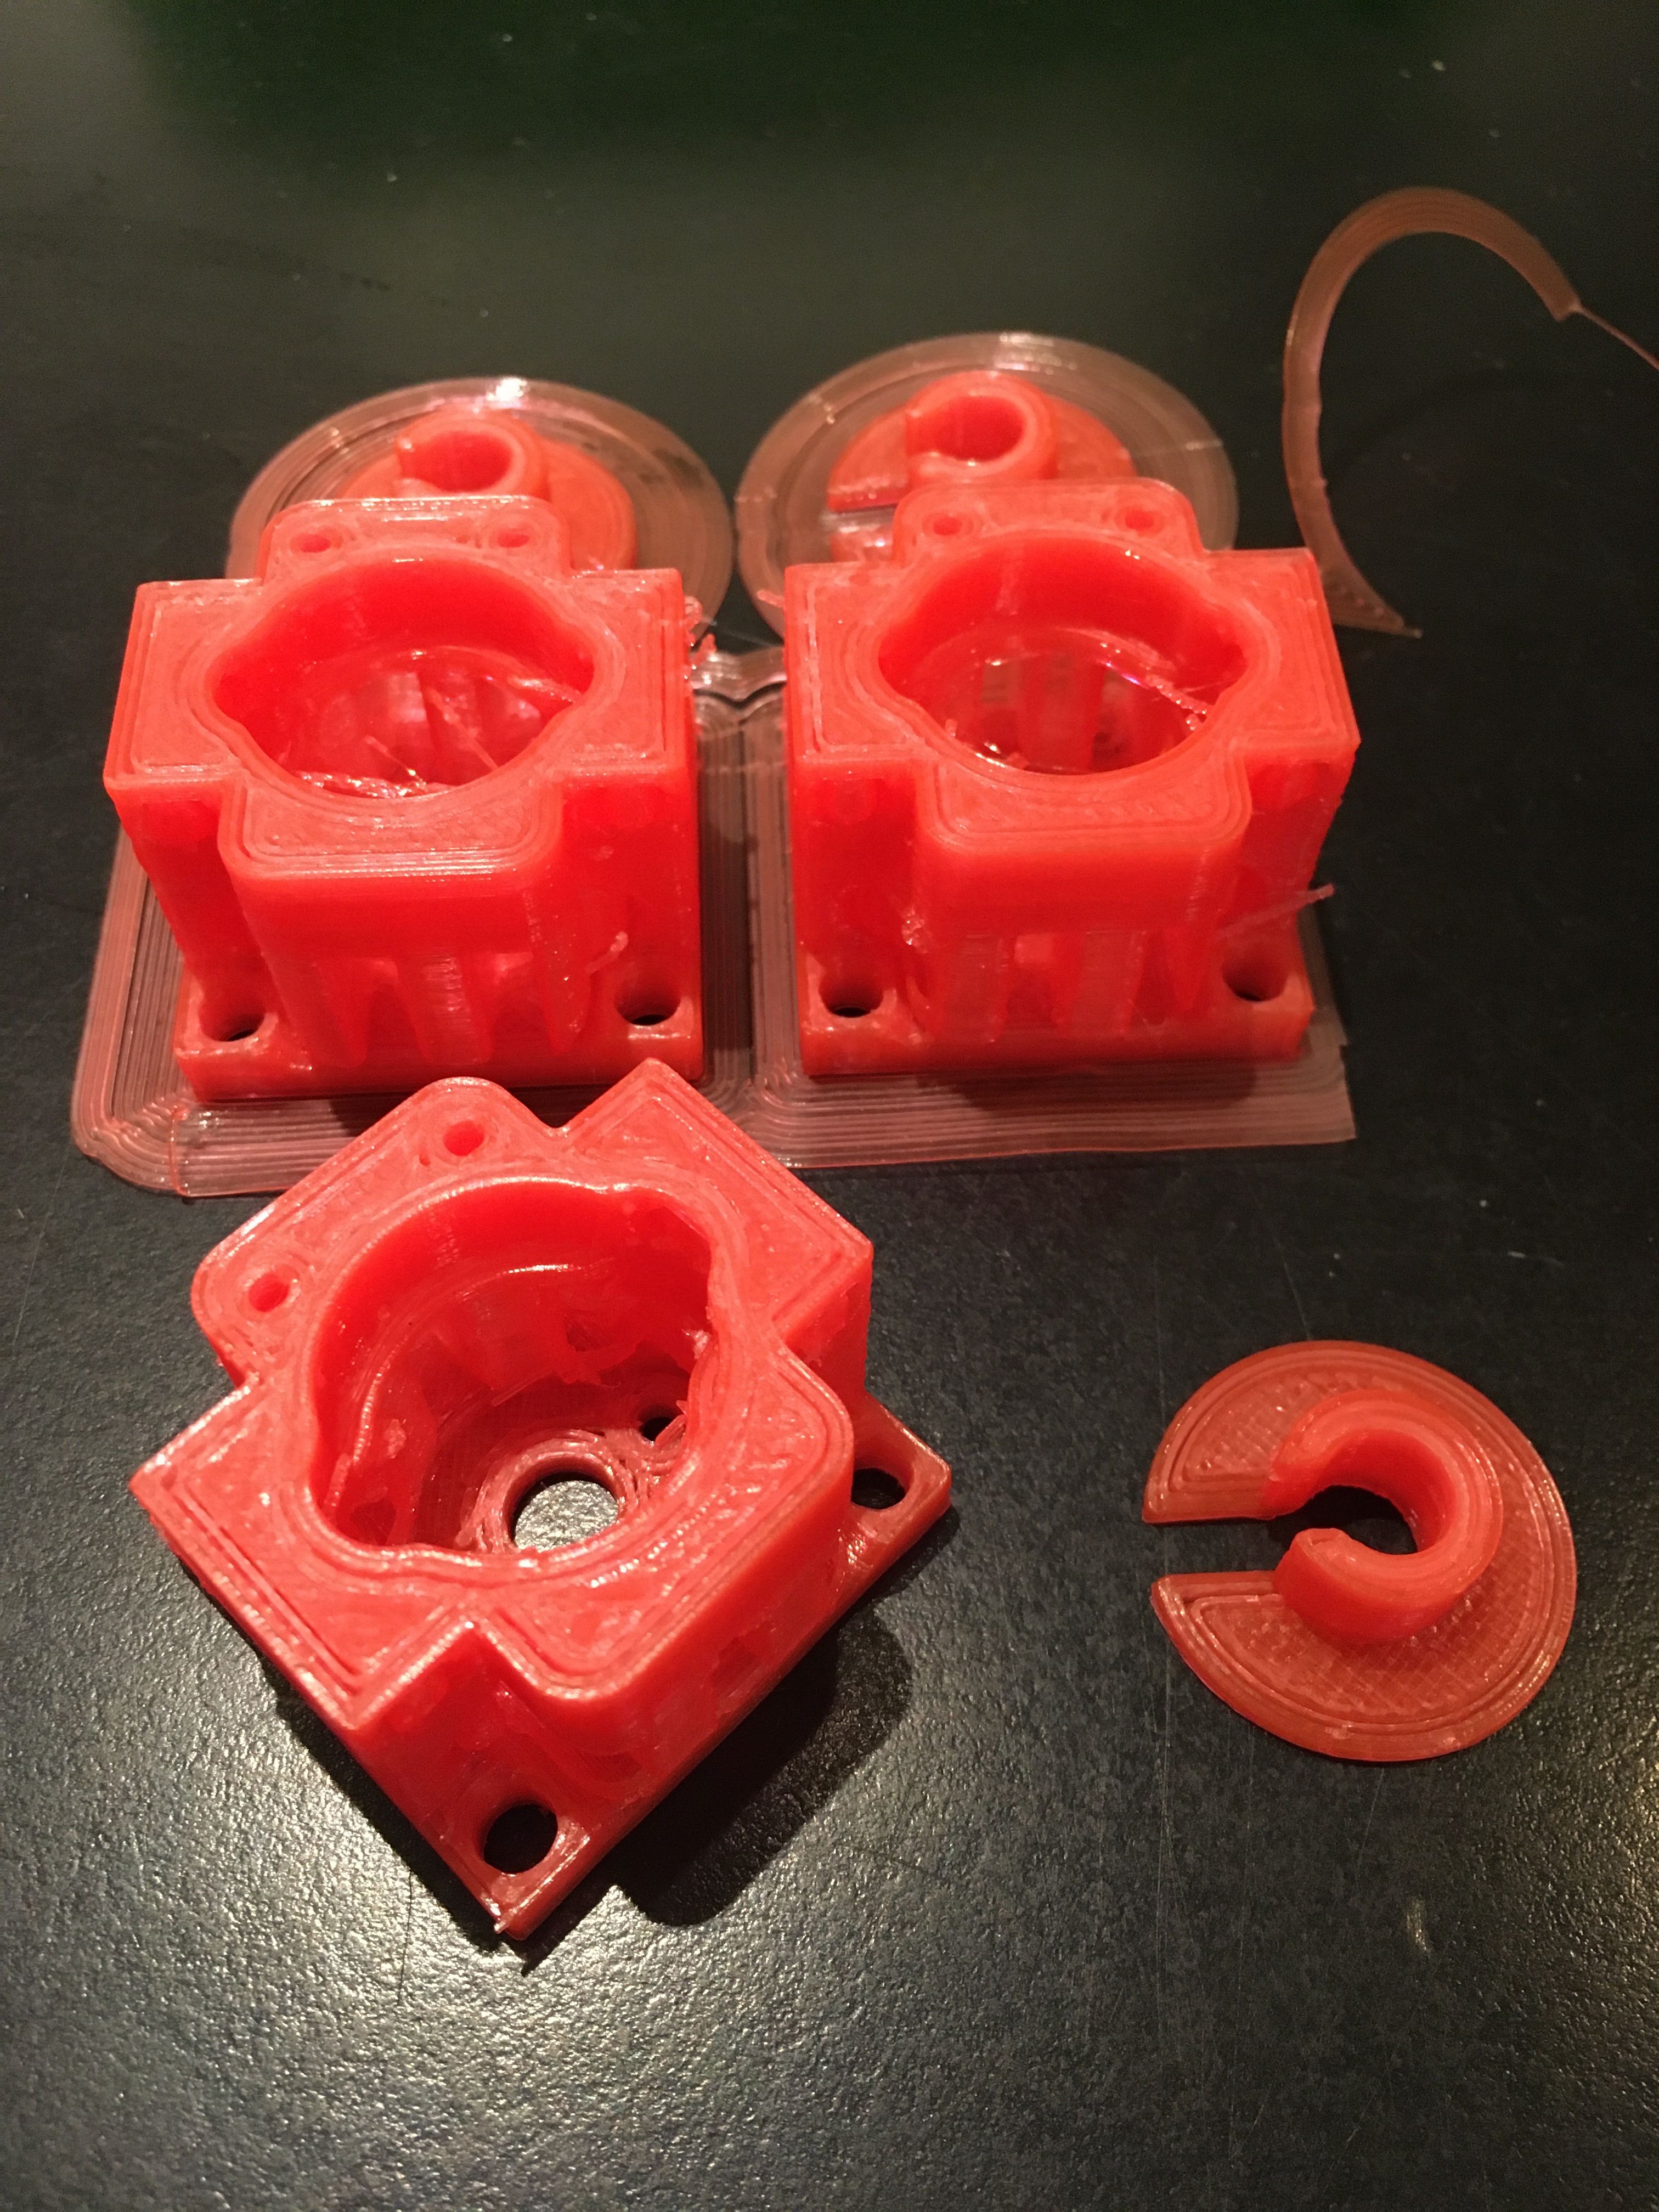
So in order to take a break from CNC, and also learn 3d printing since I will be using that later, I decided to 3d print the plastic parts of the leg joint. Results seem fairly good. The machine had a 0.8mm nozzle so the build is quite rough, but it also makes i stronger which is nice.
Below you see the end result that should allow me to build a complete corner of the robot and see that everything fits.
The only issue is, how do I get rid of the supports? They are super-strong…..
So since milling tiny internal spaces in aluminum on the Terco without flood coolant seems to not work out, I am redesigning the robot chassis to use Delrin joints with 3d-printed sides reinforced with aluminum tubes.
While I am doing that, I took a detour and did some wood-working that I have been putting off for a while.
Project 1: Serving cutting board
So my first major project at the Makerspace was a cross-grain birch cuting board and I spent more than a month on it. A few months back, I found a piece of cross-grain oak in the “free-to-take” bin. Slightly warped, but OK as a starting point. It was too small to be a primary cutting board (Which is why I assume it was tossed away), but as a serving board it is perfect.
Today I locked it down in the Portal and cut it perfectly flat. Some touching up of the sides and edges and voilá! Buying one of these costs over 1000 sek….
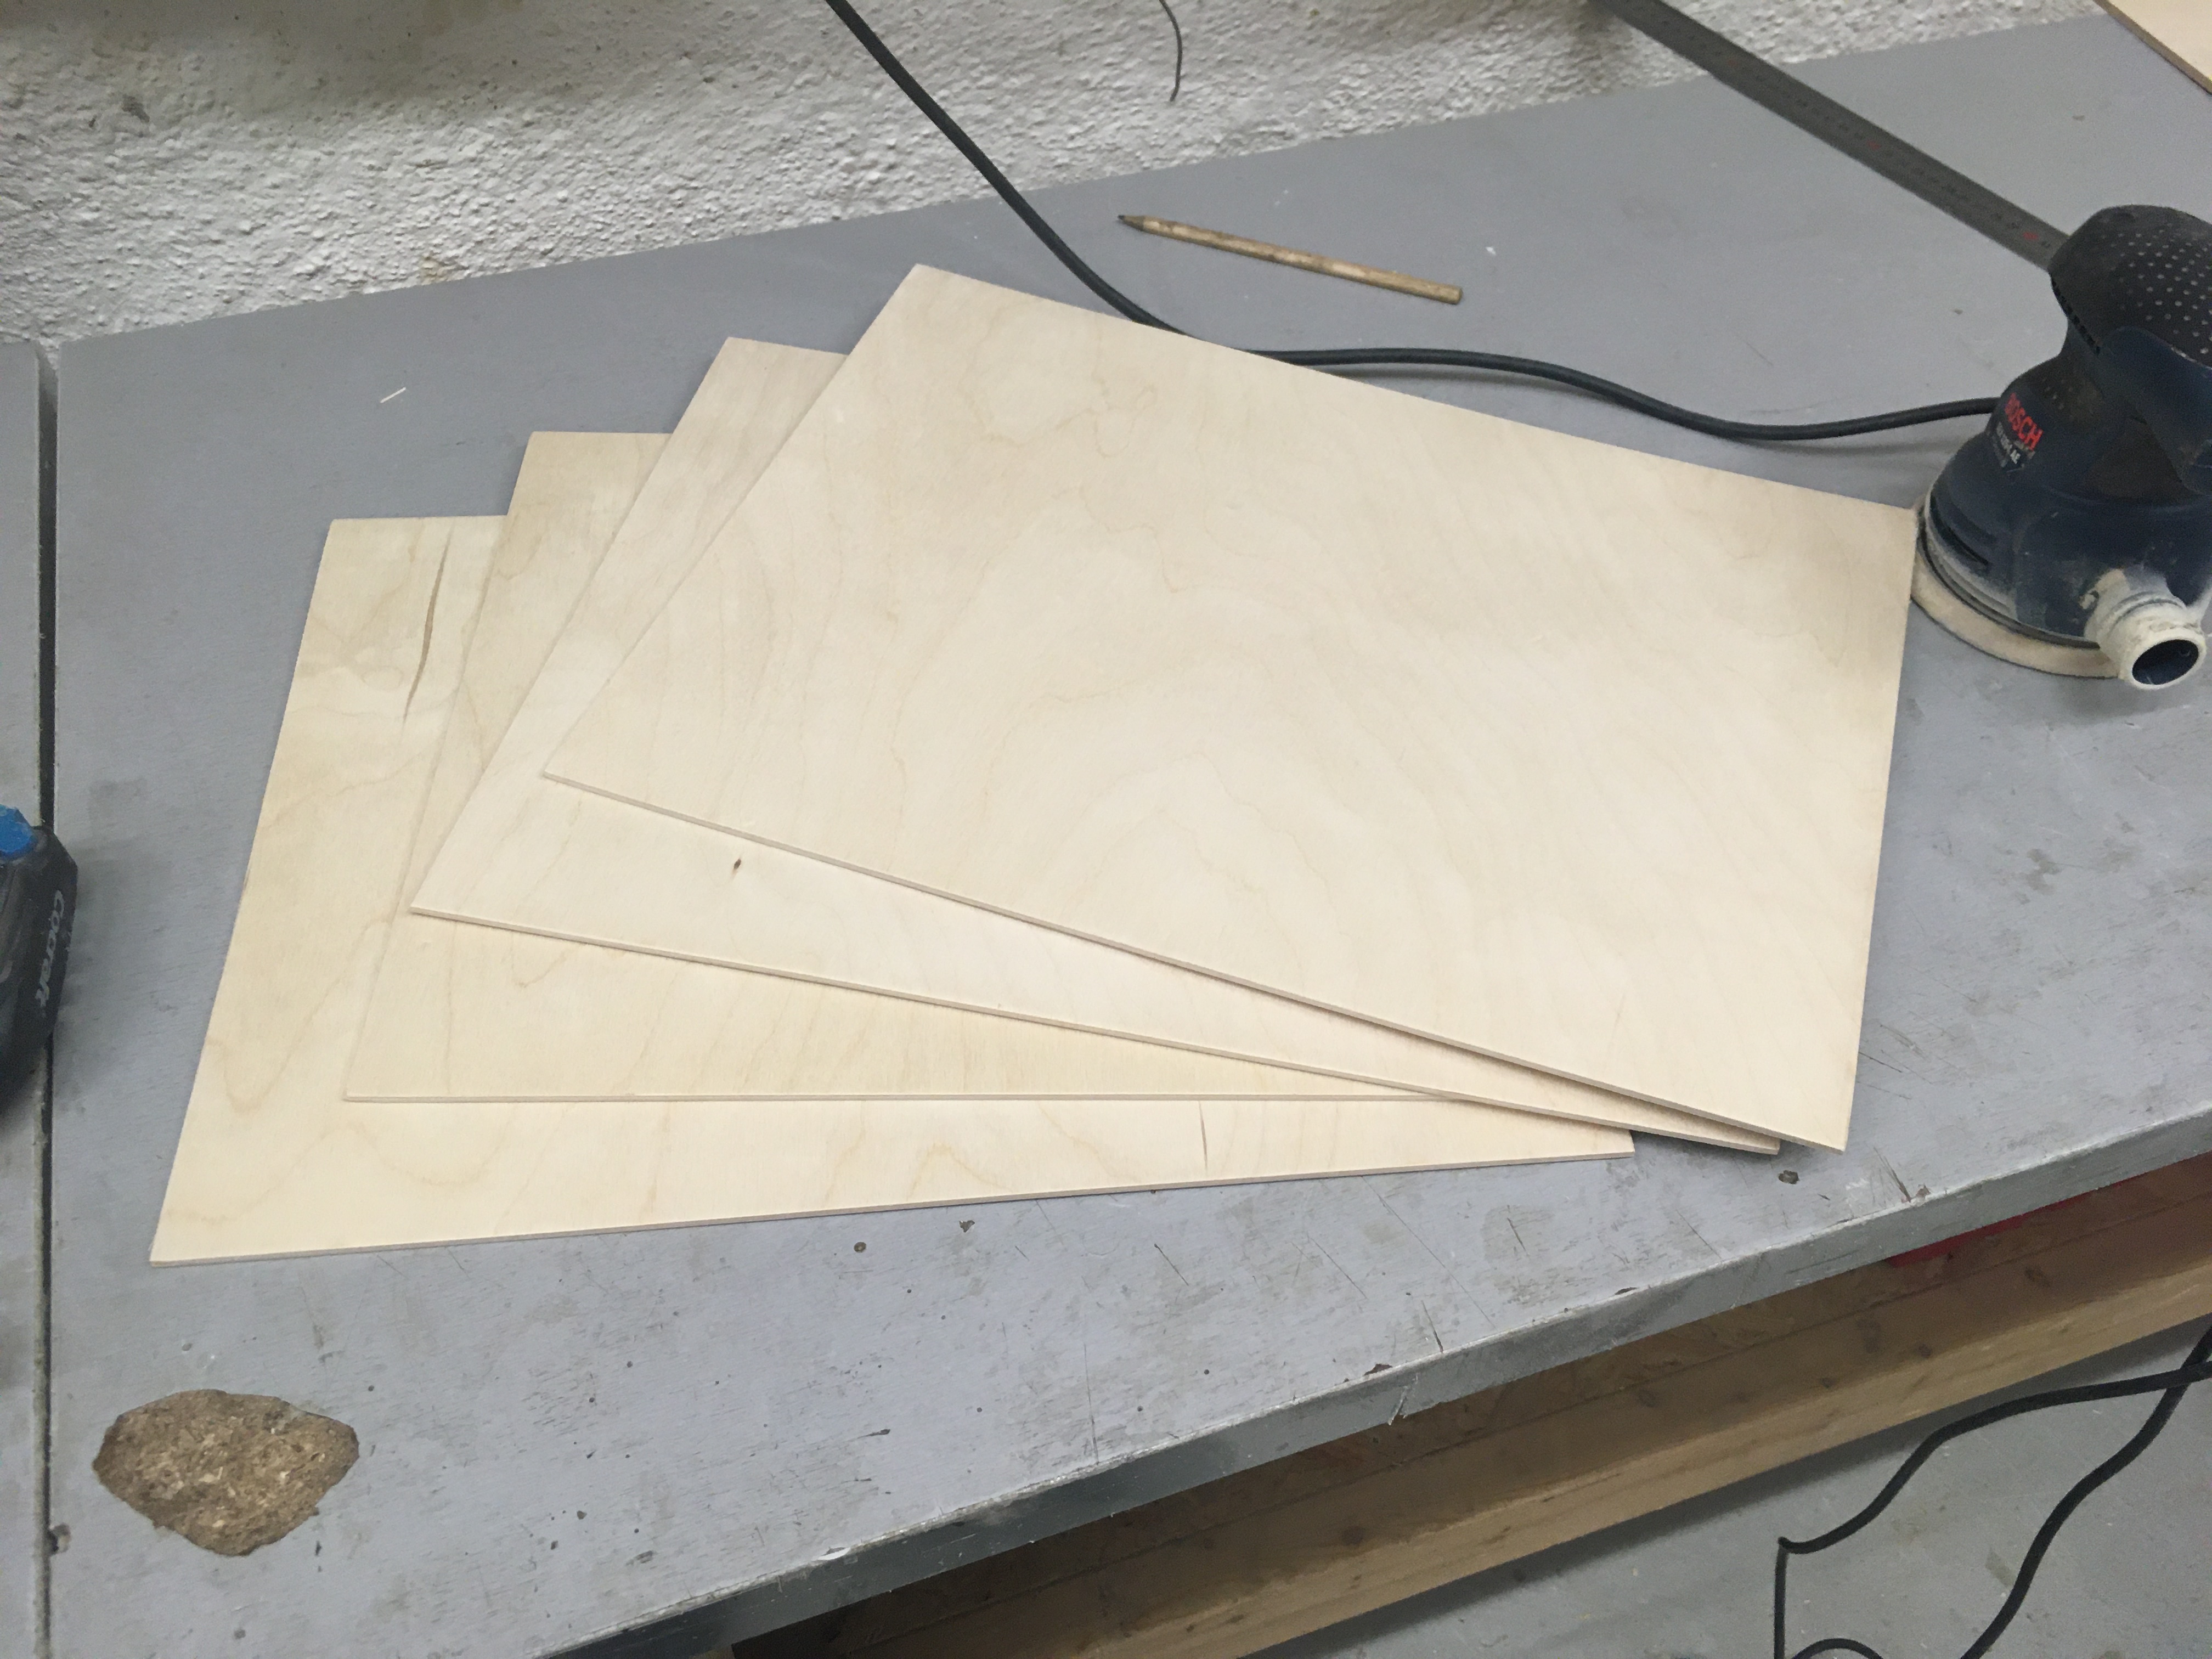
Project 2: Breadboards
No, not that kind! 😛 The original kind that you let bread rise on when baking. Four thin boards exactly the size of a non-stick paper means that we can let a full set of buns rise in our rack while the baking pans remain in the oven meaning we can bake on hot pans, which is a lot better.
Project 3: Camping sideboard
So a few weeks back, we bought two of these magnificent (and also embarrassingly expensive) potable grill racks.
The idea was to use one for actual grilling, and then set up the other one to the side to keep things on. The one thing I dislike about making food in the outdoors is that you never have a flat surface to put things on. Everything is always sort of lying around and leaning against things, and occasionally tipping over when someone (And not always the kids) walks too close.
It sort of works, but the issue with using the grill for this is that the surface isn’t really large enough and firm enough. So now I have made a flat table surface to put on top of the spare grill. More than 43x43cm of solid and flat surface to put things on.
The square groove you see is so that this tabletop will not slide off of the grill. Since I was using the CNC and for some reason it cut a bit deeper than I had planned, I just went with the flow and added some lightening holes to it. The end result is fairly stiff, but really light!
So why exactly 44×44 cm, you might ask (or not..)? Well, there is this thing with CNC that it never goes right on the first attempt. This time, I did a convoluted way of figuring out where my X and Y zero position should be, and not unexpectedly, that complication meant that I made an error of thought and got an offset of about 8mm in X and Y. So I had to trim off about a centimeter on two of the sides to make it symmetric again.
As for why it cut deeper than I had planned, that I do not know. I am thinking that the portal has some tool offset stuff that it is not handling right. Someone should check that…..
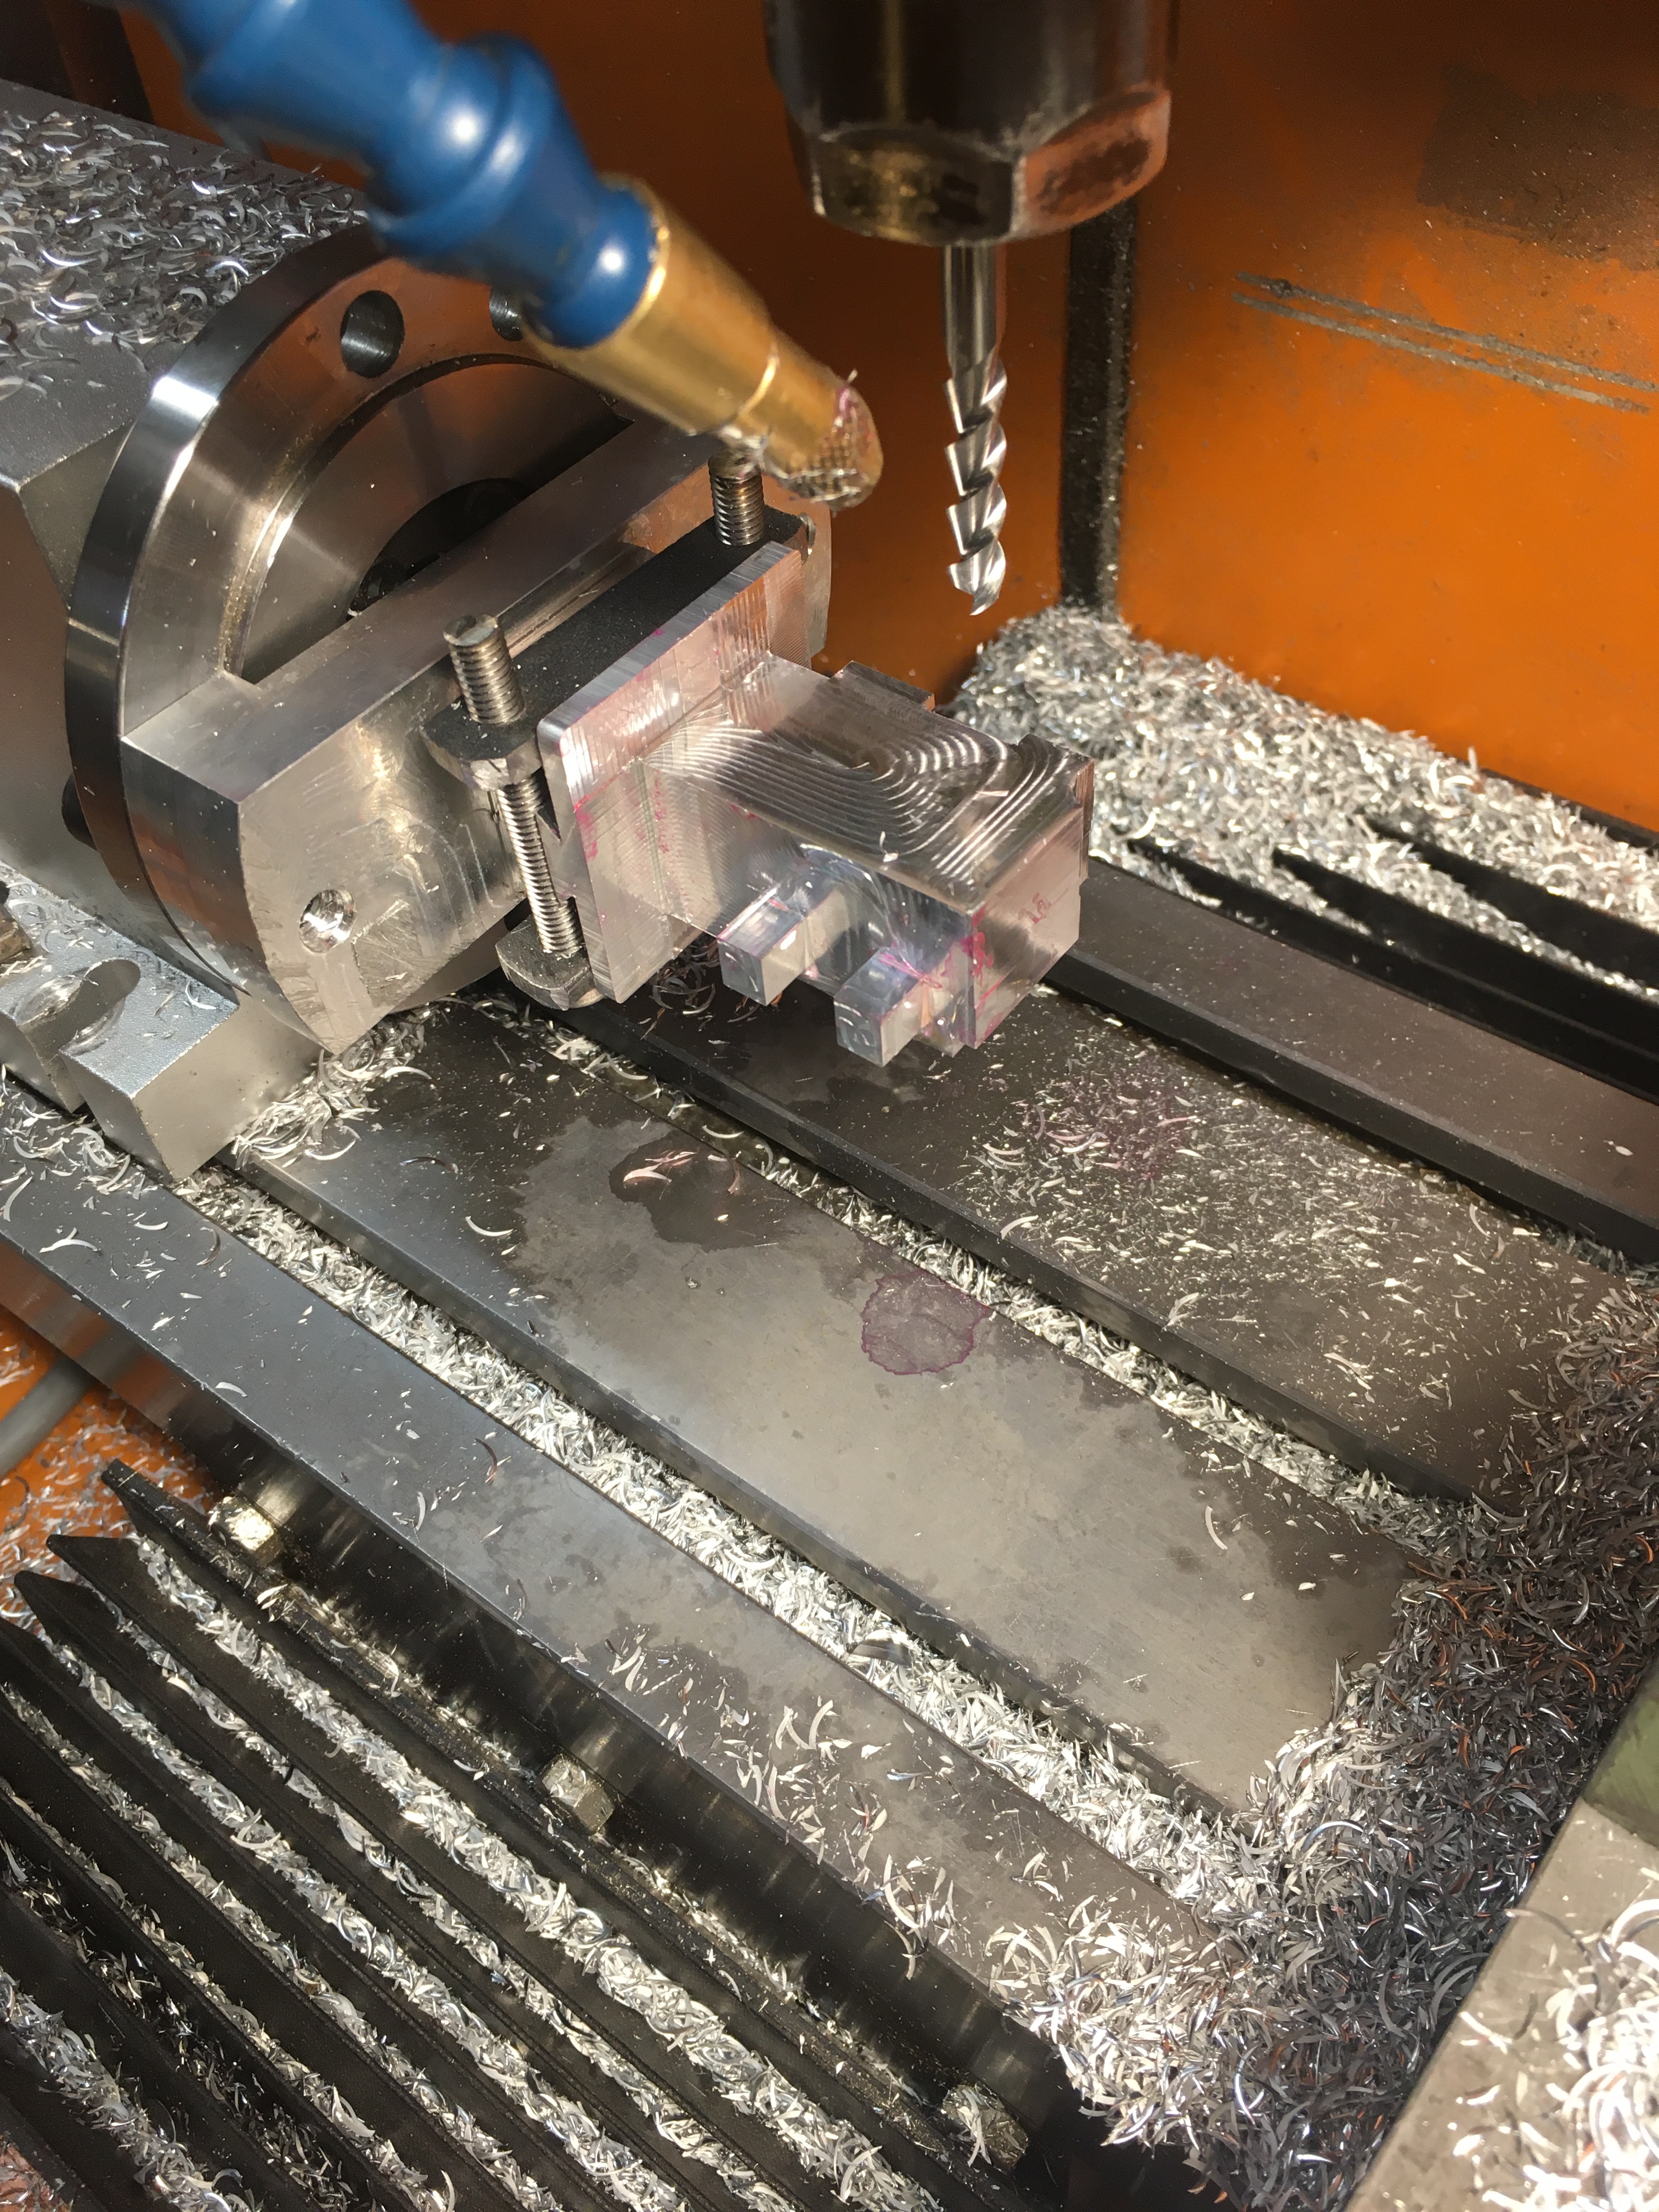
It works amazingly good. Solid, simple and precise. No audible vibrations of any kind. So that was the good news.
The bad news is that the 4th axis apparently was configured to turn the wrong way. So I got something that was not quite a mirror image of my piece. Had it been a perfect mirror image it would have been fine, but alas. One more piece for the garbage bin.
In addition, I realize that the small and deep hollows that I want in this piece are simply not possible to do in aluminum with the mister that we have. I would need proper flood coolant to clear away all of the chips.
So in a way, I am glad that more than one thing went wrong.
So what to do now?
I will redesign the robot chassis to be made up of plastic parts reinforced with aluminum tubes. I will also give 3d printing a shot and print a complete set of pieces and build the entire thing. Then I can decide if I want to mill the plastic pieces from Delrin for the final version or not.