Community service

Today I focused mostly on improving things at the makerspace.

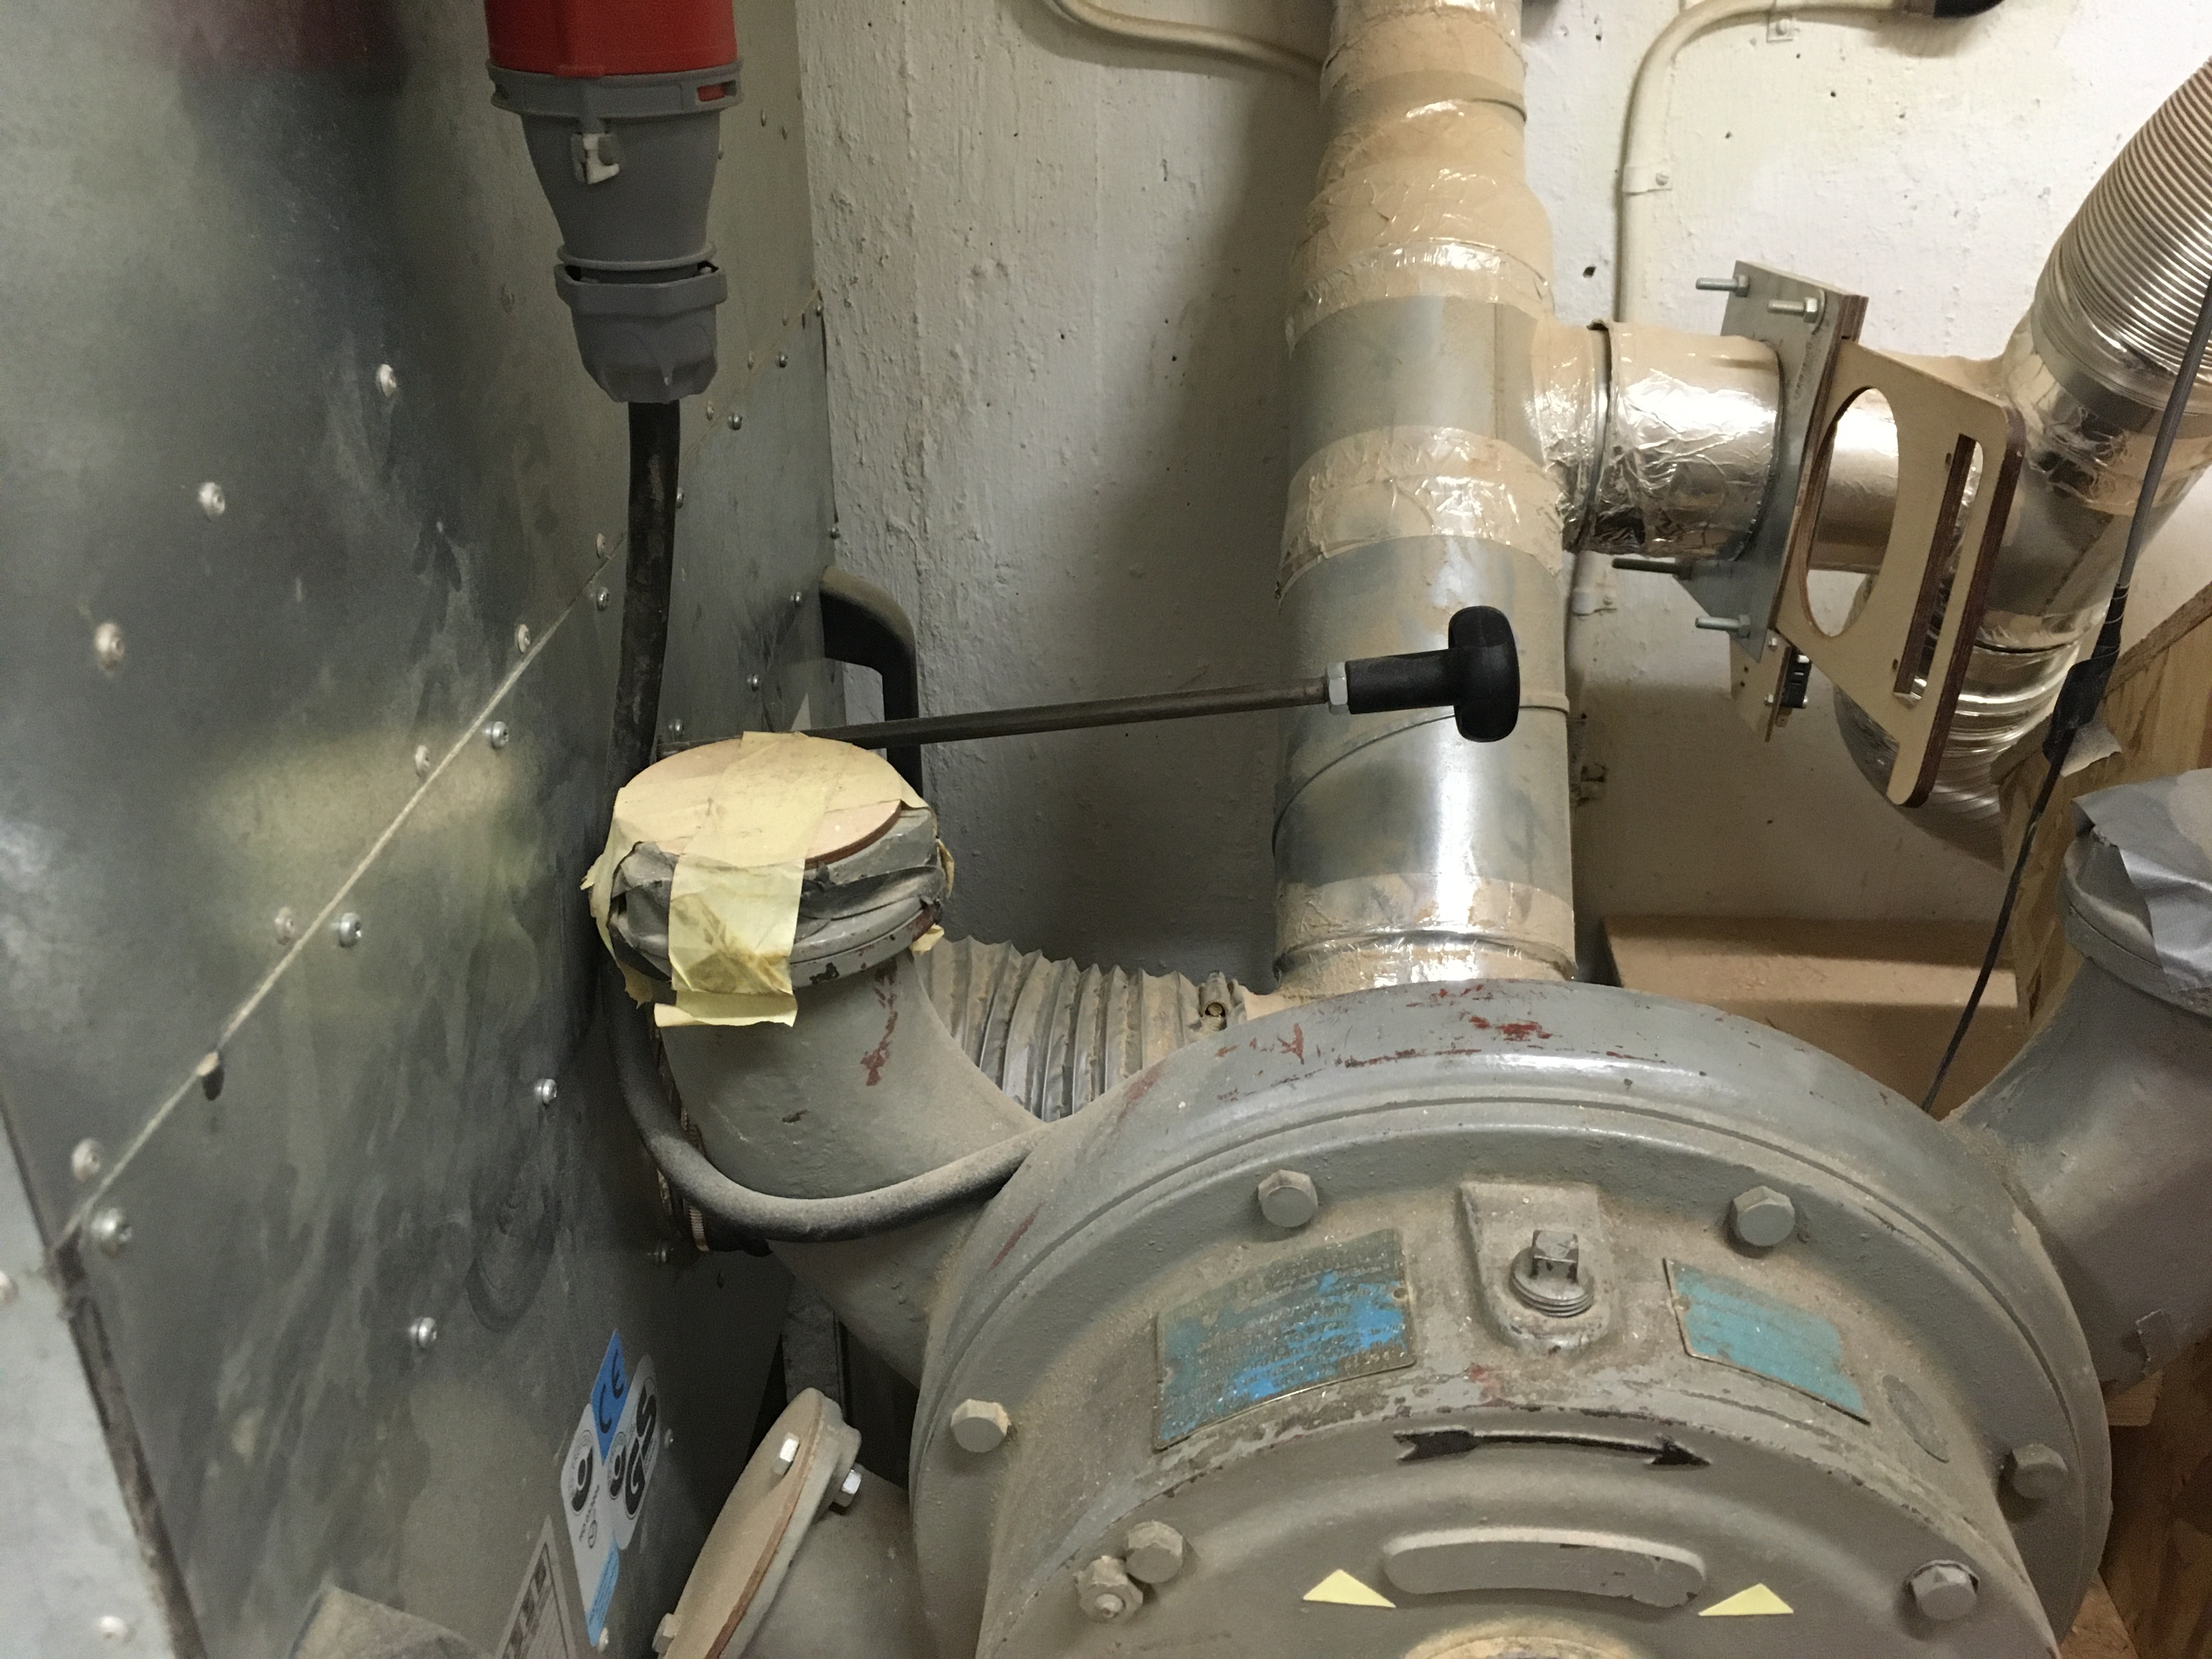
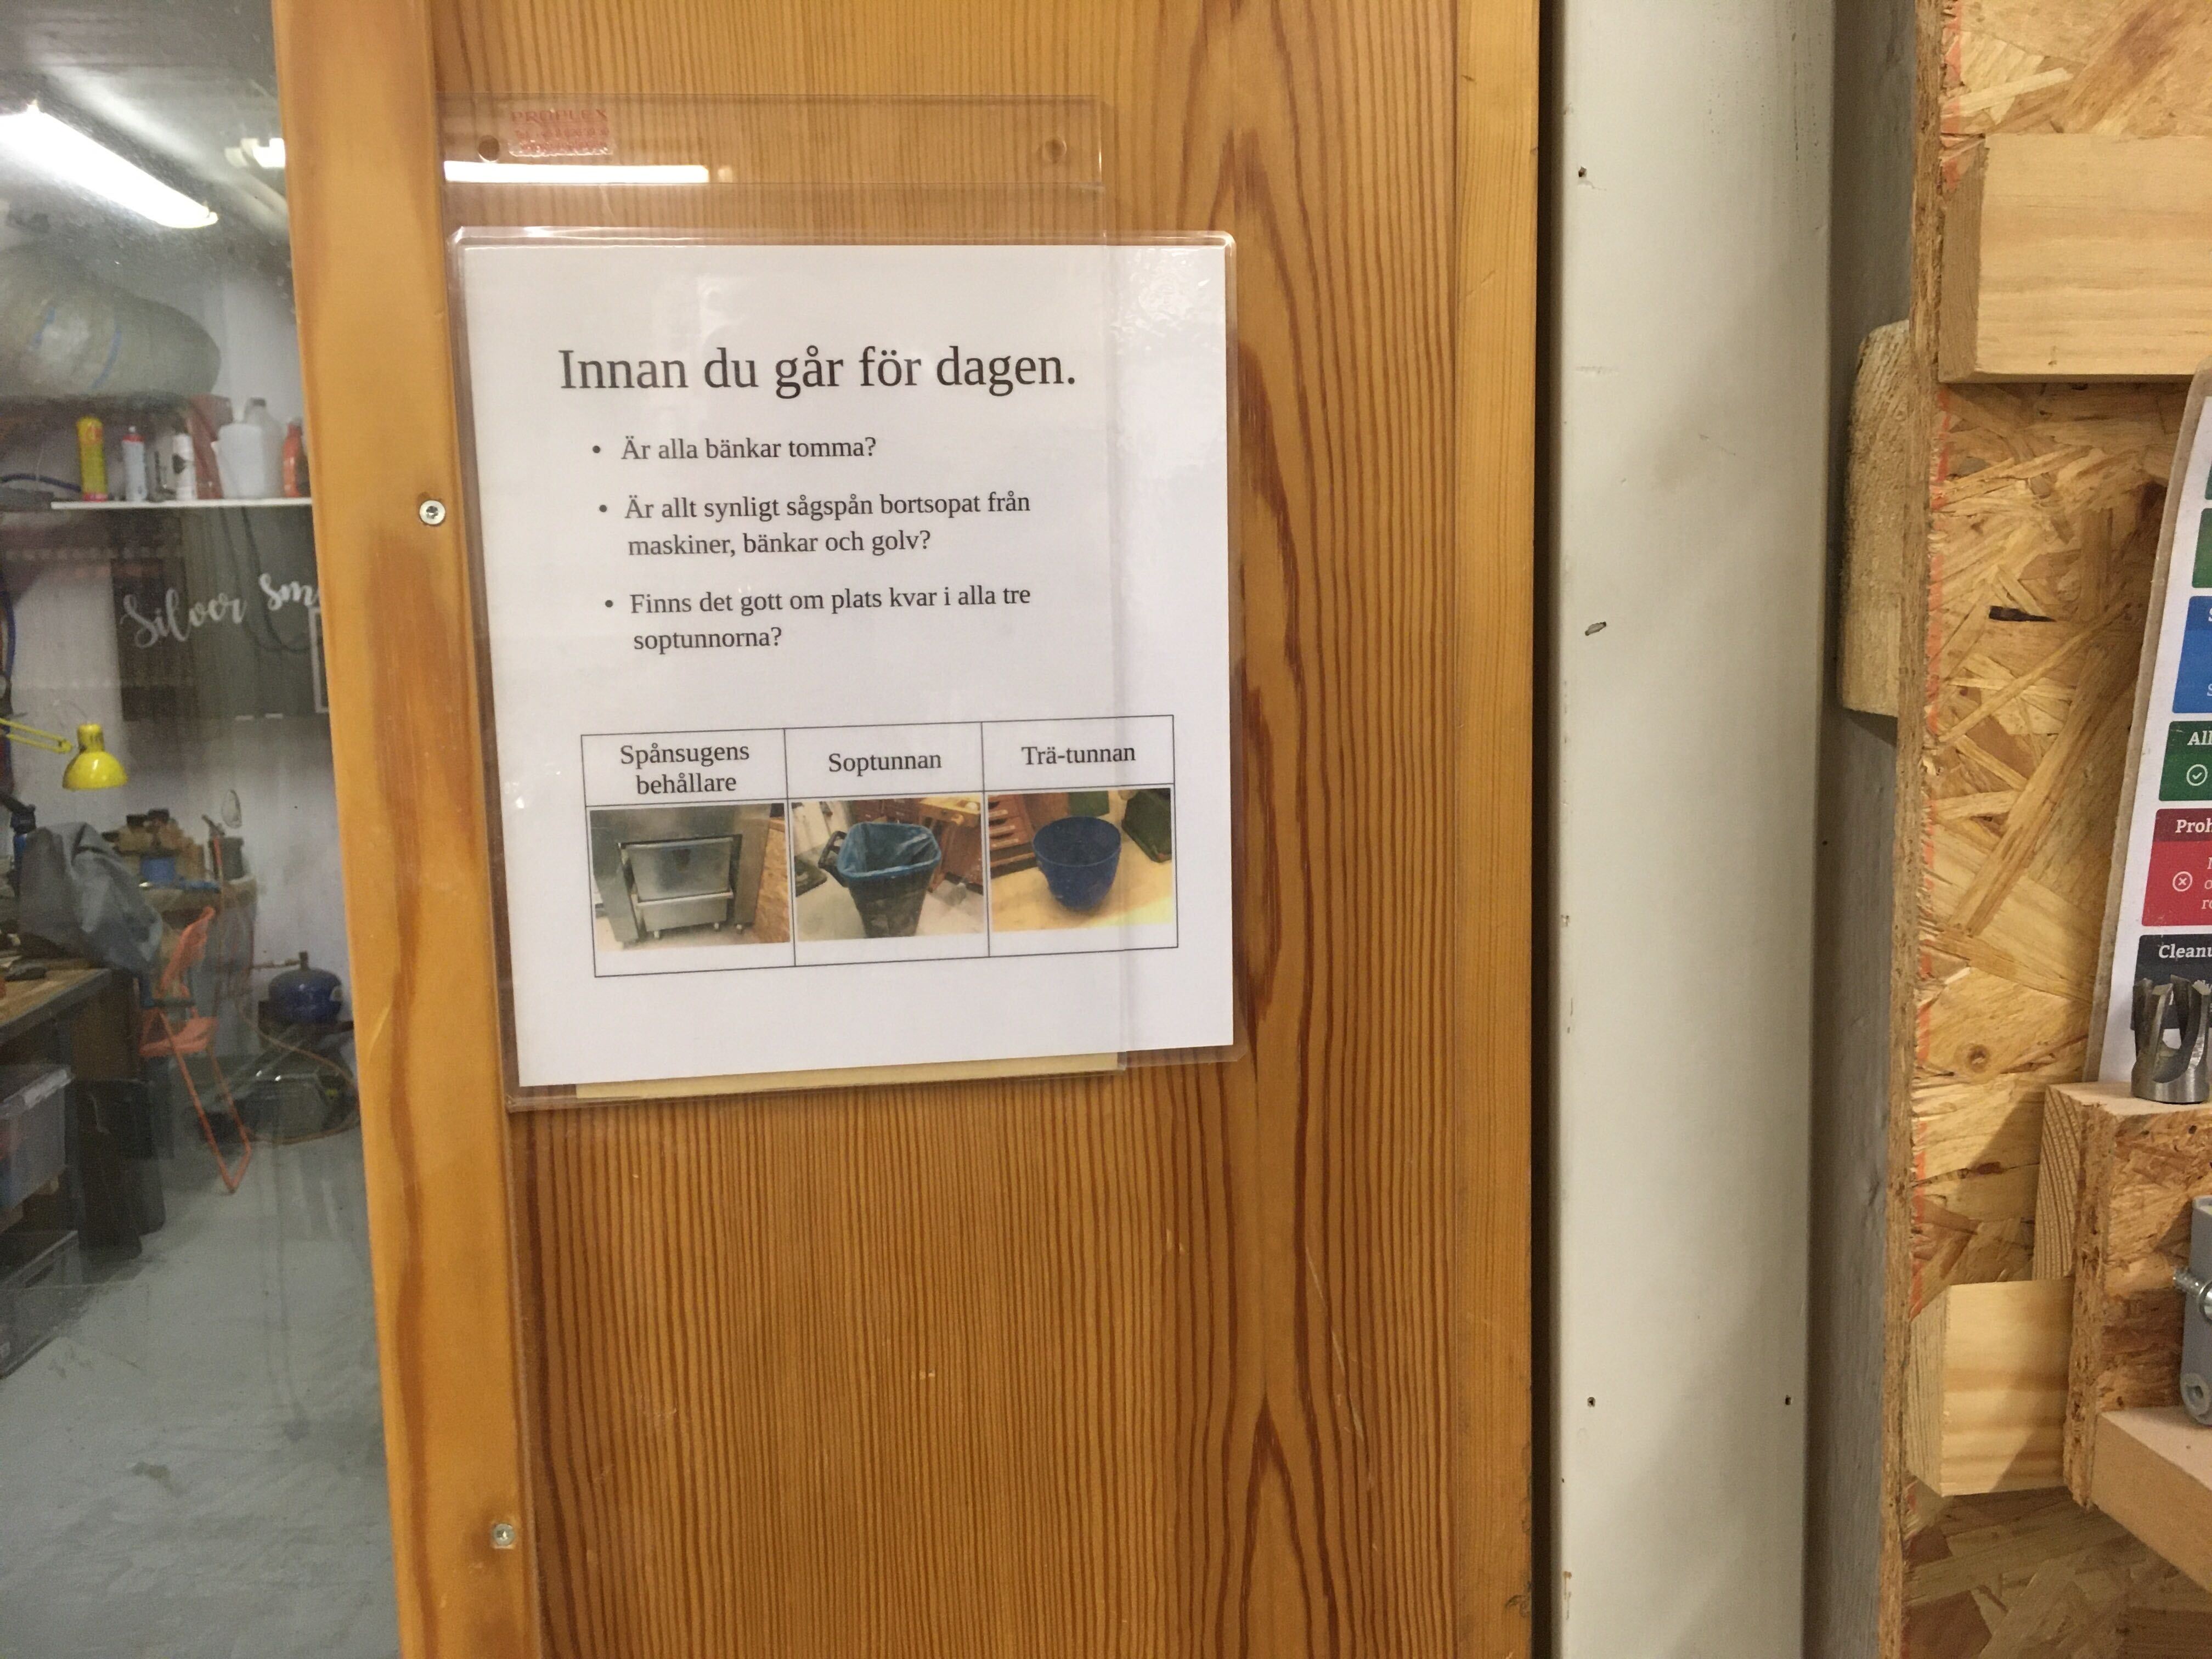
Short and friendly signs on the planar and the doors. Better instructions and some helpful arrows on the chip evacuator. And a shelf for the fourth axixs driver for the Terco. That last one was one of the uglyest things I have made in a long time, but for about 10 minutes of work and the joy of using a nail gun for the first time I am fairly pleased.

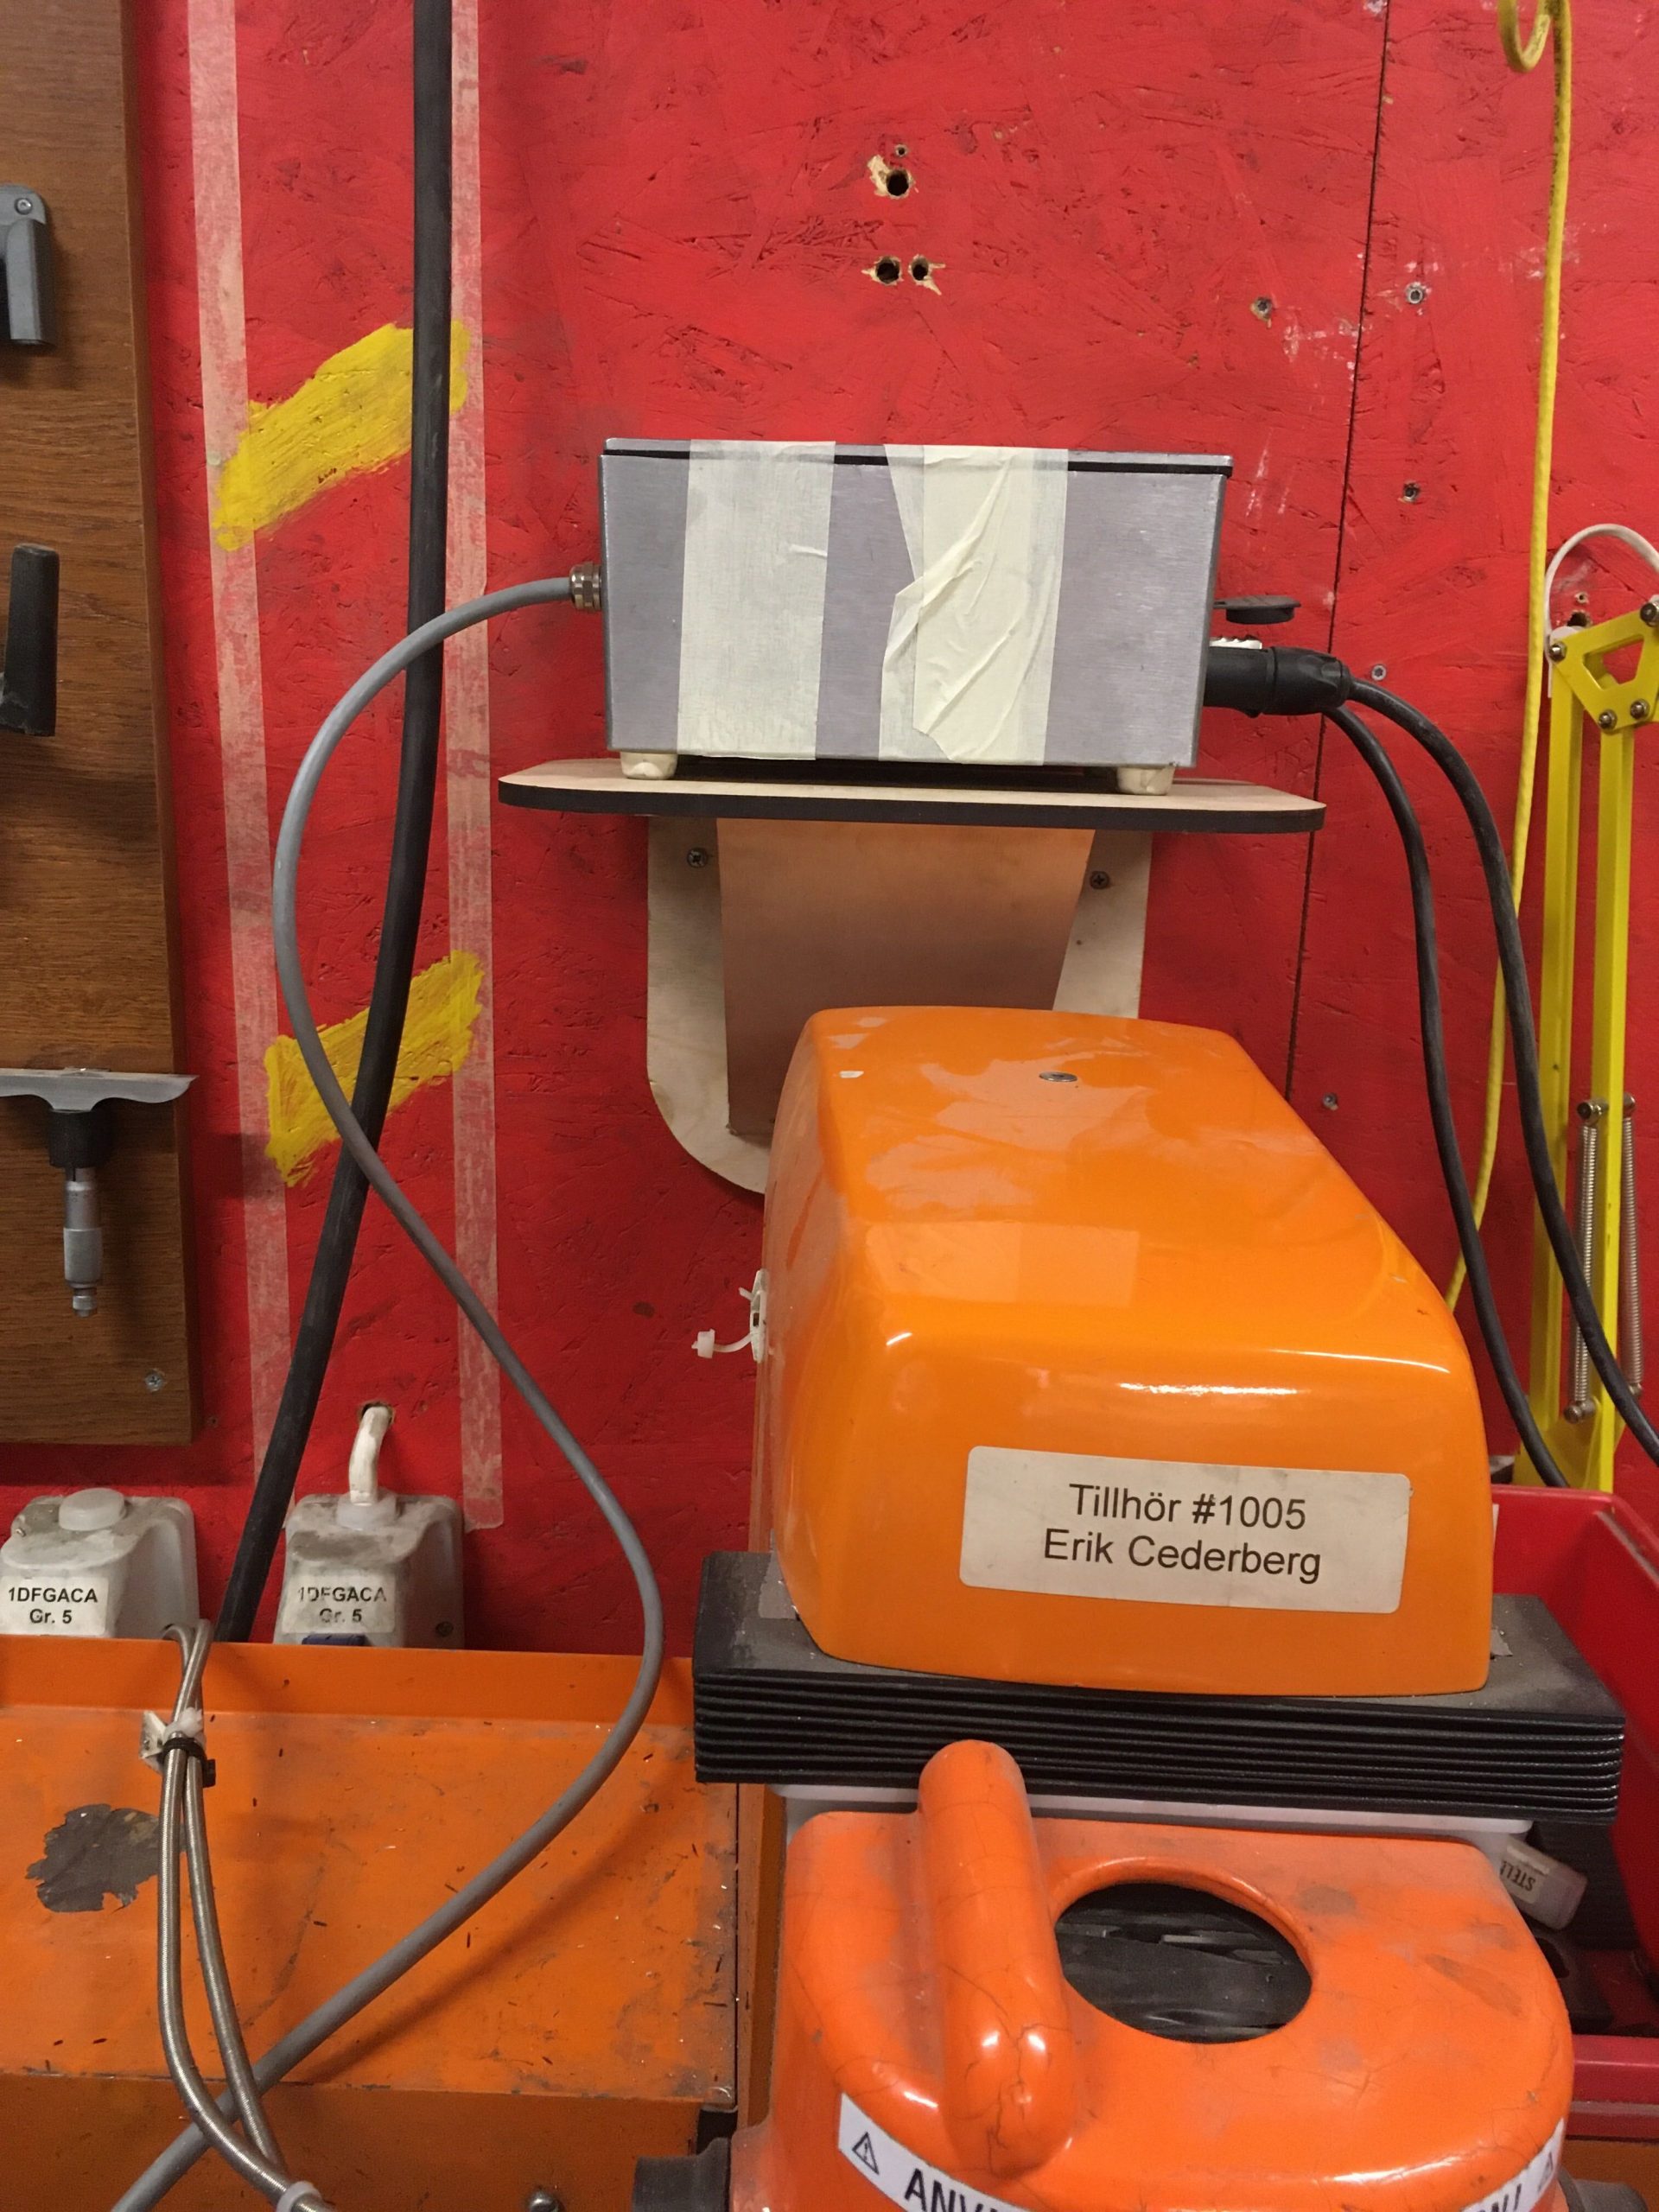
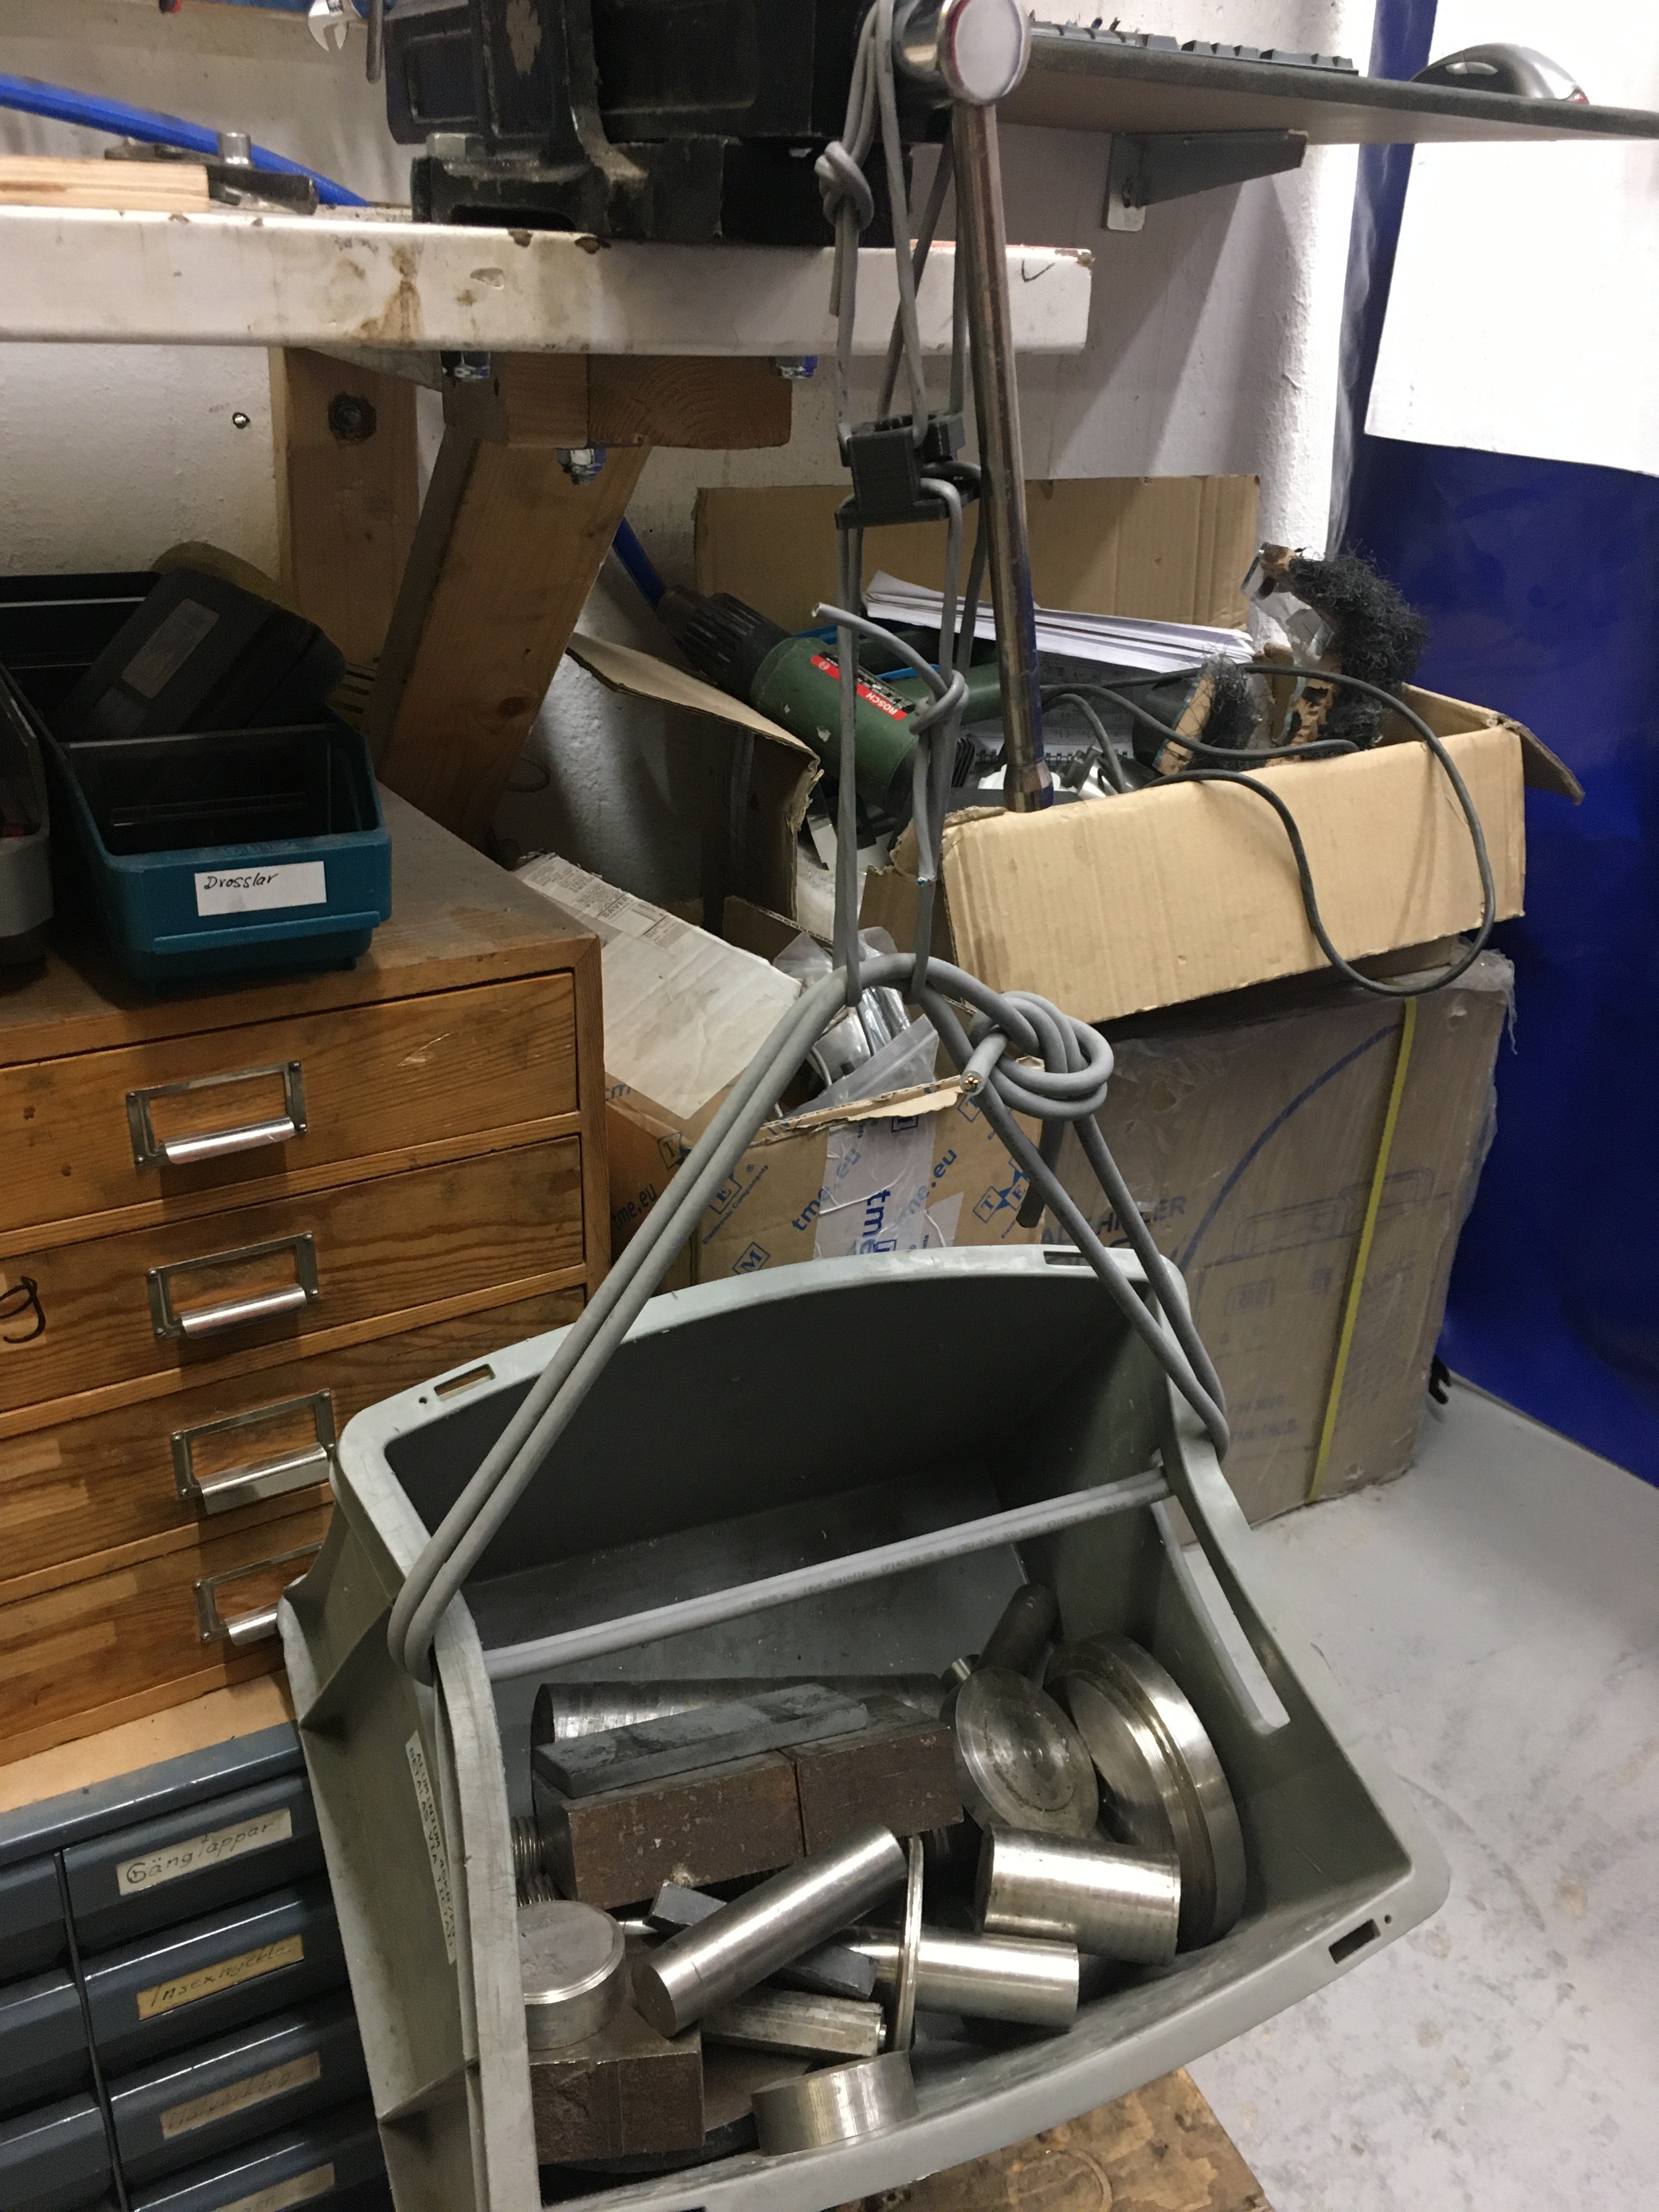
Also, I started performing the load testing on the 3d printed parts that Eric had made from different materials. Enthusiastically, I started with the PLA in the belief that I could break it….. Turns out that it doesn’t even grumbe under 20 kgs. The box you see below weight in at much more than 20kgs, probably something like 30kgs but the scale did not go that high.

Yeah, you can hardly see the part being tested in the picture. It is the small black cube in the middle. Surface area at the weakest point is less than 2cm2.

At this point, I decided that continuing would be irresponsible, so I ended the test there and then. In order to continue, I would need a newton meter that can handle at least 1000N, and probably 10 times as much.

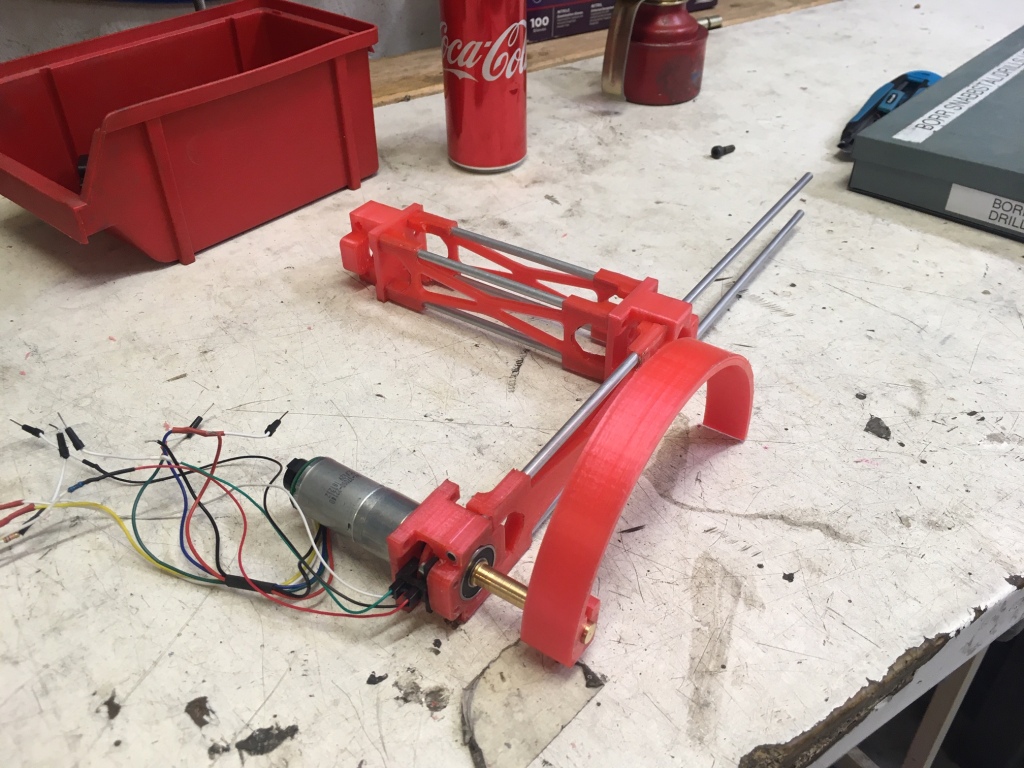
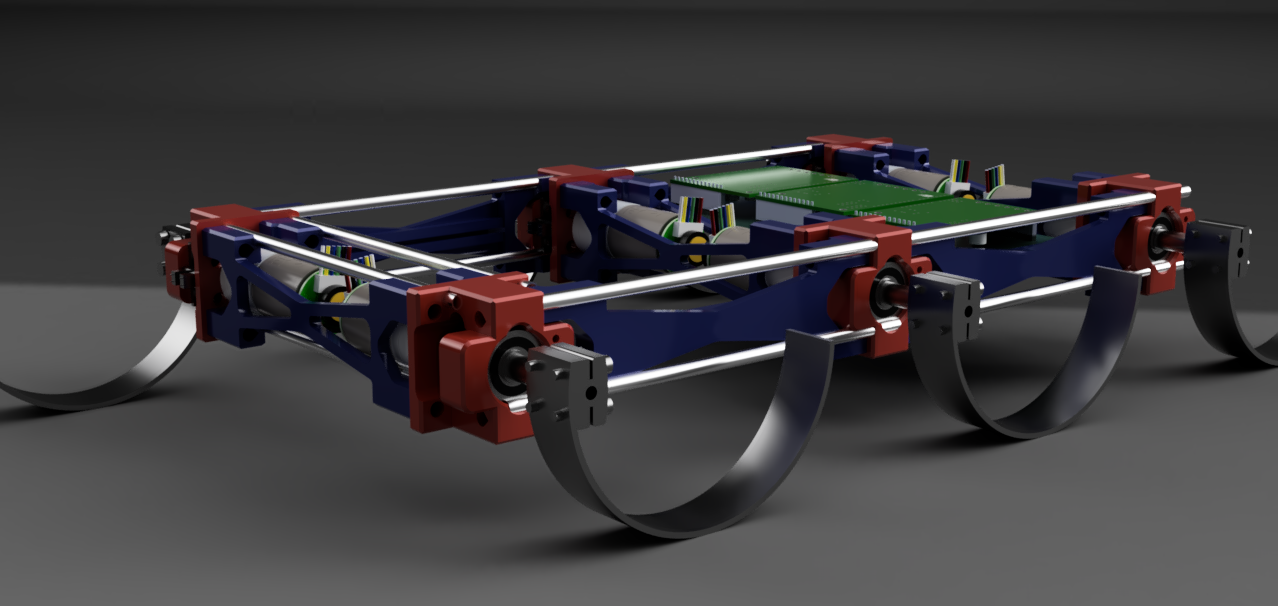
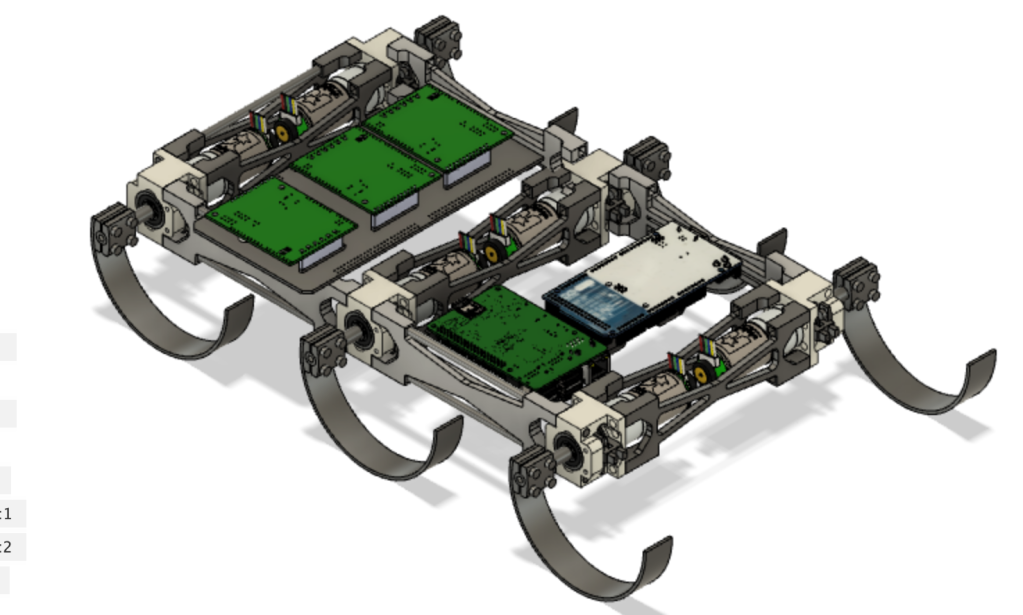
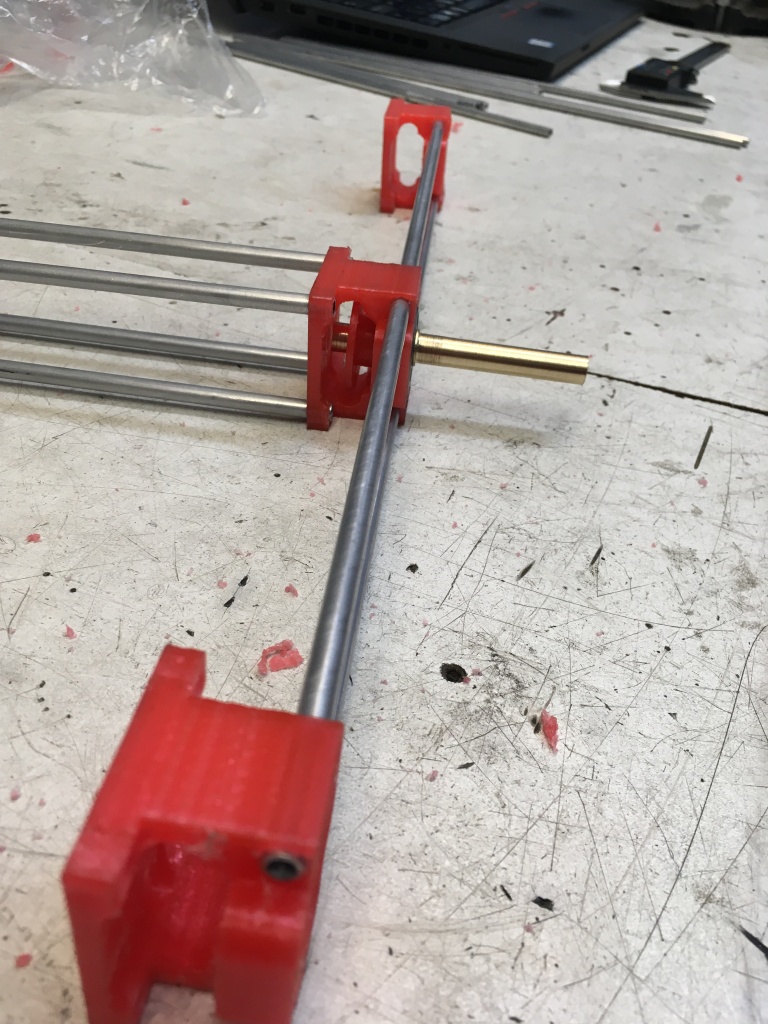
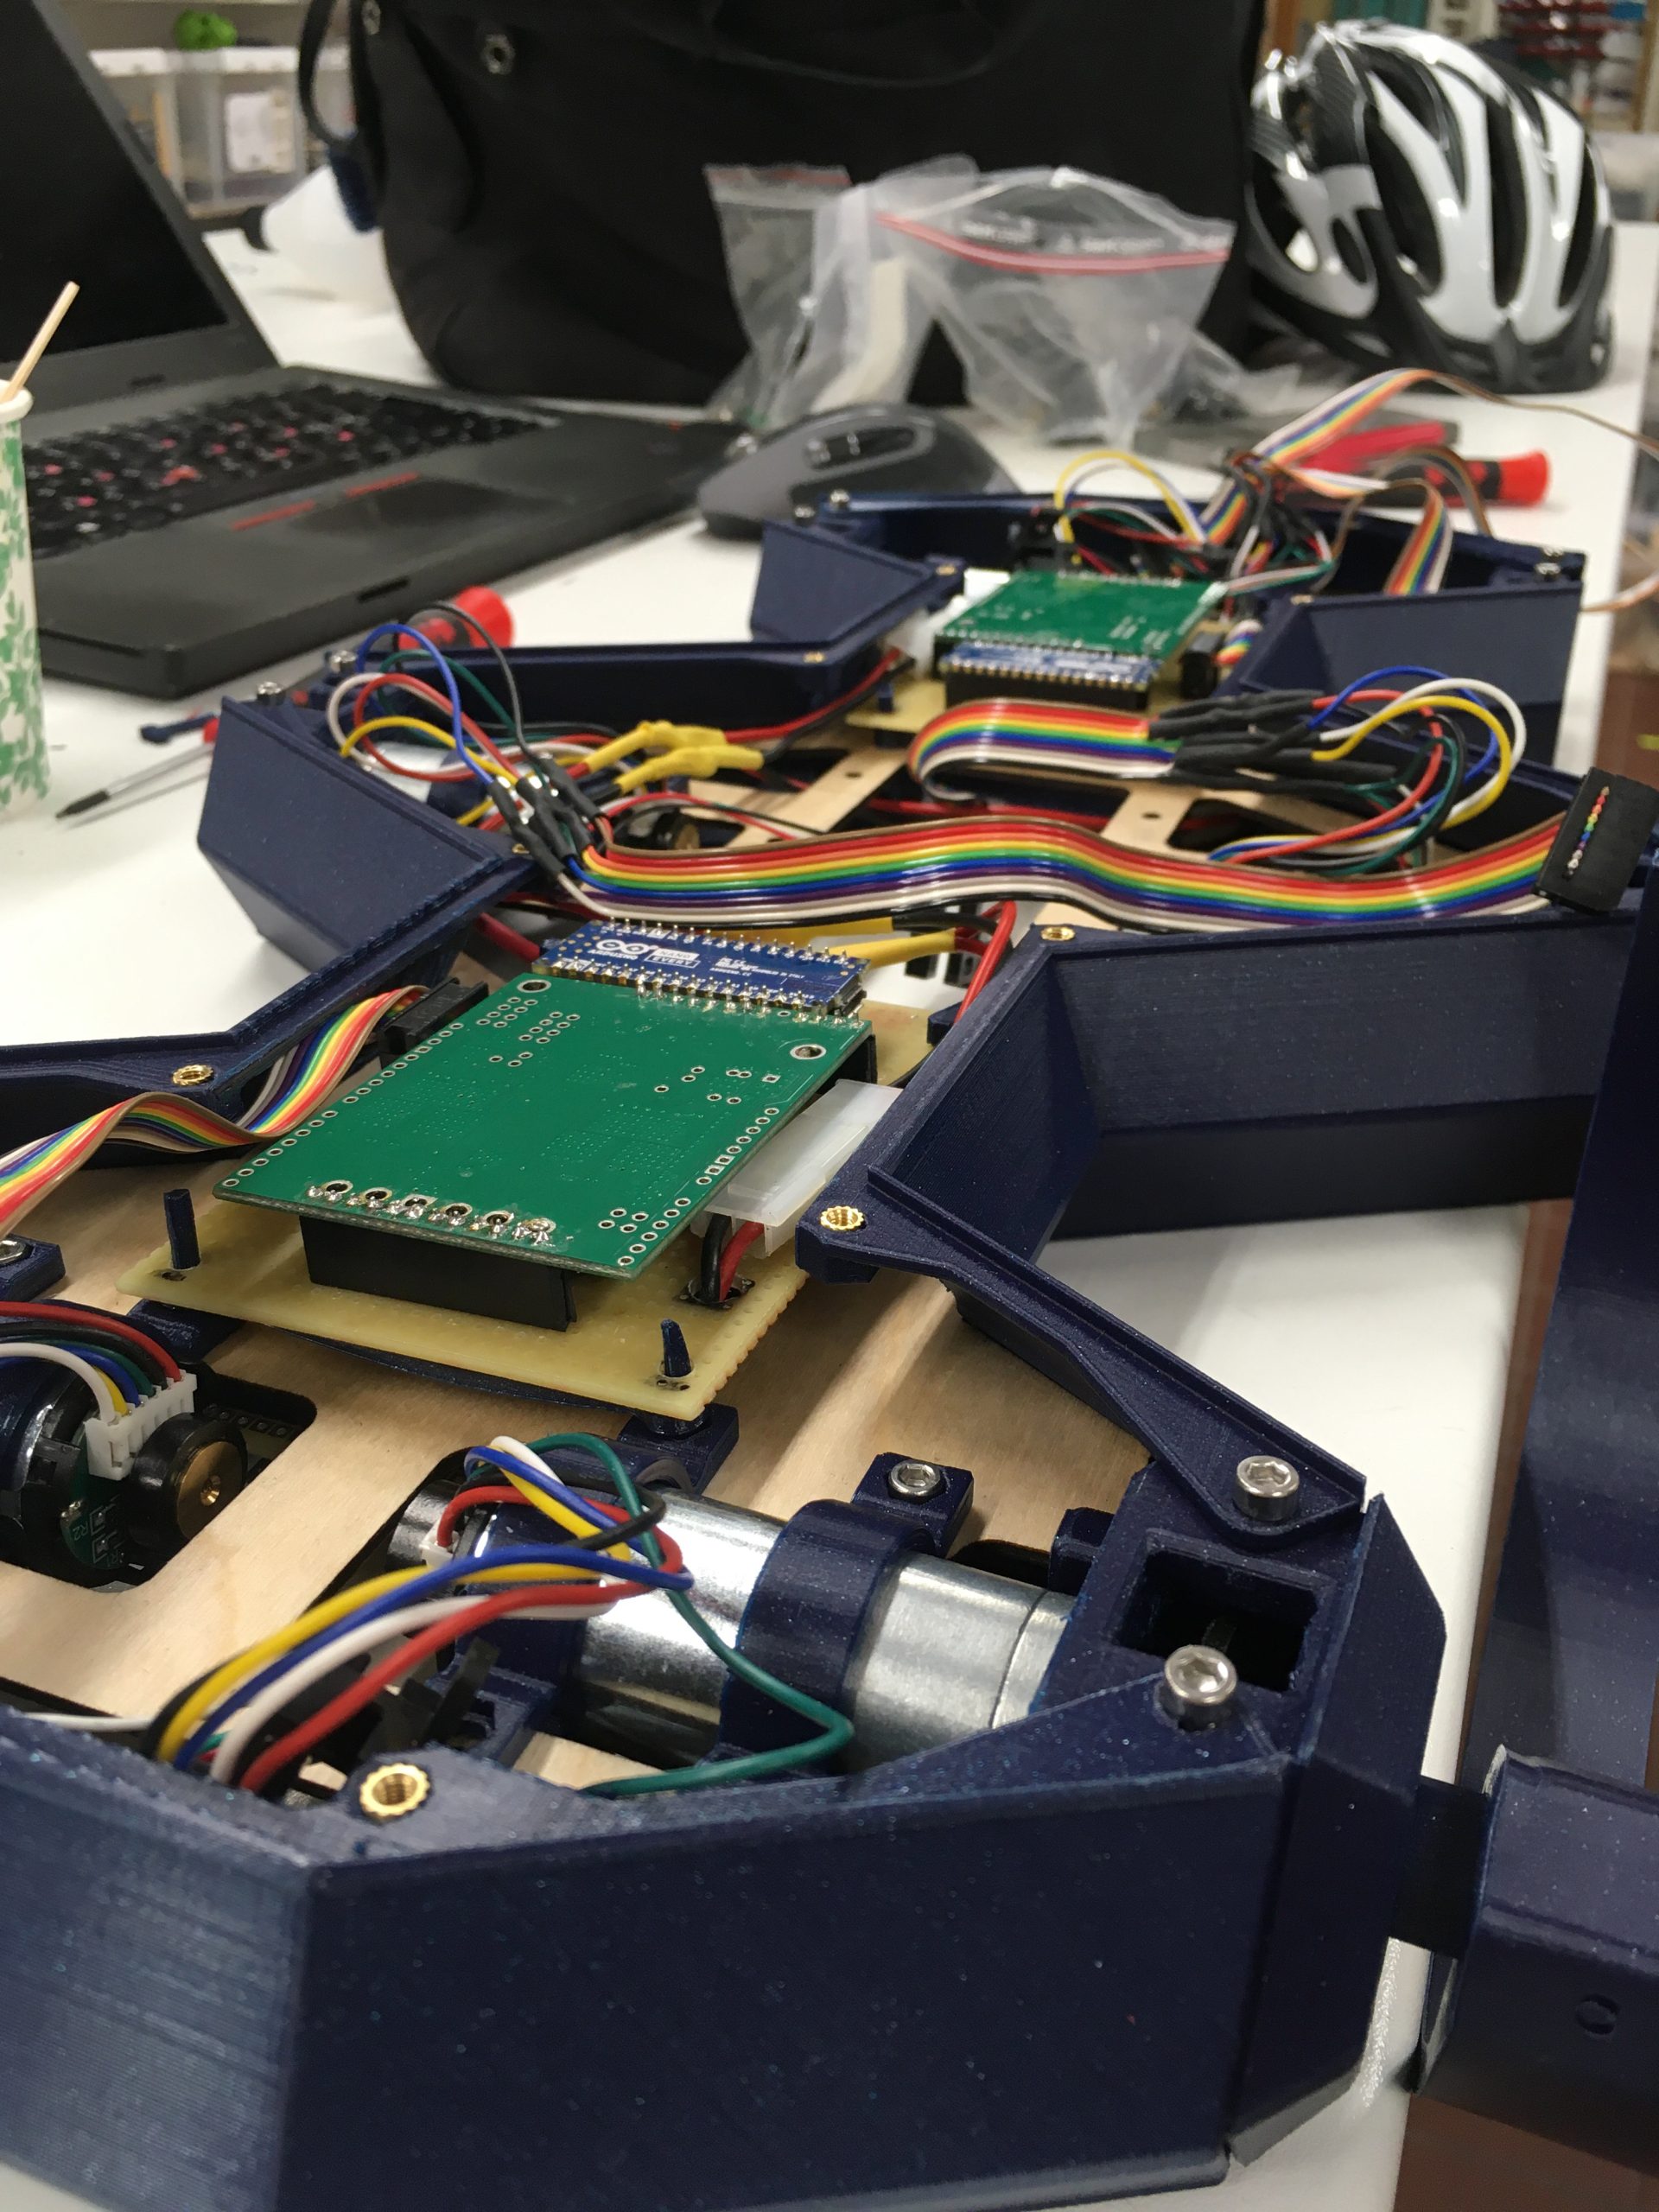
Finally, I did do some polish to the rHex parts and mounted them together so see how they fit. Turns out there is some room for improvement, but in general it is really starting to look like something.

Ultimaker singing

Today was a bit of a meditative day. I started early with a 3d print to get the rest of the parts I need to build the complete RHex prototype. Unfortunately, I forgot to enable supports, which I noticed a few hours later, so that print had to be restarted.

The good news is that I then remembered to print two toolholders for the late chucks, as well as 2 legs for the RHex. And, then I realized that the Ultimaker Extended + can sing!

Other than that, I mounted together the complete leg bearing house with all parts, and it seems like that will work. Also mounted the aluminium tubes and one side part and that seems to work as well. Forgot to take a picture, though. So next time!

Lesson learned: 3d printing with a 0.8mm nozle really isn’t for those super-accurate parts.

I also made a rendering of the latest version of the design.

3d printing is go!

So last week, I gave 3d printing a first go. Today, I started a second batch, and could finally assemble the pieces I printed last time.

First up, a refresher on the latest design. As you might be able to see, the chassis now consists of what will be 3d-printed plastic pars reinforced with aluminum tubes. These will connect the bearing houses that will eventually be made from milled Delrin, but for now they are 3d printed as well.

https://a360.co/2Y0VSnE

So first step was cutting the pipes. Here they are, enough to support the entire chassis, I hope.

The next step was to turn an axel as I have changed the axel design a bit since last time I made one. There wasn’t any aluminum stock with reasonable dimensions so I chose brass instead.

You have got to love brass. I truly understand why machinists prefer brass. While aluminum is like working with a 2-year-old who you knwo will throw a tantrum any minute, brass is like an old friend. You say “bro?”, it says “bro!”.

So here is the final axel right before I cut it down to length.

Finally, it was time to put everything together. It is clear to me that I will never become a true fan of 3d-printing, because the pieces just don’t have the same elegance as milling, but for rapid prototyping, they really do the job.

The middle piece just needs an opto-breaker and a motor and it is done…. Well not quite. The axel needs a threaded hole to put a lock screw in. That is what I will do next week 😀

Finally, a check on the 3d-printer that was making the sidewalls for the chassis. All good!

la