So the goal for today was to finish the Z-axis. I almost succeeded.
The first step was to turn a hollow axel that I could use to change direction of the Z-axis ball screw nut. These nuts contain a large number of tiny metal balls that are tightly fit between the ball screw nut and the ball screw itself. If you unscrew the nut, all of the balls fall out, and I doubt putting them back is is even doable without proper tools or whatever they use to assemble these in the factory.
So about an hour later, after having learned a lot about tolerances and surface finish when turning Delrin, I finally had my little tool and could unscrew the nut onto it. This was the easy part….. The tape is there to stop the nut from slipping off.

A deep breath later, I put tape on the other end and removed the original tape to be able to roll the nut back onto the screw. I didn’t even have to fiddle. The tolerances on these things are amazing!
So here it is, the Z-axis ball screw with all parts in the right order and direction.

The next thing to fix for the Z-axis was opening up the hole in the chassis for the new larger motor to fit. The chassis is something like 10mm thing aluminium. Aluminium is a soft metal. How hard can it be?

Two hours later, I can say that cutting though aluminium is horrible. Everything we learn about aliminium when milling it is also true for cutting it. And none of the tools in the makerspace were really doing the job. Finally, I realized I could drill holes and cut between them. Finishng the first corner was a true victory and worthy of a photo:

And just towards the end, I saw that we had a battery drivern electric angle-grinder with a proper cutting disk. Has I used it, the entire cutting would probably have taken 15 minutes instead. Either way, now there is a large ugly square hole in the top of the chassis and the motor and all pieces fit 😀

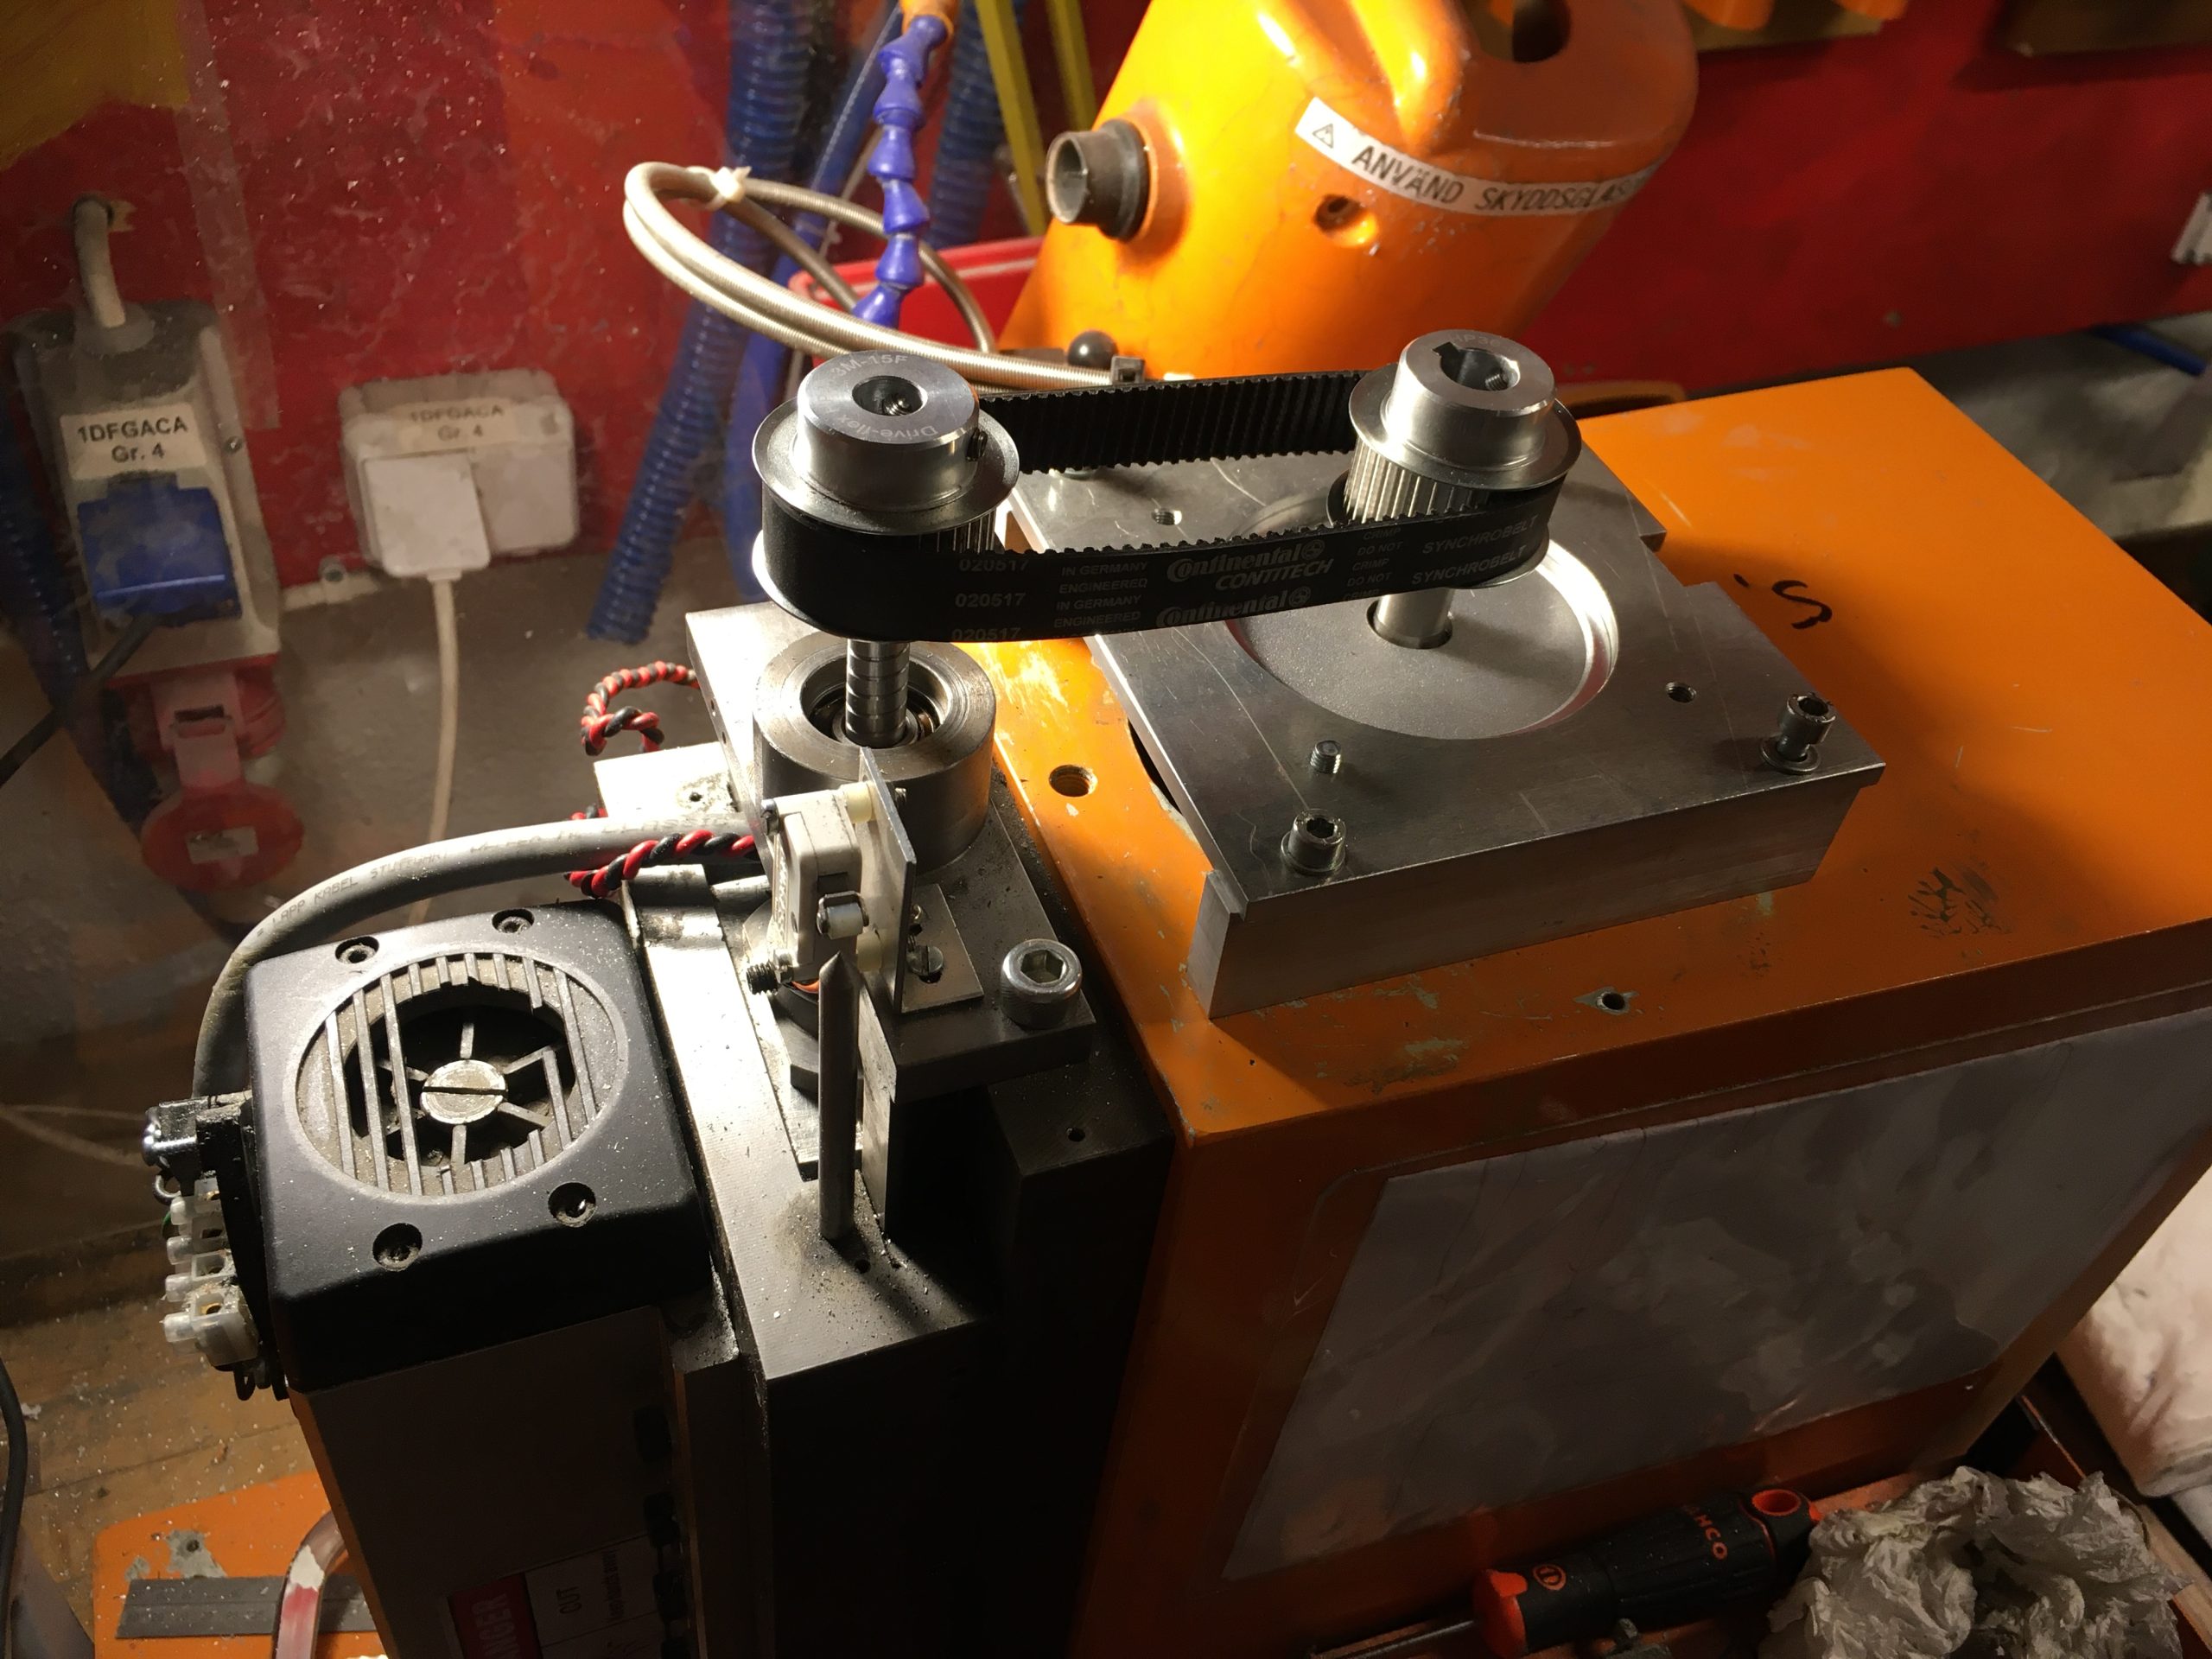
So in summary, Z-axis is amost complete. The belt you see above is a bit loose, so I need to make the motor mount adjustable. Also, I noticed that the new motors have 6mm mounting holes while the old mechanics have what look like m5 screw holes, so I will probably drill those holes out as well and rethread them to M6 holes while I am at it.